Content Hub Widgets
Estimated reading time: 6 minutes
This page explains how to create and manage Widgets in the Netpresenter Content Hub. Before proceeding please check if you use the Content Hub or the Message Server & Alert Server.
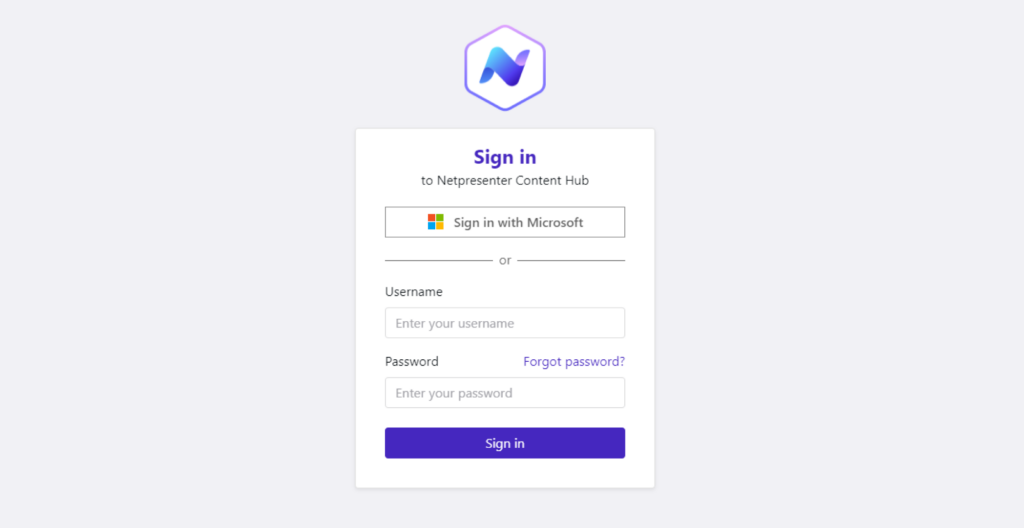
If you login looks like this you can proceed on this page.
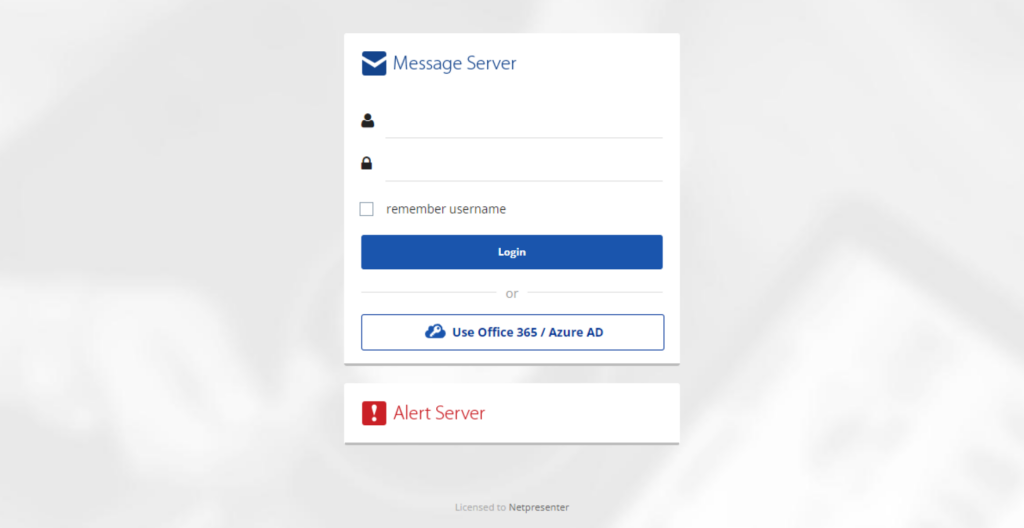
If it looks like this please click here to read the Message Server & Alert Server documentation.
Widgets
Introduction
Widgets are used to fill widget template (named WD in your template overview). Widget Templates have a couple of default content items, like Title, Body, and Link. Using a Widget, you can get the content you have selected in the External Source in the place you want.
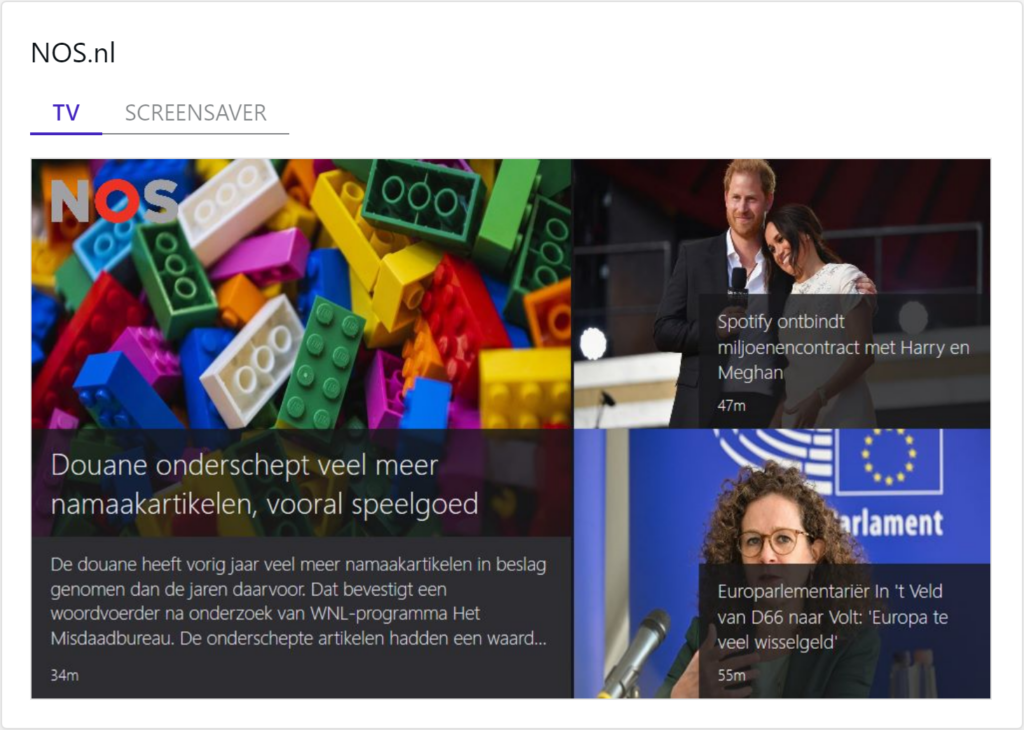
Combine this with a WD3 template and you get the following result:
Creating a News Widget
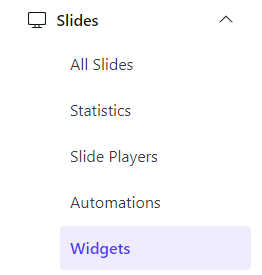
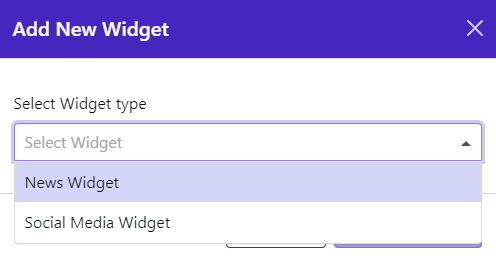
Before you can create a Widget you first need an External Source to be configured. This needs to be done by an admin. To create a new widget, go to Slides > Widgets and click the “Add new” button. Select the type: News Widget.
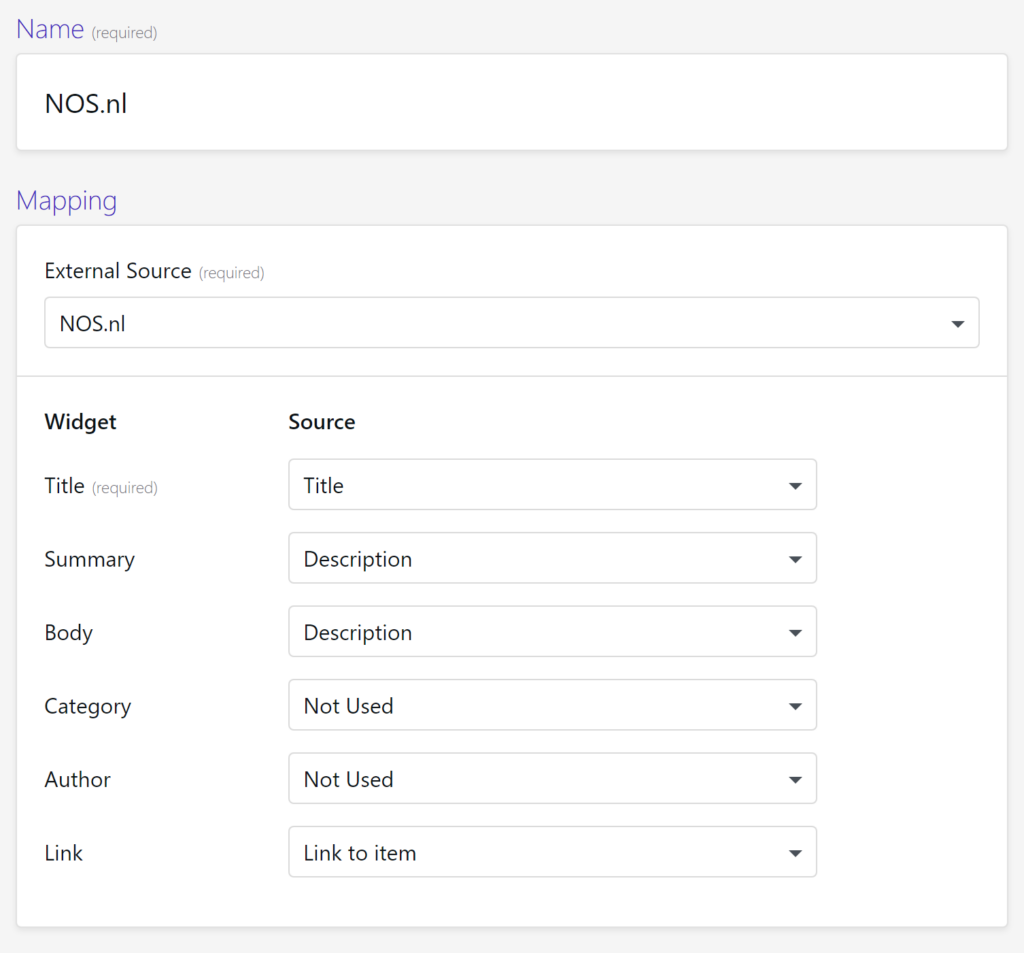
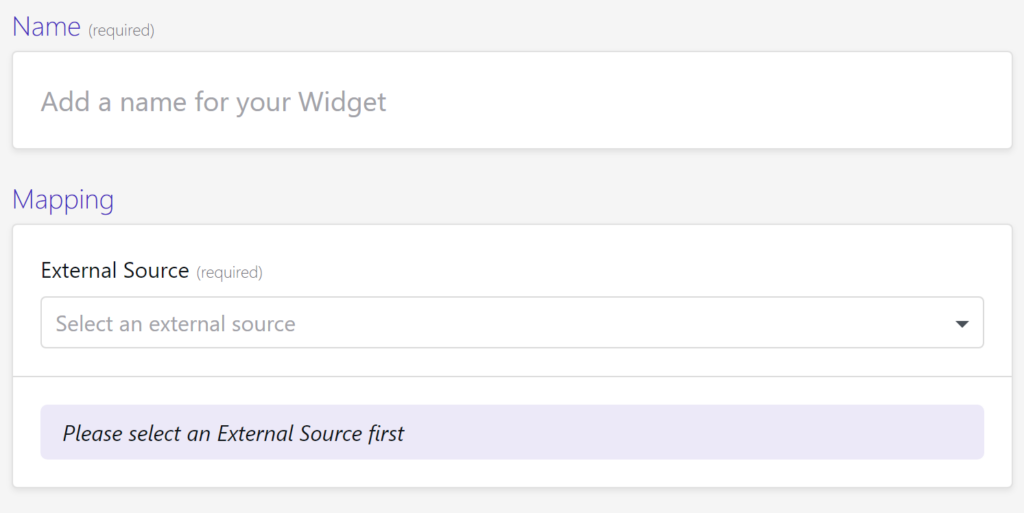
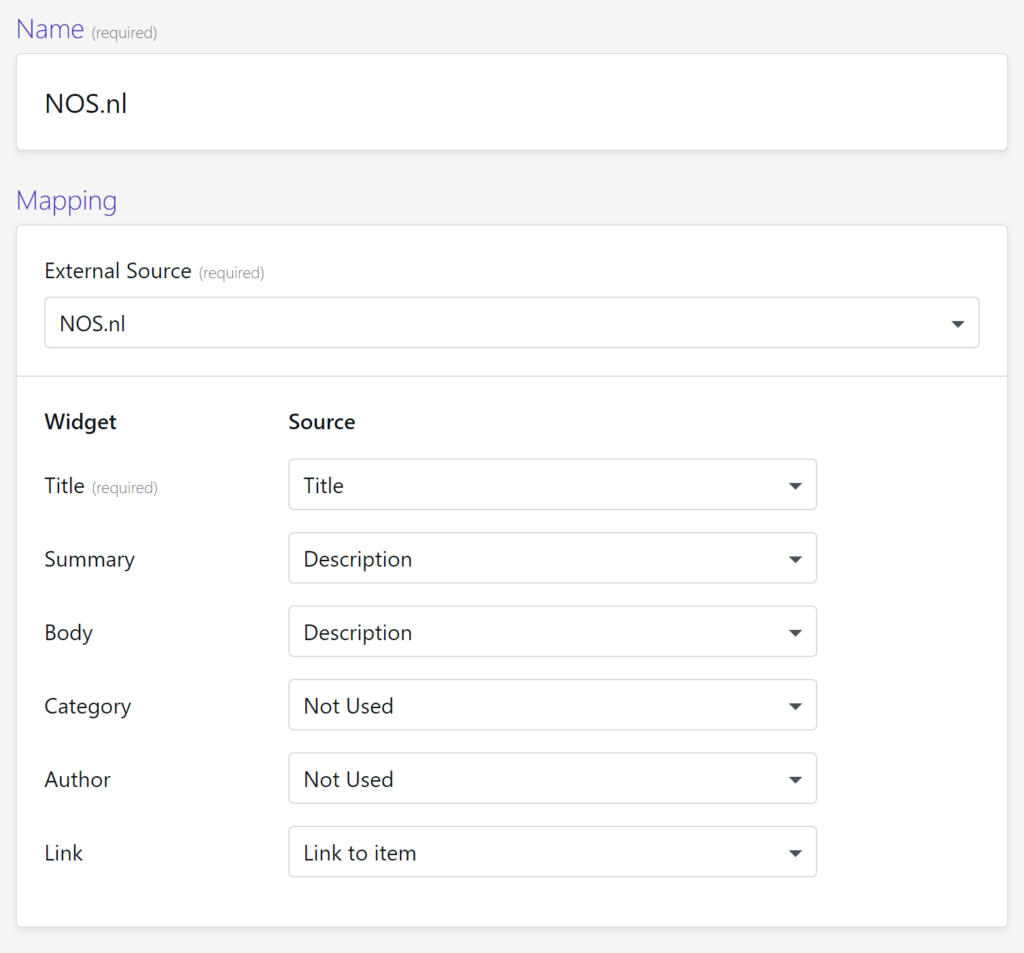
Put in a name and select the External Source you want to use.
Next select the fields you want to use.
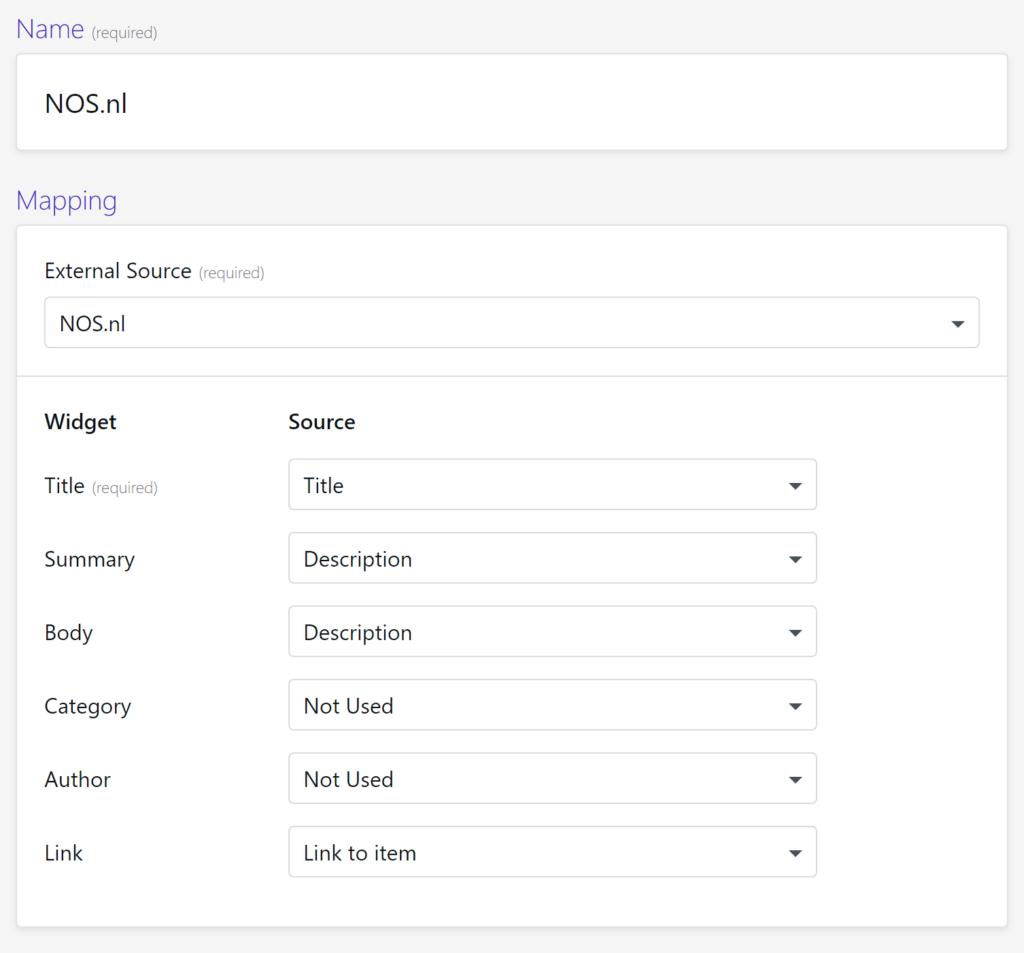
Not all feeds have both a body and a description, use description for both in that case. Two other examples are Facebook and X/Twitter, these do not have a title so you could set the Author as a header.
Modifying or deleting a Widget
To modify or delete a Widget you need to go to Slides > Widgets. Move your mouse over the Widget and click the edit or delete button.

Make the necessary changes and save your widget.
Using the Widget with a Widget template
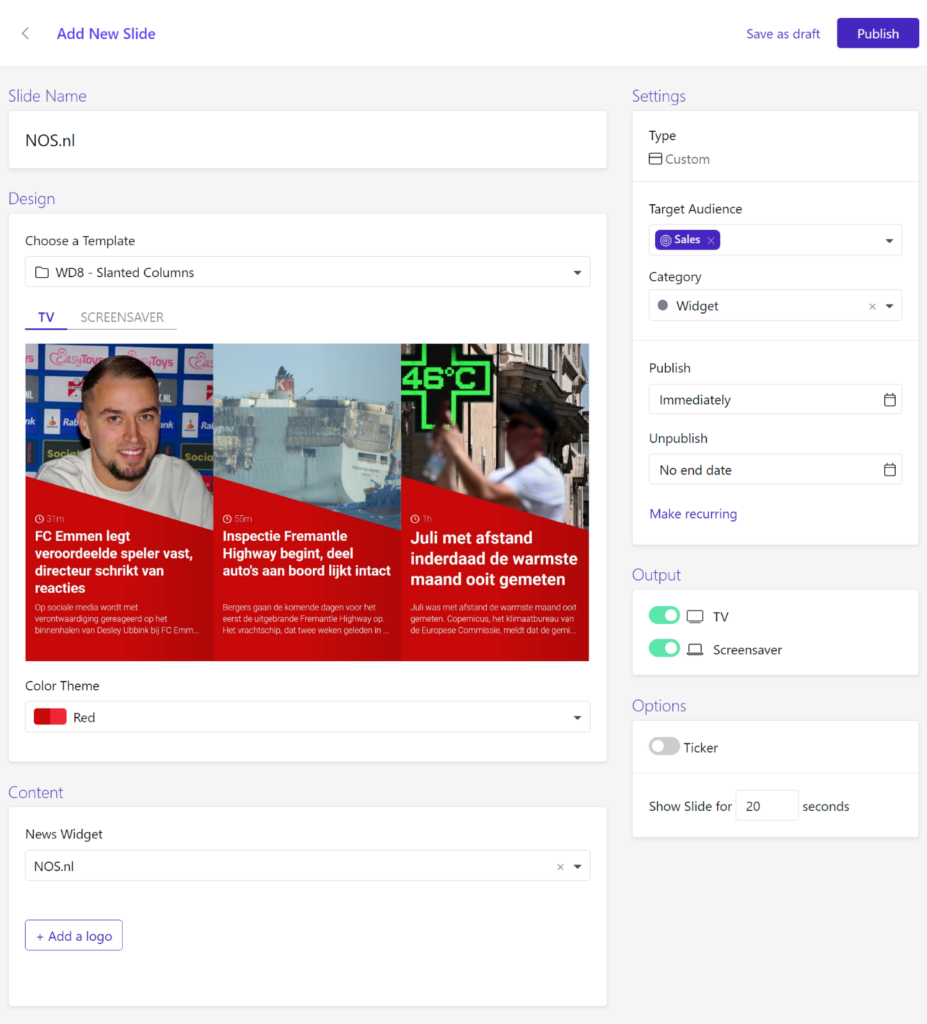
To create a Slide with a widget, go to Slides and create a new Custom Slide. Set a name and select a template. By searching for WD only the widget templates will be displayed.
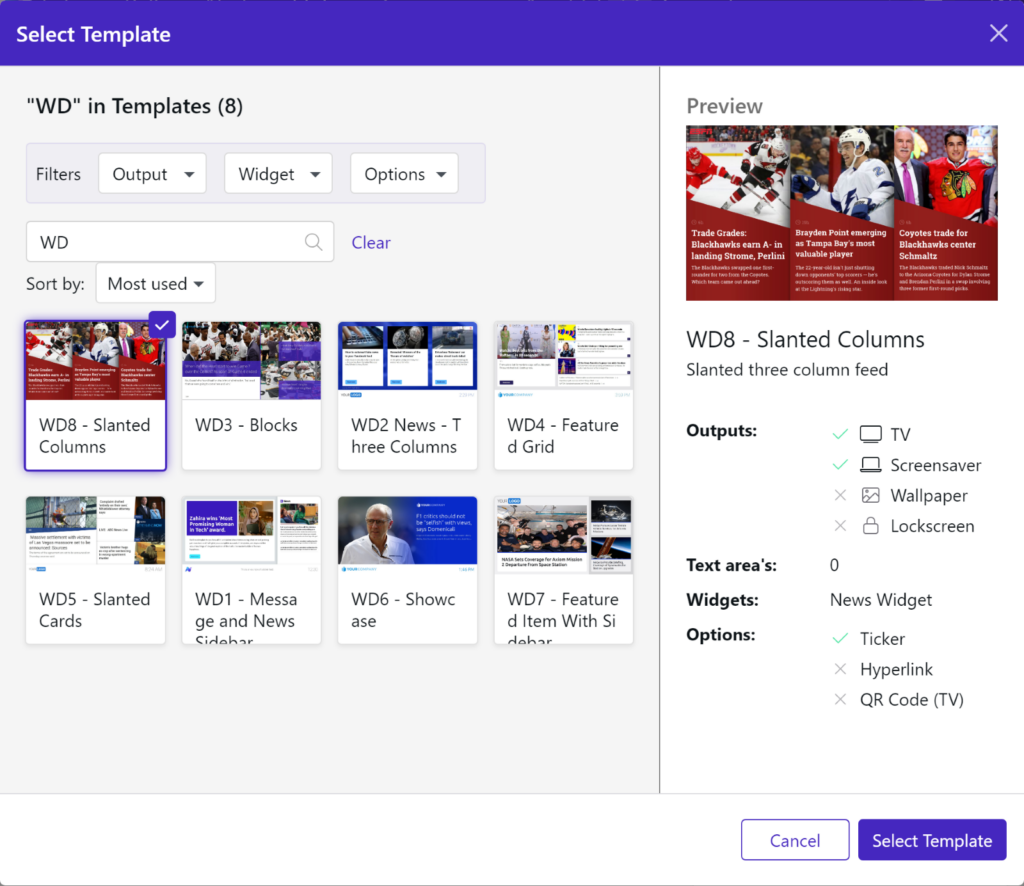
Select the template you want to use and click the “Select Template” button. Next, select the color you want for this template.
From the content section select the Widget.
Adding a logo to your Widget
To complete the branding of your template you can add a logo. It is best to search for a PNG image. The transparent background makes for a better result in most cases. Click the “Add a logo” button and select or upload the logo you want to use.

The default logo will need some additional configuration to get the alignment correct. Click the alignment button to open the dialog.
Use the Mode and Alignment options to get the alignment correct.
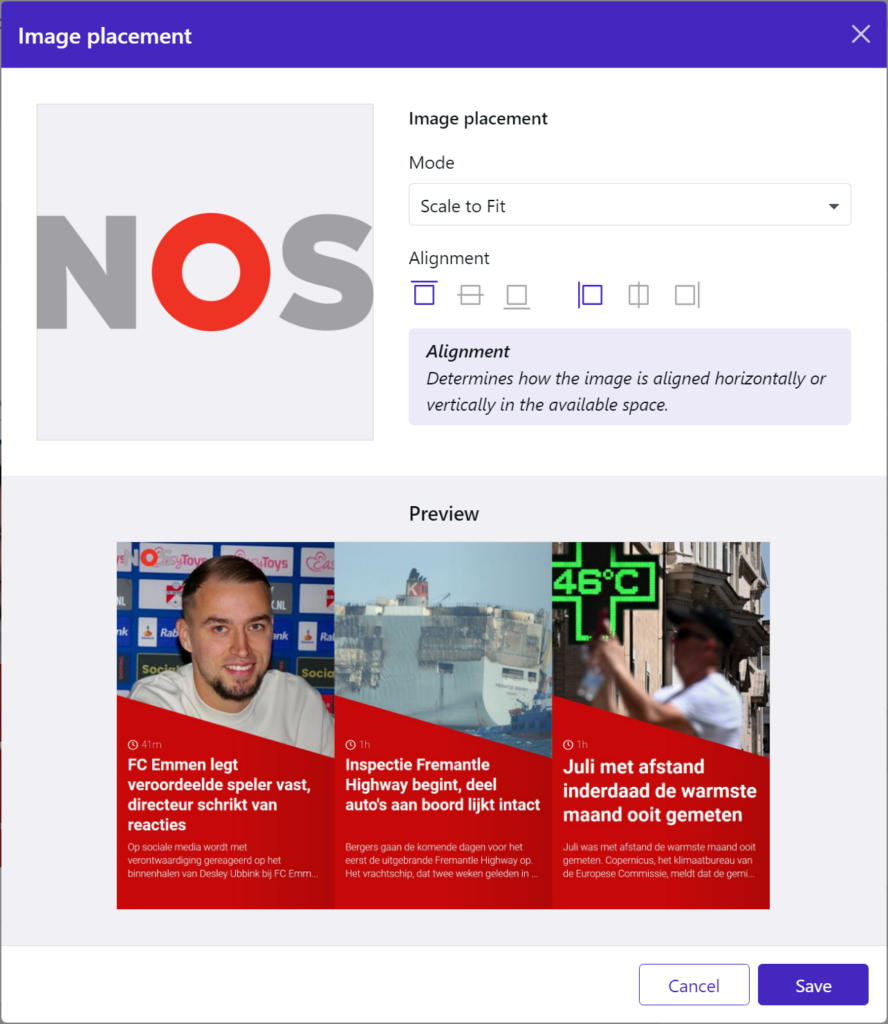
Save the logo to store the alignment settings.
Setting Slide options
Your widget template is now complete. Select the Audience, and outputs you want to use. You can for instance decide to only post the news feeds on TVs and not on screensavers. Click “Publish” to save the Slide.