Content Hub Slides
Estimated reading time: 20 minutes
This page explains how to create and manage Slides in the Netpresenter Content Hub. Before proceeding please check if you use the Content Hub or the Message Server & Alert Server.
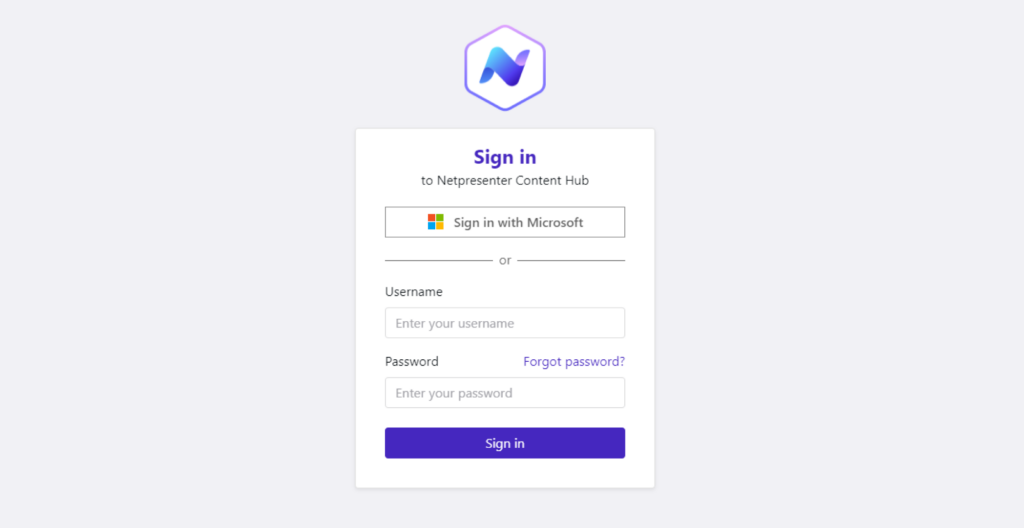
If you login looks like this you can proceed on this page.
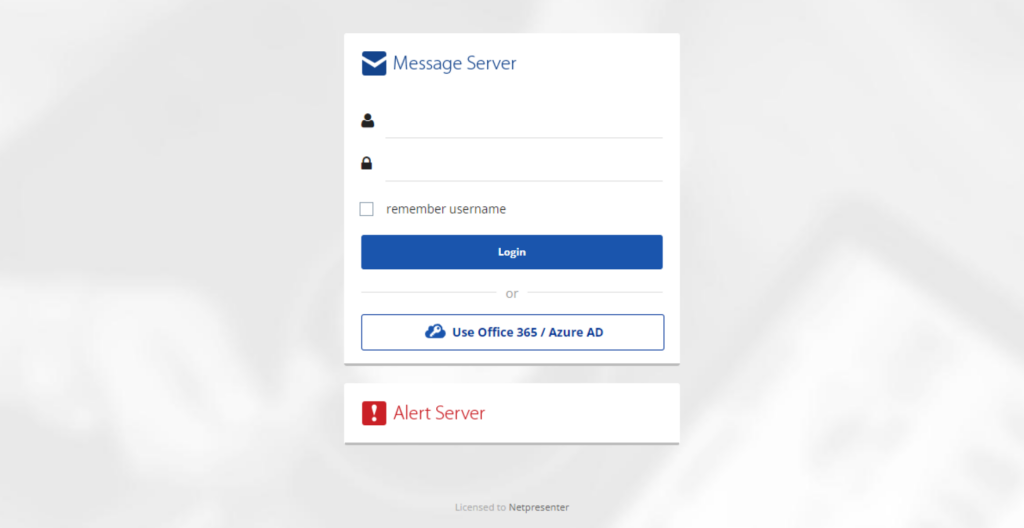
If it looks like this please click here to read the Message Server & Alert Server documentation.
Table of contents
Content Hub Quick Guide – Slides
You can also download the Content Hub Quick Guide Slides in PDF or read the manual below.
Manual to create Content Hub Slides
Slides
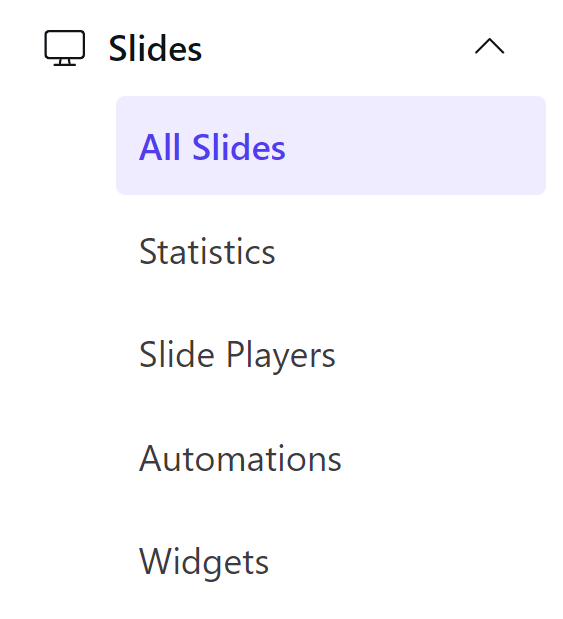
The left menu has an option to create and publish slides. By clicking it, you are presented with the slide overview.
The slides menu has 5 options. All Slides, Statistics, Slide Players, Automations, and Widgets.
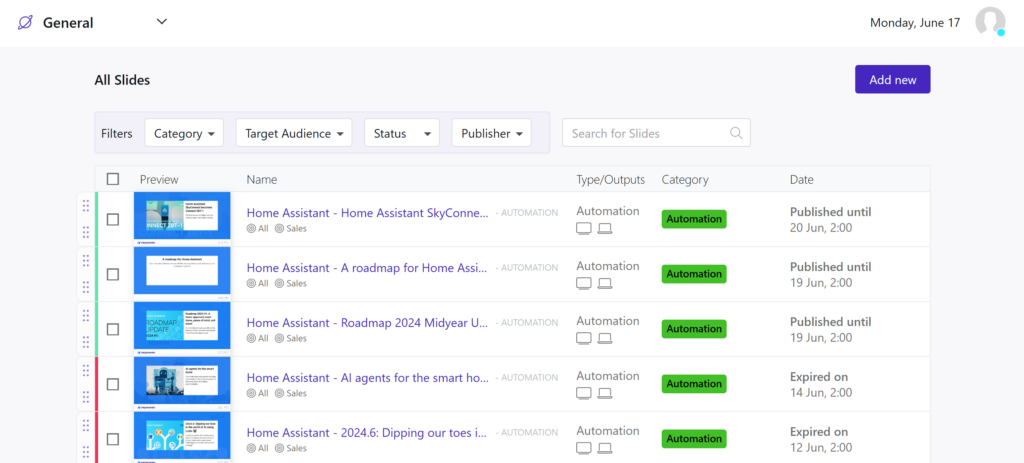
All Slides
The overview will show all slides published, showing their title, Type/outputs, category, and published date. You can filter these slides by a specific category with the drop-down menu on the left or search for a specific slide with the search function.

By hovering over an existing slide, 3 actions will appear on the right-hand side. 1 action to delete the slide, a second to pause the slide and another to edit.
By clicking anywhere else on this slide, you will also be able to edit the slide.

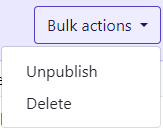
When selecting the boxes in front of the slides, Bulk actions will become available.
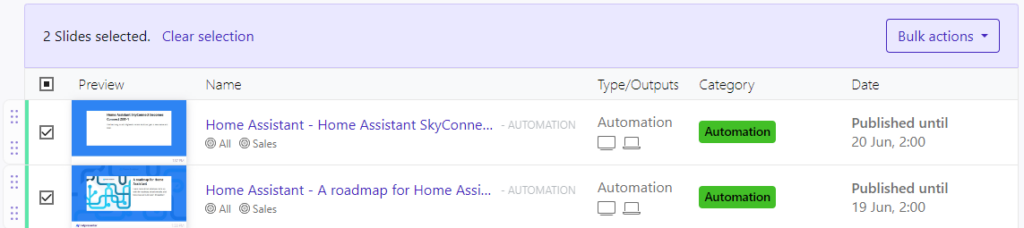
Slides can be unpublished or deleted in bulk this way.
The order of slides can also be manipulated by dragging them to a different spot, using the tab next to the status indicator.


Adding a new Slide from existing content
Slide Content
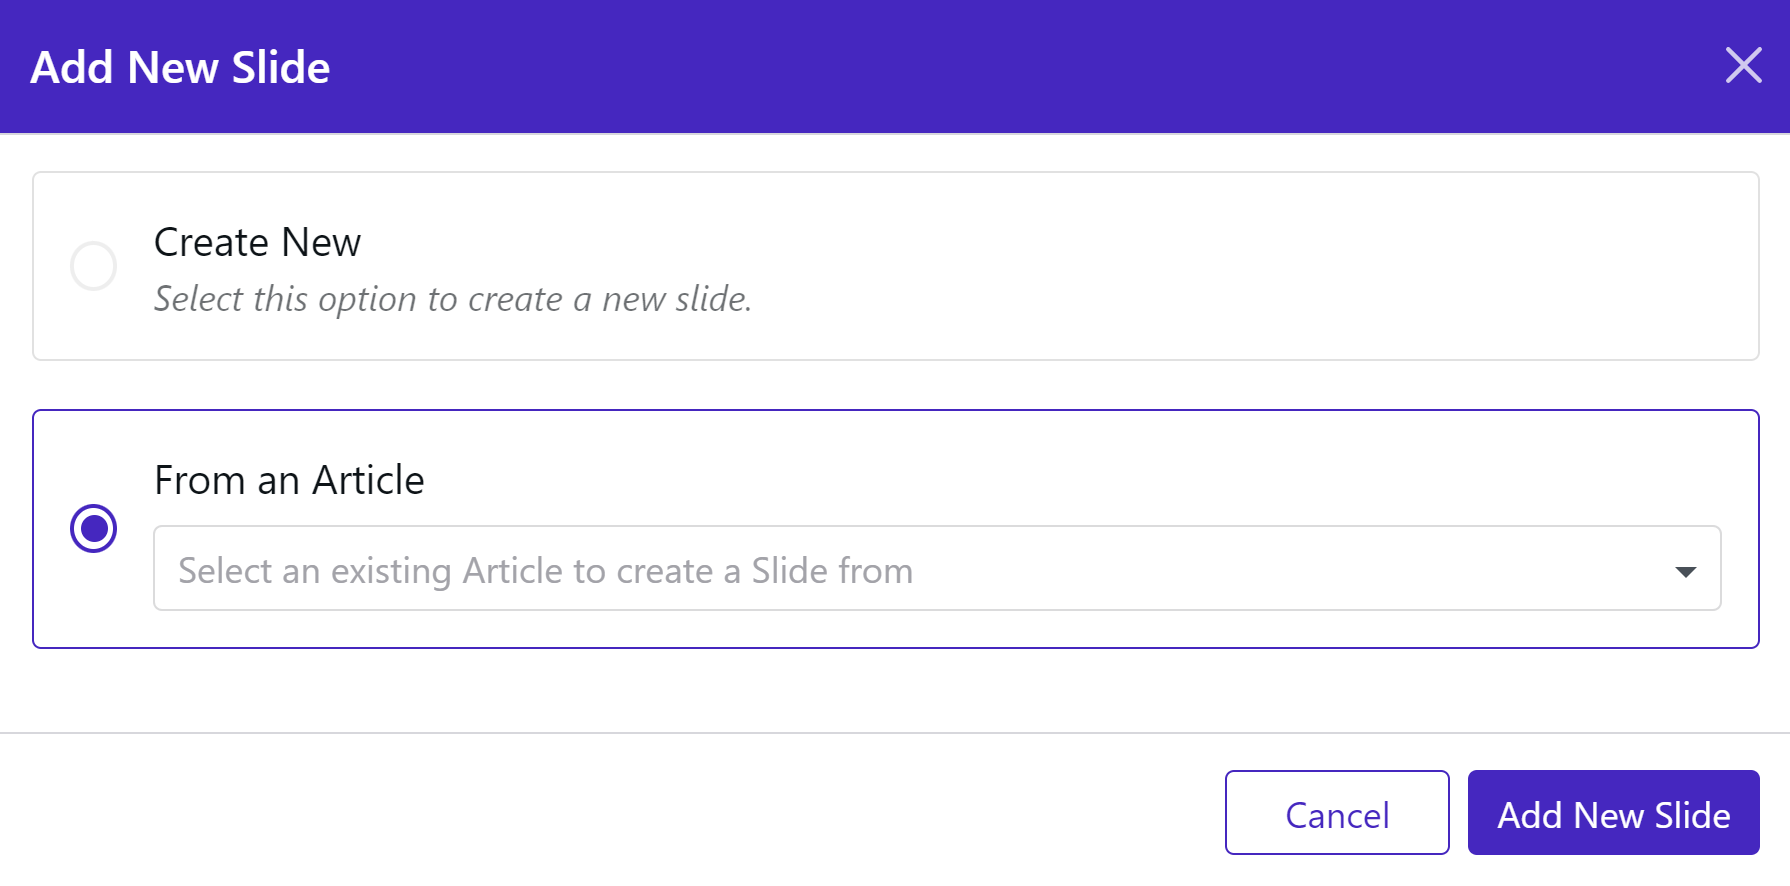
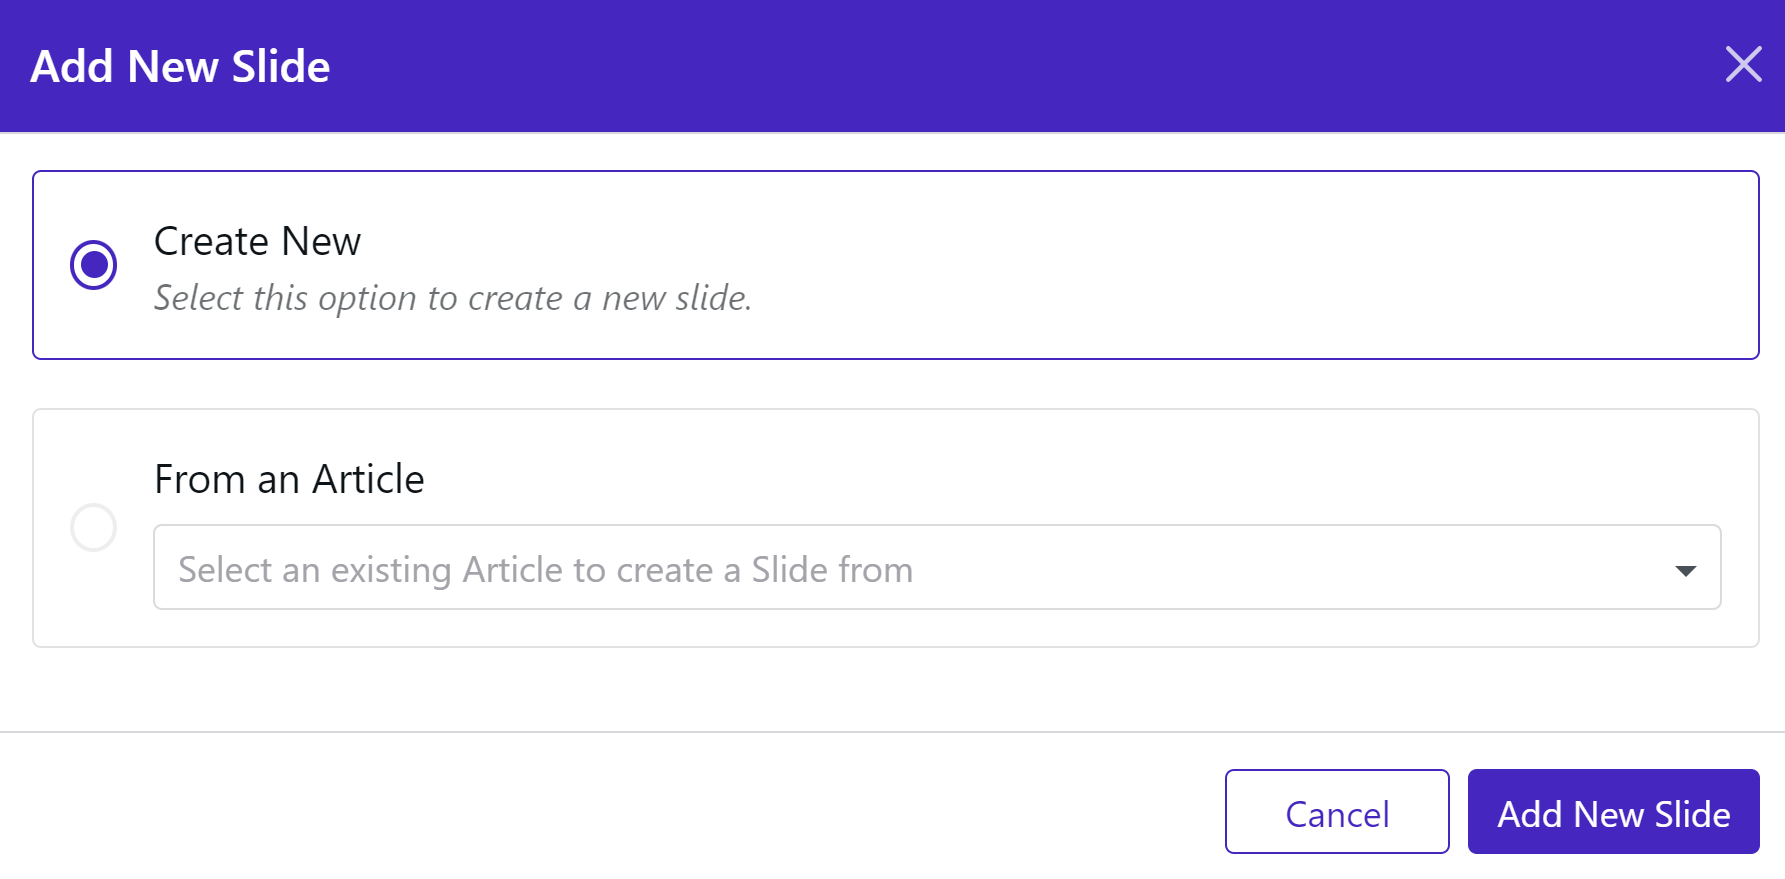
When you are in the ‘All Slides’ view, an ‘Add new’ button is visible in the top right corner. Click this button to add a new slide.

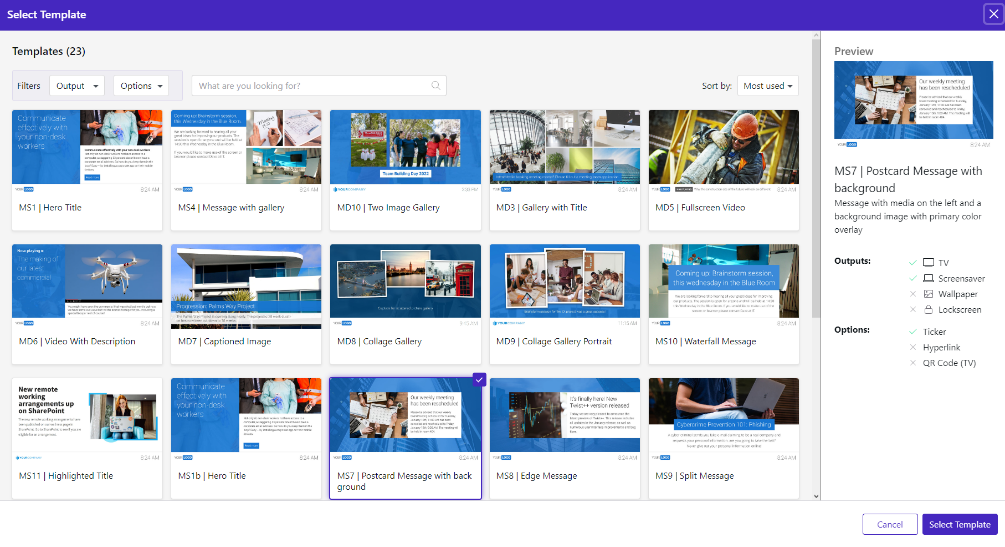
By clicking ‘Add new,’ you will be presented with a pop up asking to create a slide from an existing article or create a custom slide. For this tutorial’s purposes, we will start with creating a slide from an article.
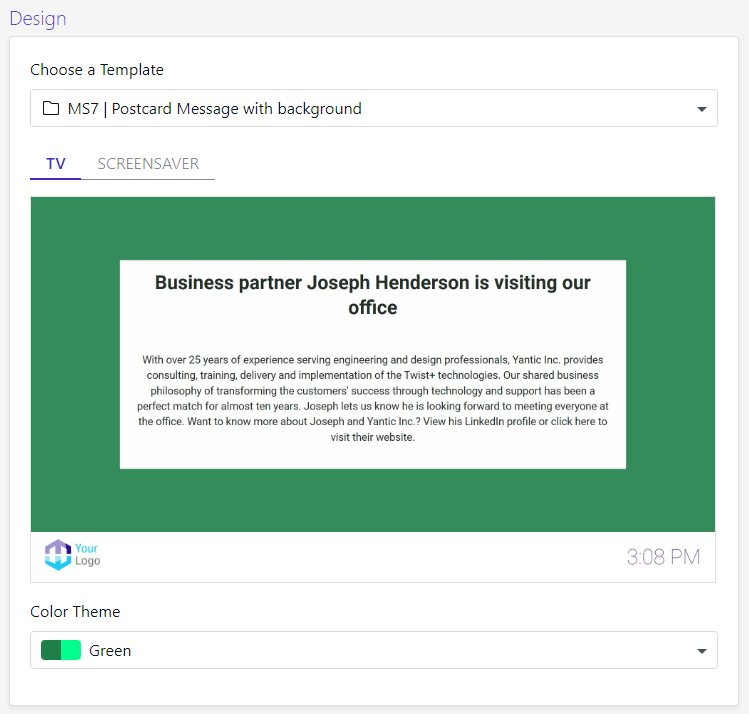
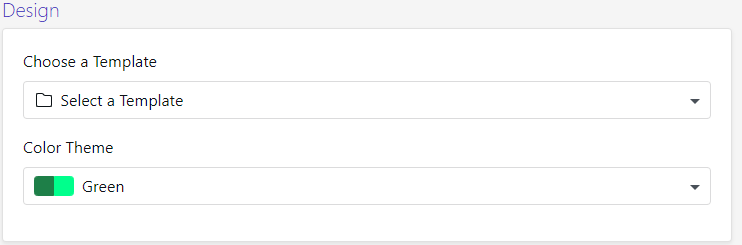
In the New Slide View, you can start by selecting an appropriate template. By clicking the drop-down menu underneath ‘Choose a Template,’ a pop up will appear with all the available templates for you to choose from.

You can check the preview for TV and Screensaver underneath the template selection.

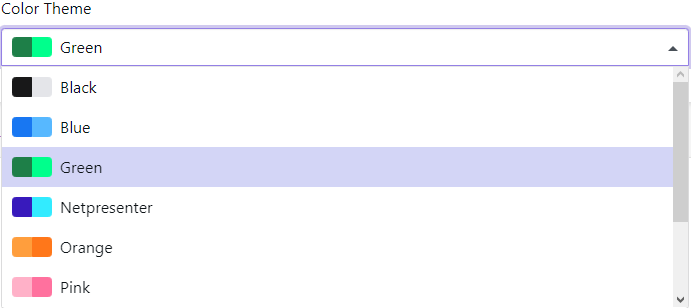
Now you can choose the appropriate color theme from the color theme selector.
The Article content is already filled in since it is derived from the selected existing content.

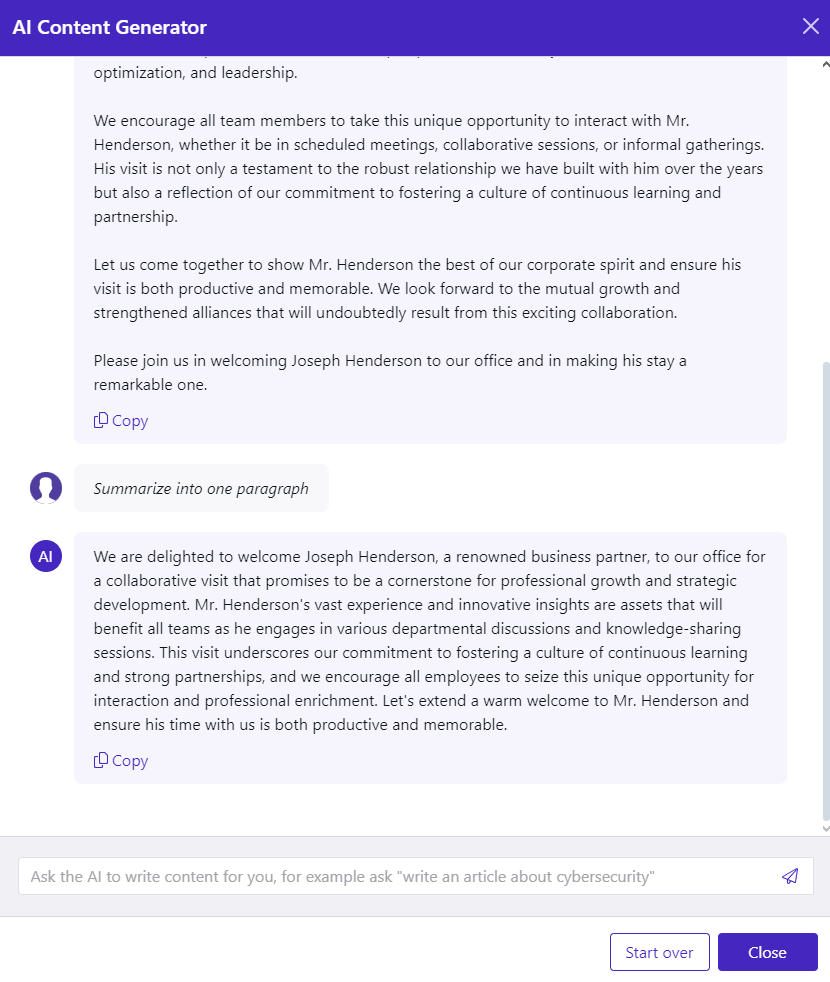
Should the article content be too large, you have the option to summarize the content and use that as the slide’s description.
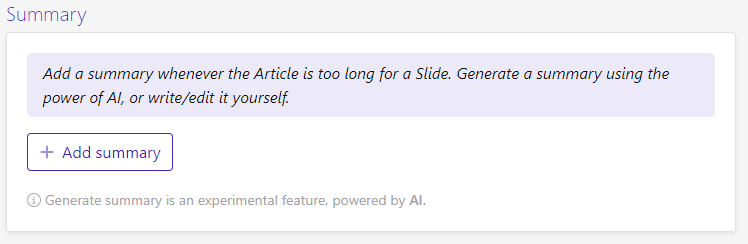
Bly clicking ‘Add summary, ‘you will be able to fill it in, or have AI summarize it for you.
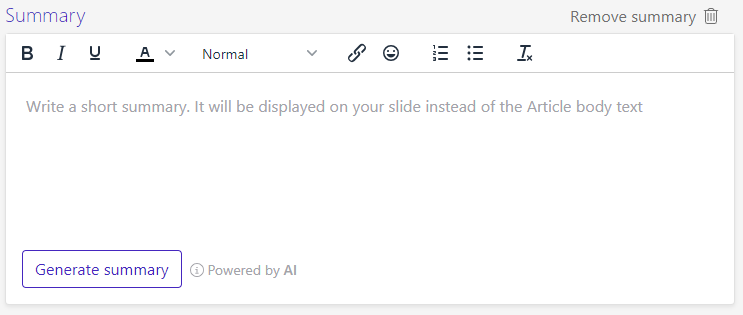
Add your own summary as you wish or click on the ‘Generate Summary’ button to have AI do it for you.
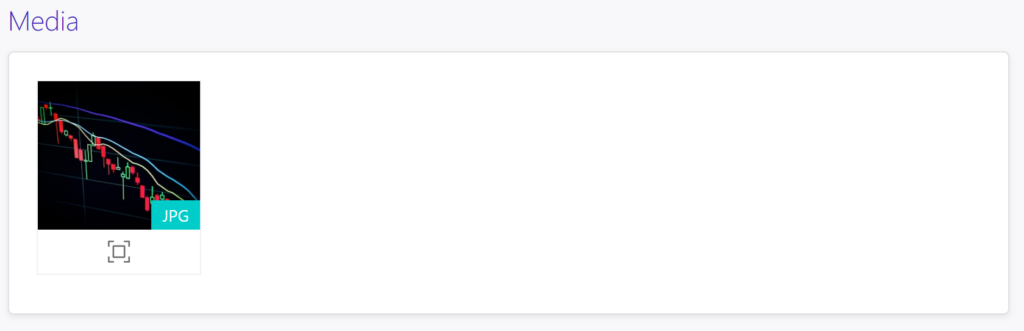
The available media from the article can be seen on the very bottom of the page
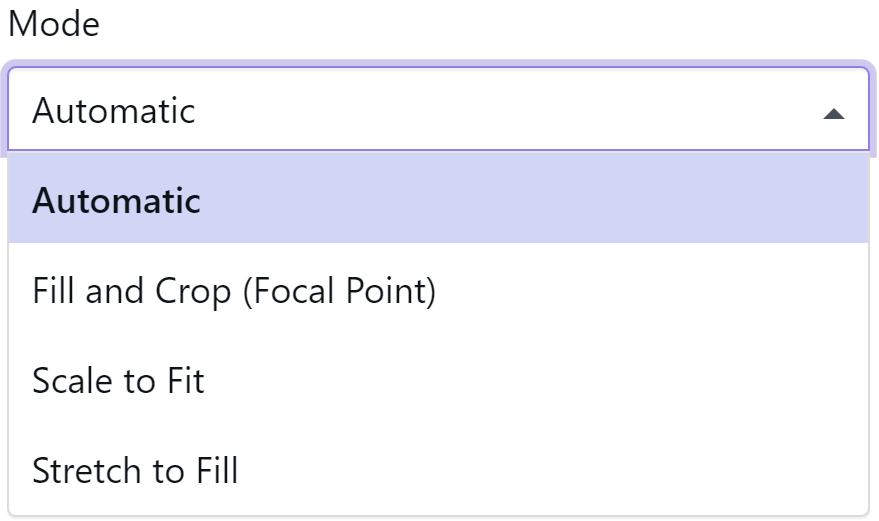
By clicking the image placement icon on the media object, a new window will pop up to show placement options.

By clicking the drop down menu under Mode, a few options can be selected to place the media object within the slide
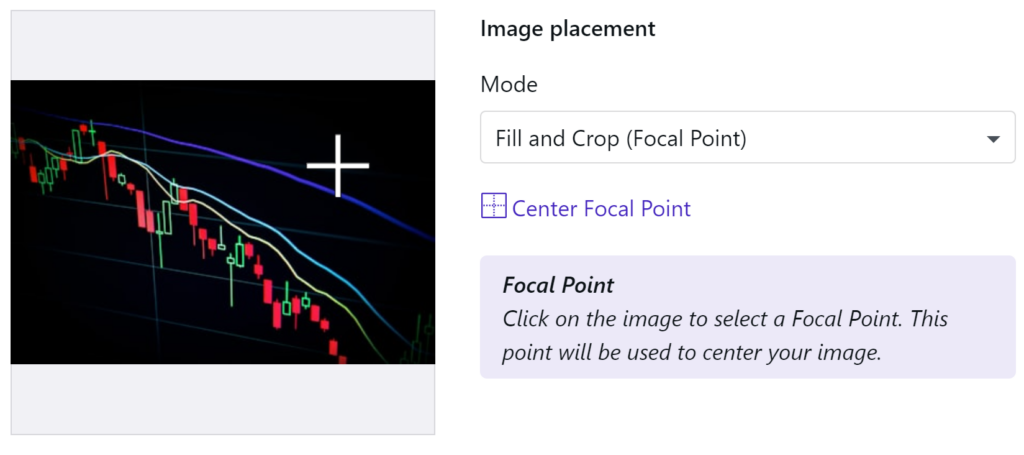
The Focal point option allows you to choose where the focus point will be set.
Settings
A slide that is created from an existing article will have its type configured as ‘Article.’ The target audience is automatically filled in as it is derived from the article. The automatically selected audience can be turned off and another can be selected with the +Add Audience button.
If the audience has both the employee app and the slide player, you can have them skip this slide if they have read the article in the app.
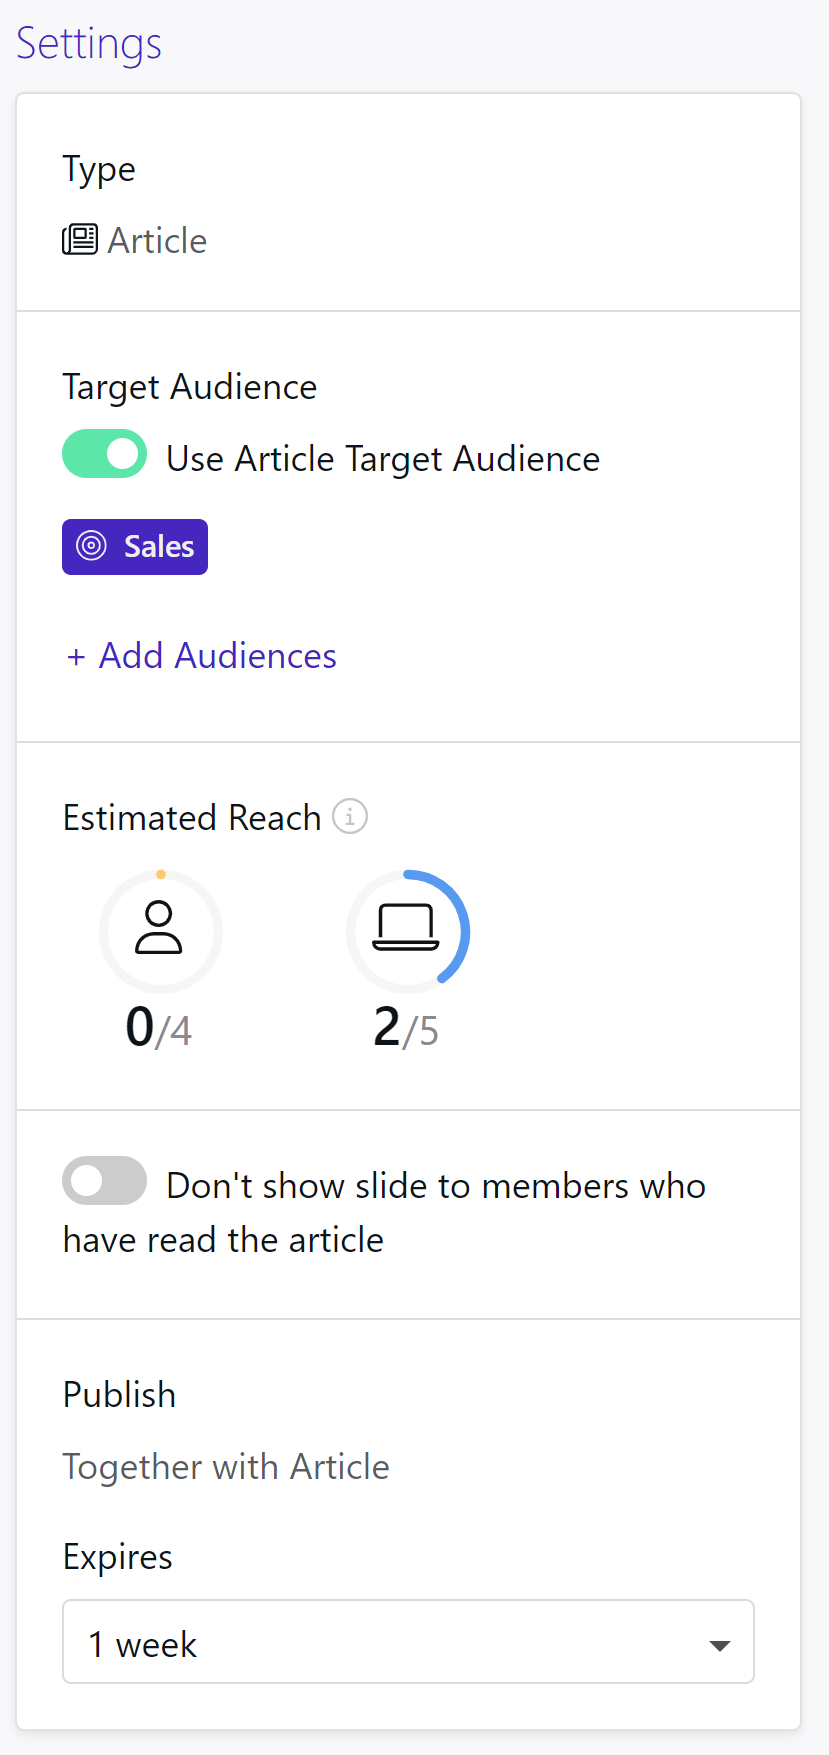
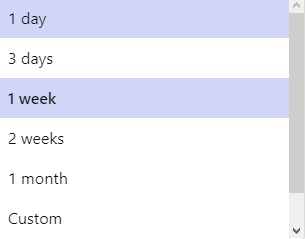
The slide will be published alongside the article. If the article is already live, the slide will be live directly after publication. The duration can be set to anything from 1 day to 1 month or a custom duration.
Options
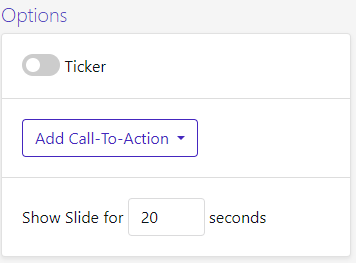
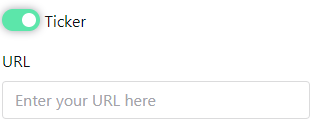
A ticker can be added to the slide if you turn the option on.
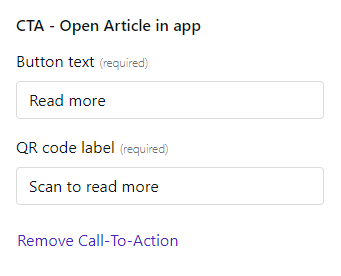
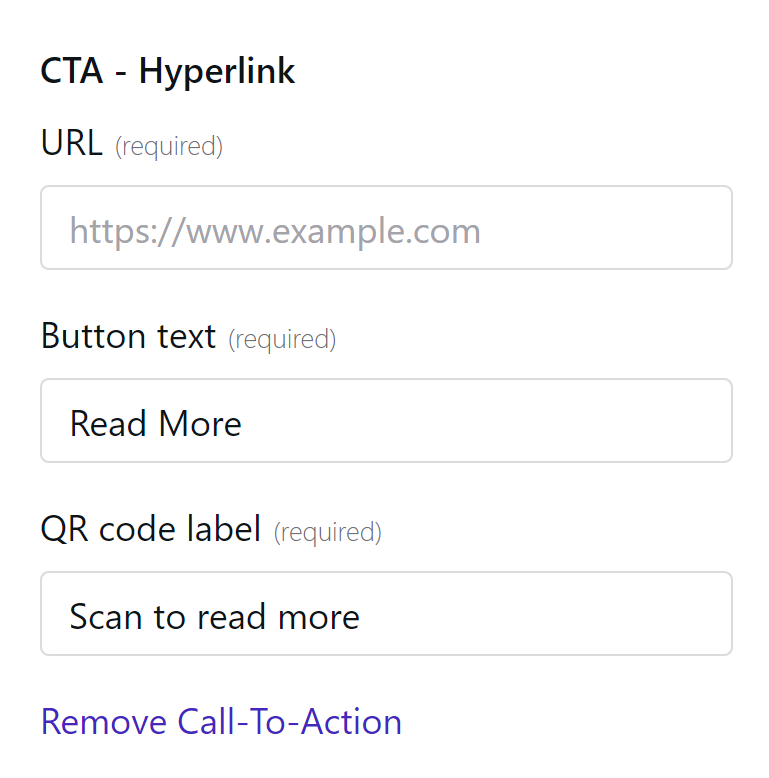
A call-to-action can be added, depending on what the template allows. First select the open article in the app option and fill in the necessary fields.
If a hyperlink is available, the Button text can be filled in. And if the template selected has the QR-code option available, the Tv slide players will show a QR code that will direct to the article in the app.
Lastly, you can configure the slide duration.

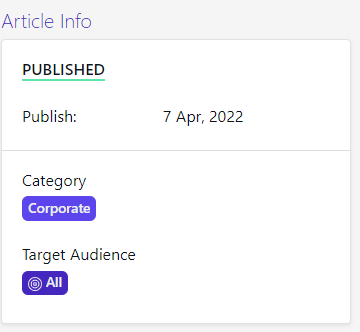
Article info
In the bottom right of the page, you can see the info about the article.
If the slide is complete, you can either save it as a draft or publish the slide.

Adding a custom slide
Slide Content
Start by adding a slide name.
Next, you will need to select the template and color theme. Do this by clicking either or both drop-down buttons.
Below that field, you can enter the slide’s content with a rich text editor.
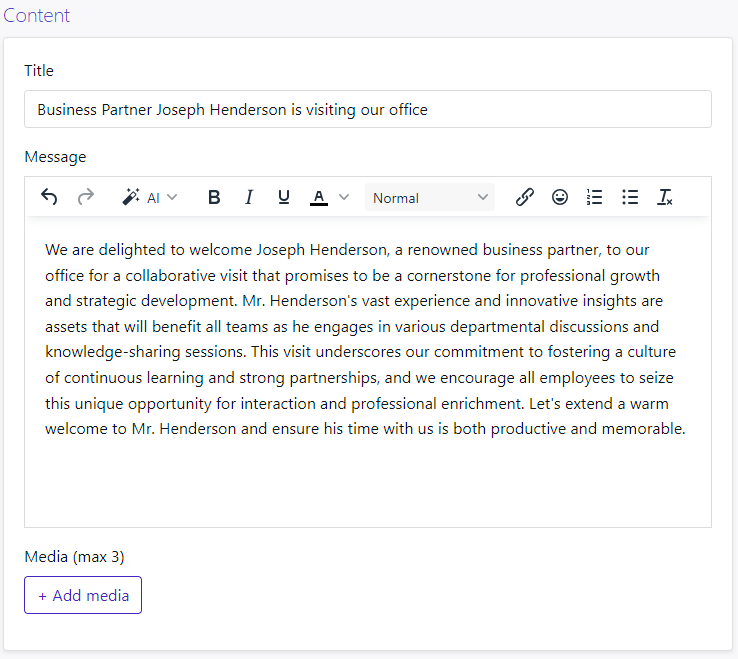
By clicking the AI button in the Rich text Editor’s options, you are able to open a prompt to write or summarize text for you to paste it into the Message field.
With the ‘+ Media’ option in the content field, you will be able to add various kinds of media to your slide.
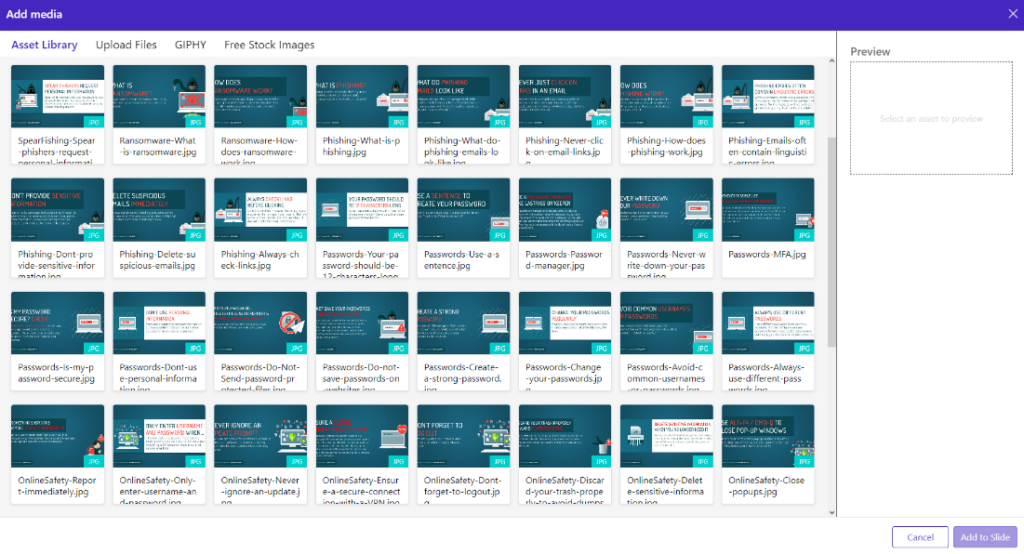
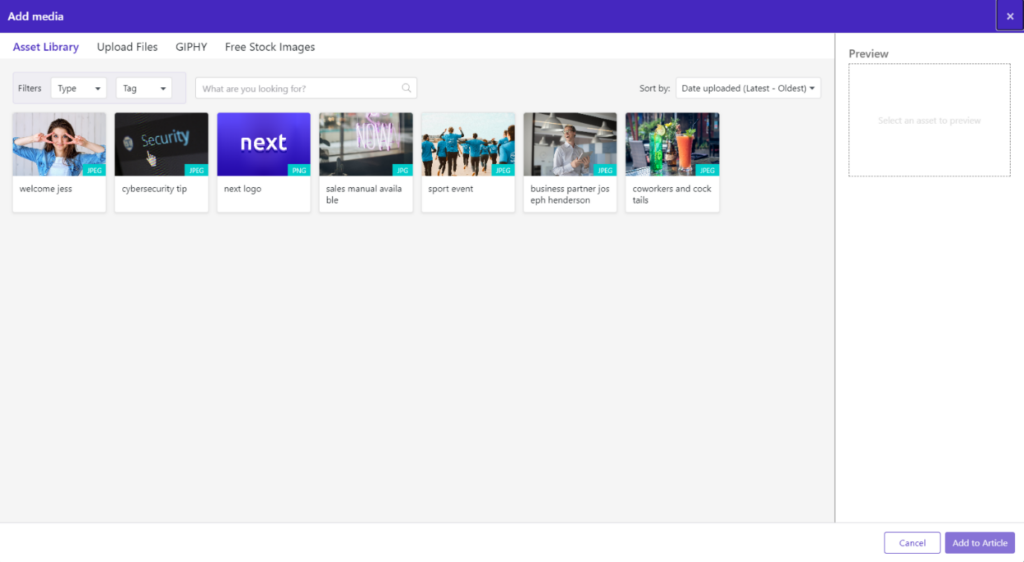
You will be greeted with the Asset library which already has your uploaded files collected. Each item will have meta information about the format. You will see immediately if it is a PNG or JPG or MP4 item. The Asset library can also be filtered by type or tag, and it is possible to search for a specific media item. On the right, you can sort the items by date uploaded.

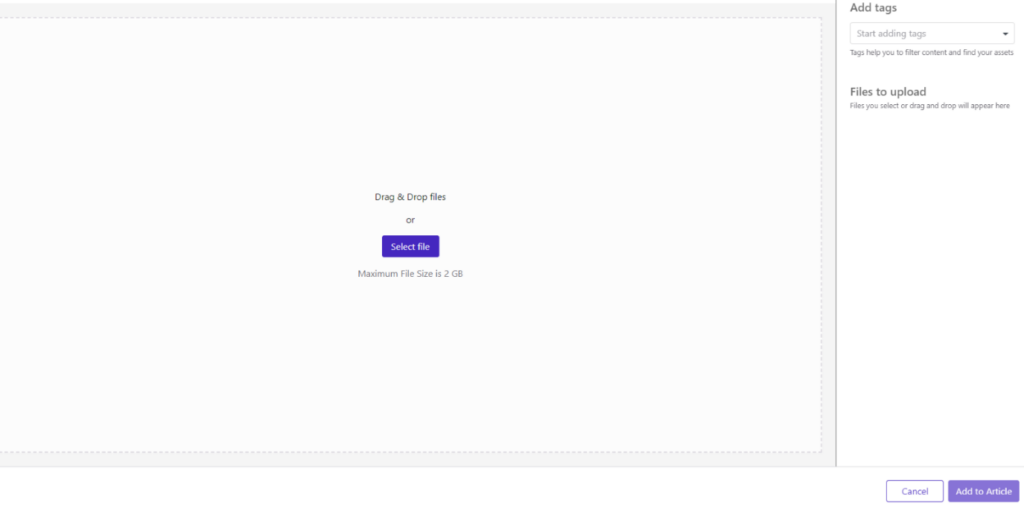
To upload files, click on the ‘Upload Files’ tab in the Add Media view.

Then you can drag and drop your files in this window or simply search for your items on your computer. When the items are added, you can also add tags to the items in the right-hand menu. The items can then be added to the slide with the button on the bottom right.
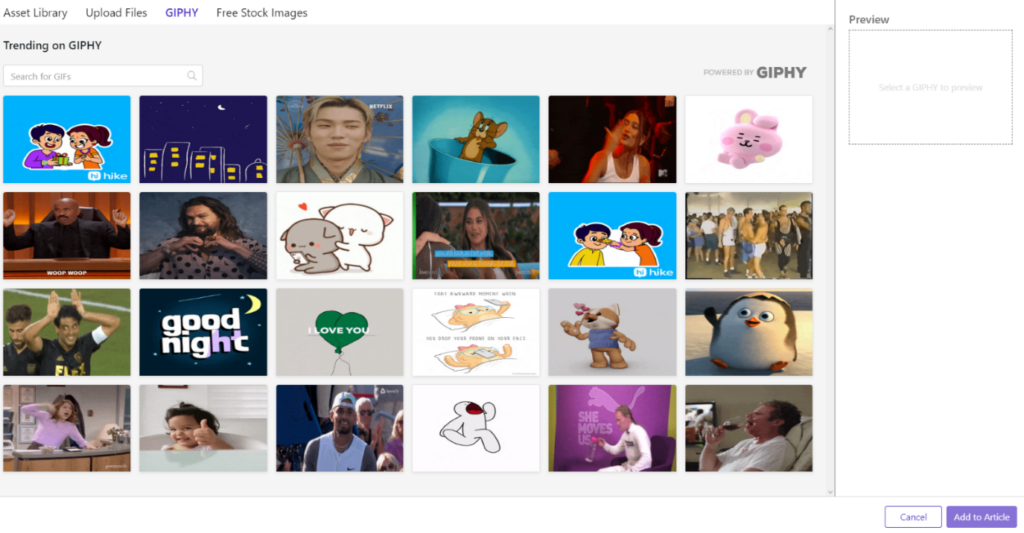
If you like to use GIFs, you can click on the GIPHY tab in the Add Media view.

You will be greeted with popular GIFs from the GIPHY website and can choose from either one of these to add to your slide. Searching for a specific GIF is also possible with the search function.
When you find your perfect GIF, you can add it to your slide with the button on the bottom right.
If you would like to use some Free stock Images, you can click that tab in the Add Media view.

In this window, you can select Stock Images that are popular on Unsplash. Select any image and add it to your slide. Just like in the asset library of GIPHY, you can search for stock photos as well.

Settings
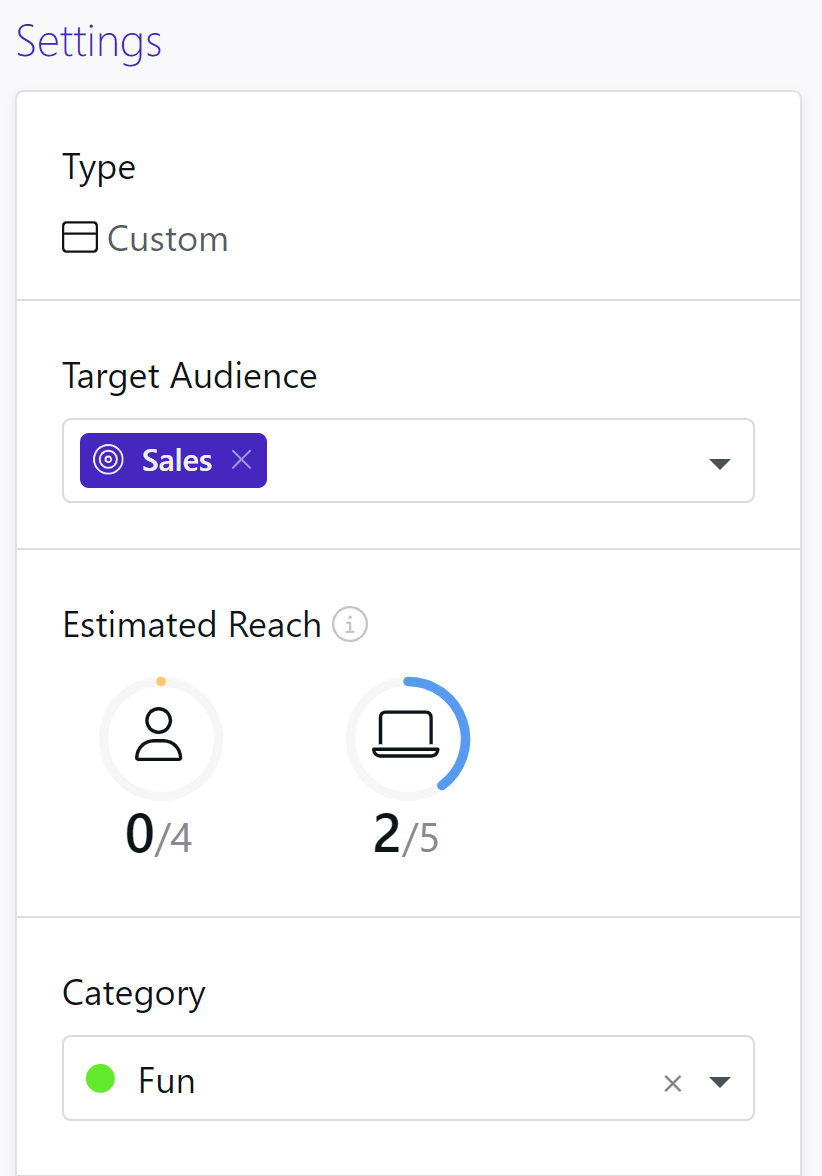
A custom slide will have its type configured to ‘Custom.’ The target audience needs to be configured.
This can be a custom group or a specific slide player. The category for this slide can also be configured here.
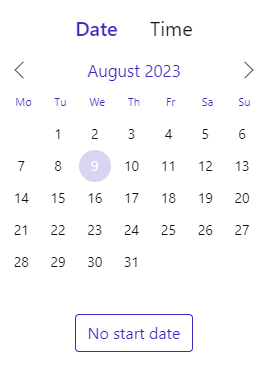
Below that, the Publish, and Unpublish dates can be defined.
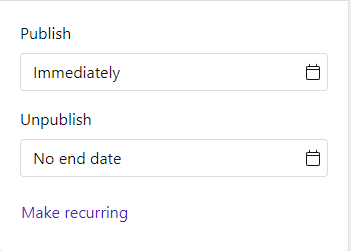
By default, it will be published immediately, and it will have no end date. These can be modified to your liking.
You can also make this slide reoccur.

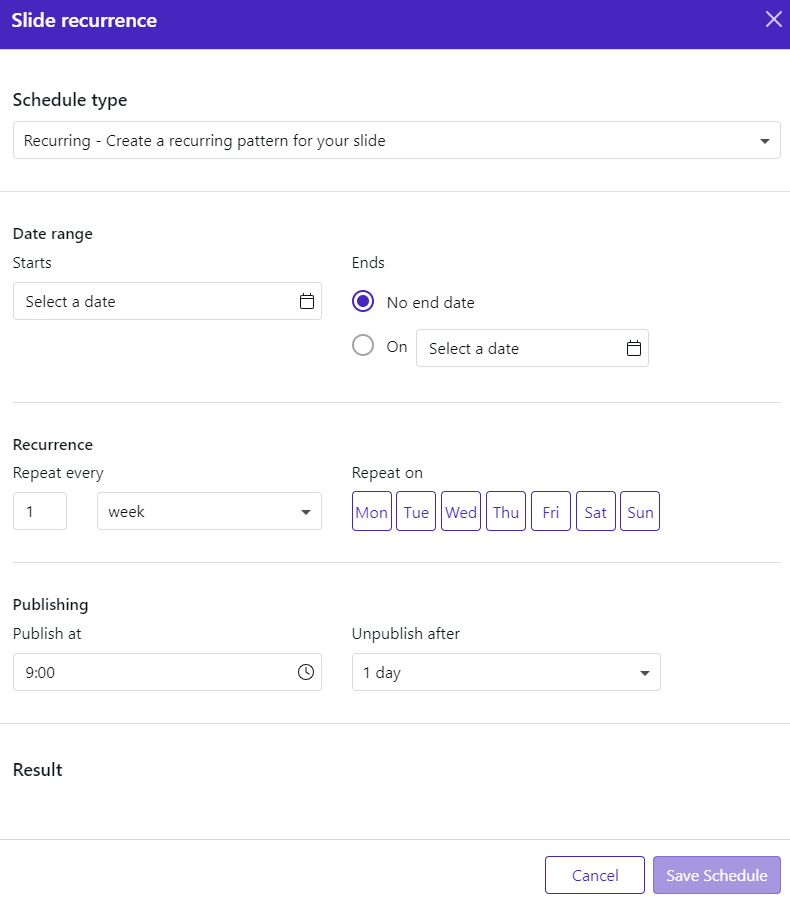
First, you will need to select the scheduling type. Recurring or weekly.

Then, select the start date and the recurrence’s end date.
The recurrence can be configured more deeply by selecting the weekly recurrence and even on which days you would have it recur.
Lastly, you will need to select the publishing time and when it should be unpublished.
Options
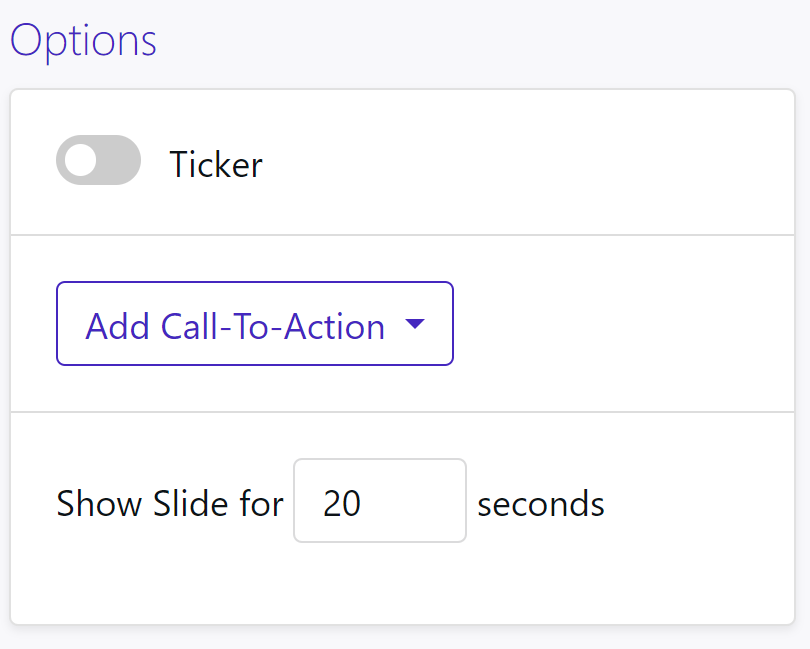
A ticker can be added to the slide if you turn the option on.

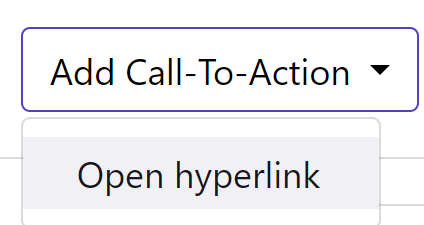
A hyperlink can be added by a Call-To-action. And if the template selected has the QR-code option available, the Tv slide players will show a QR code that will direct to the article in the app.
Lastly, you can configure the slide duration.

If the slide is complete, you can either save it as a draft or publish the slide.

Statistics
The second option in the Slides menu is statistics. You can view all sorts of statistics in this window like Impressions, Clicks and published slides.
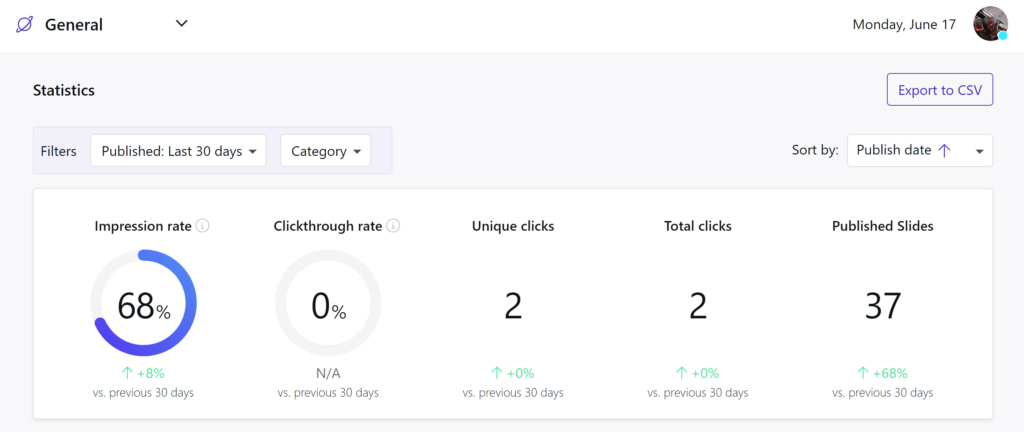
This information can be exported to a CSV file in the top right corner. Beneath it, you can see the complete list of available slides with their own specific statistics.

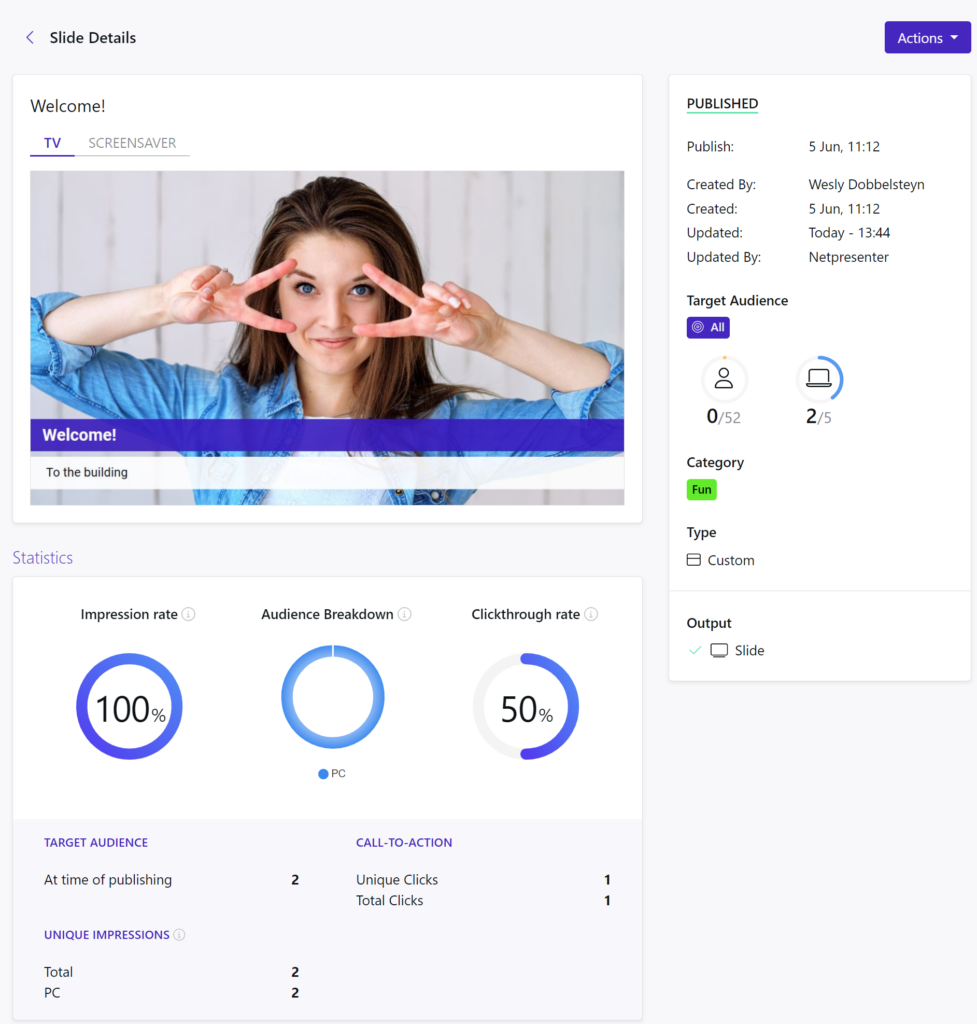
If you should click on any of these slides, a window will open with all the slide’s information in detail.
Slide Players
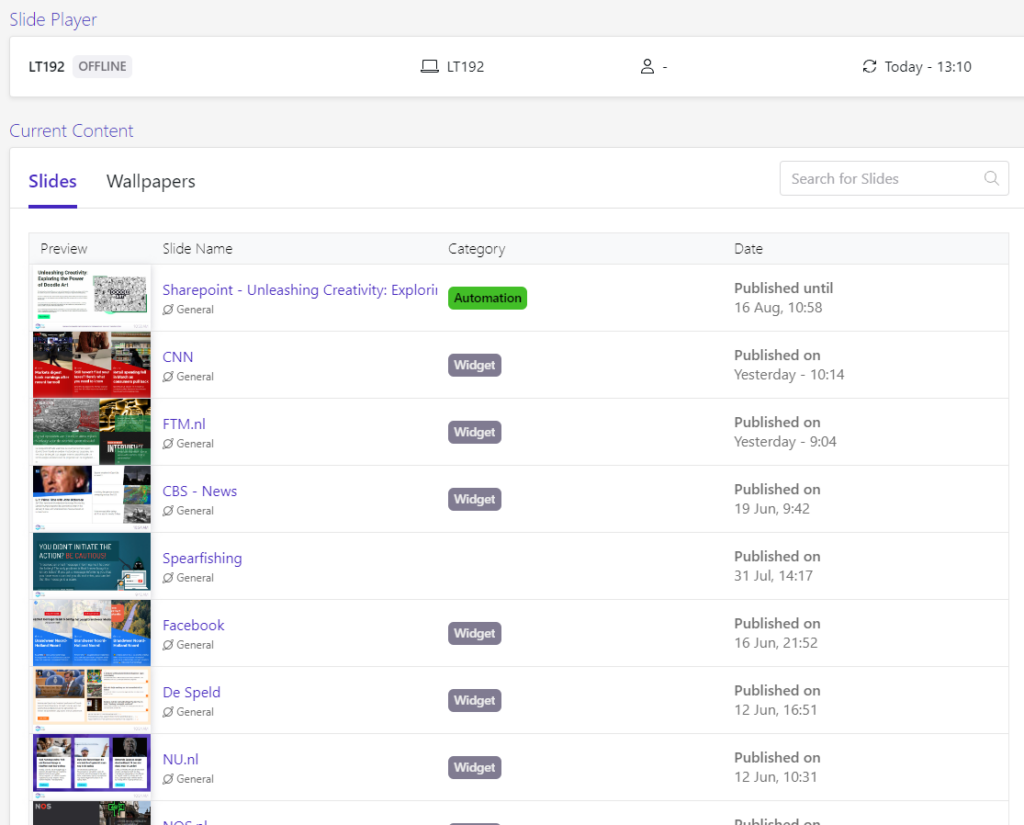
This third Slides option will show all the slide players connected to the tenant. You can see if they are online or offline now and when they last connected. The type for these players can be checked as well.

By clicking an entry, you can see what slides are available on that slide player at that time.