


Content Hub Settings
Estimated reading time: 34 minutes
This page explains how an admin can manage the Settings of the Netpresenter Content Hub. Before proceeding please check if you use the Content Hub or the Message Server & Alert Server.
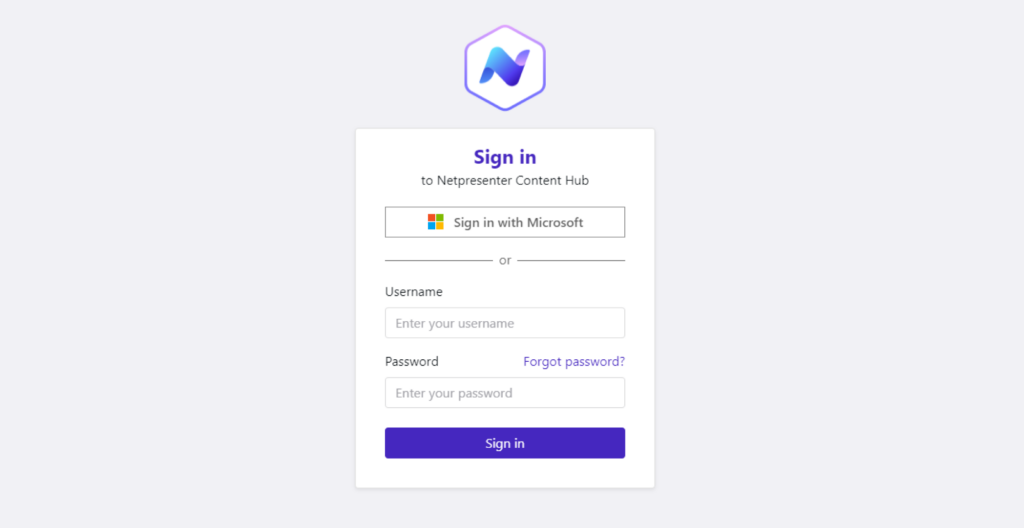
If you login looks like this you can proceed on this page.
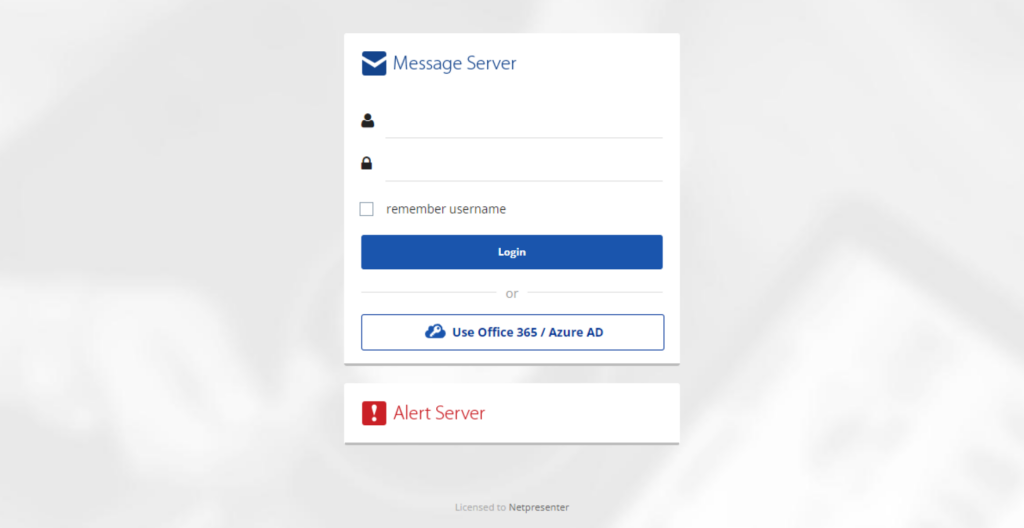
If it looks like this please click here to read the Message Server & Alert Server documentation.
Table of contents
Users
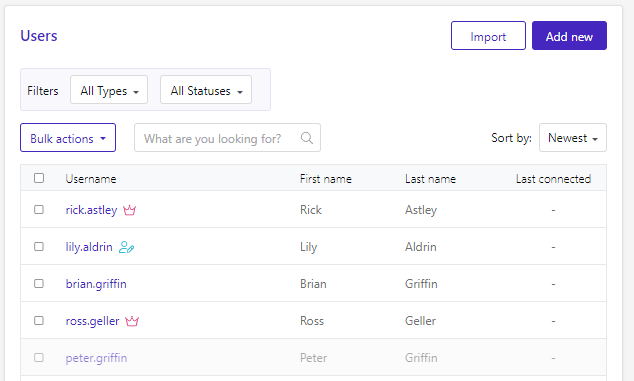
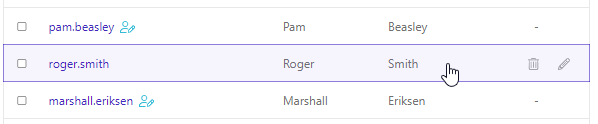
When you first open the Users screen you get a lot of information. Next to the username, first name, last name, and the last time they connected you can also see a couple of icons. These tell you the permissions a user has:
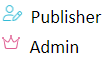
They also tell you if the user is imported/updated from an external source:

The overview also shows you if an account is active or not. Peter’s account is disabled in the example below.
Creating Users
Users can be added to the Content Hub in multiple ways. They can be created manually; they can be loaded from your Azure environment, or they can be added via a CSV file.
Creating users manually
Go to Users in the Settings screen and click the “Add new” button. Complete the user form with all the details you want to provide.
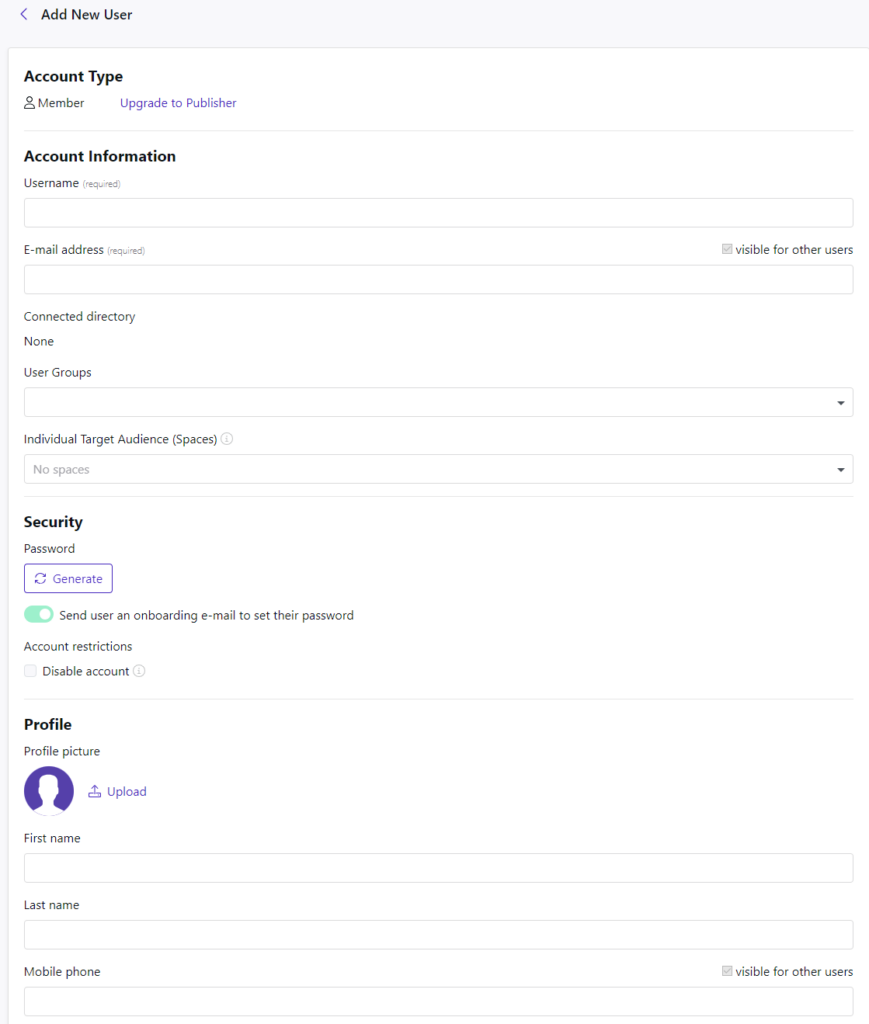
If you are not using the automatic onboarding option, you can click the “Generate” button when you get to the Password option. Make a note of the username and password so you can inform the user once the account is set up.

Make sure to add the user to any Groups they need as well. Any groups that use a rule are added automatically after the user is created.
Click the “Add new User” button.
Importing users from your Azure AD
When your Content Hub is connected to your Azure AD users are loaded automatically. There is no need to add them manually. See our Azure AD documentation to set up the connection.
Importing users using a CSV
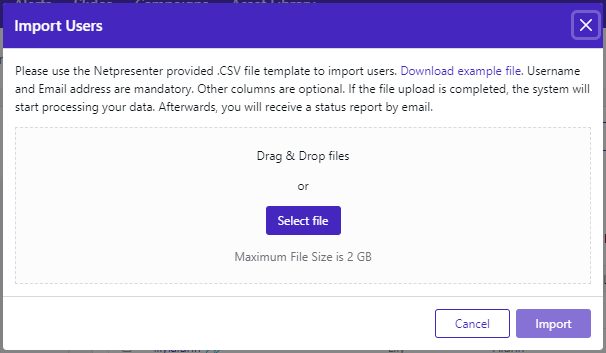
At the top of the Users screen you also see an Import button. This allows you to add users using a CSV.

This brings up the Import screen and allows you to download an example file.
You could for instance export users from your local AD to a CSV using a PowerShell script:
# Import the Active Directory module
Import-Module ActiveDirectory

# Define the output file path
$csvFilePath = "C:\Path\to\output.csv"

# Define the CSV header
$header = "username", "email_address", "first_name", "last_name", "biography", "mobile_number", "work_phone"

# Get all AD users and select the desired properties
$users = Get-ADUser -Filter * -Properties EmailAddress, GivenName, Surname, Description, MobilePhone, OfficePhone |
         Select-Object SamAccountName, EmailAddress, GivenName, Surname, Description, MobilePhone, OfficePhone

# Export the users to a CSV file
$users | Export-Csv -Path $csvFilePath -NoTypeInformation -Delimiter "," -Encoding UTF8

# Prepend the header to the CSV file
(Get-Content -Path $csvFilePath -Raw) -replace "`r`n", "`n" -replace '^"','' -replace '"$','' |
    Set-Content -Path $csvFilePath

# Display success message
Write-Host "Users exported to $csvFilePath."
This script exports all users from the AD and needs to be run on one of your AD servers. Make sure to clean up the list, removing any service accounts or ex-employees.
Upgrading users to Admin or Publisher
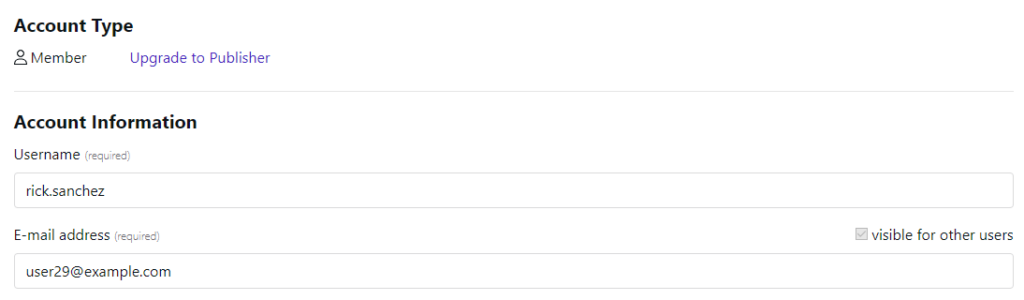
Once a user is in the User list, he/she can be upgraded to a Publisher or System Admin account. To do this open the user details and click the “Upgrade to publisher” button at the top of the screen.
This gives you a couple of new options when you look at the user screen.
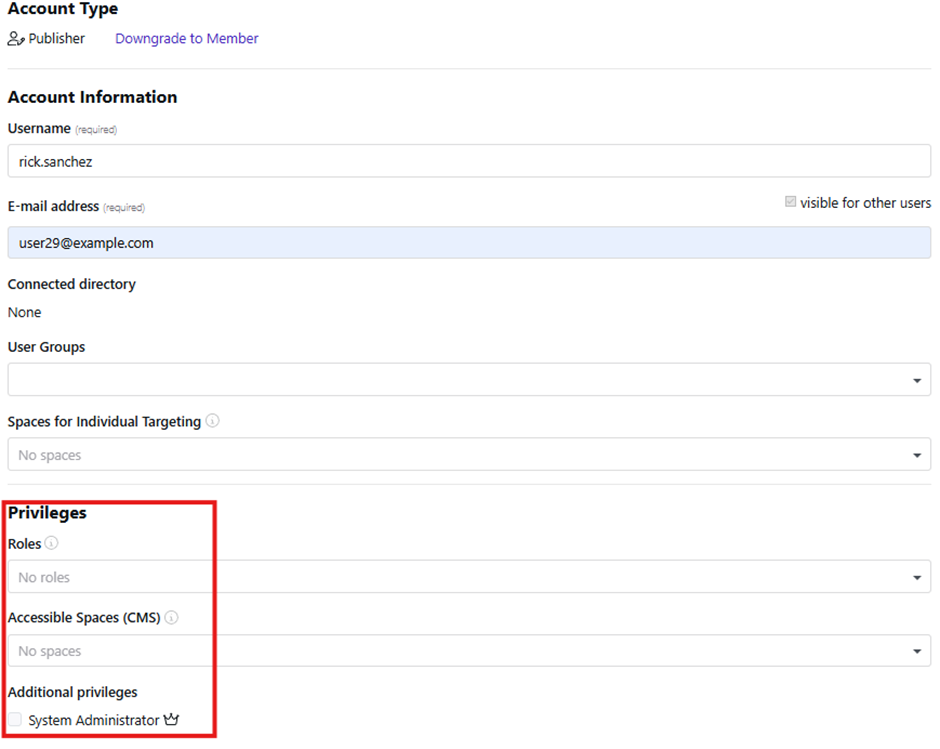
- You can assign roles to specific content parts the user is allowed to publish to.
- You can add the Spaces (Additional Spaces(CMS)) where the user has publishing permissions.
- You can upgrade the user to Admin so the user can assist in managing your Content Hub.
Removing a User
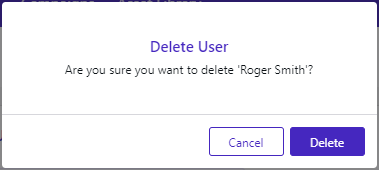
To remove a user simply hover over the user and click the trashcan icon
You will get a confirmation screen before the user is removed
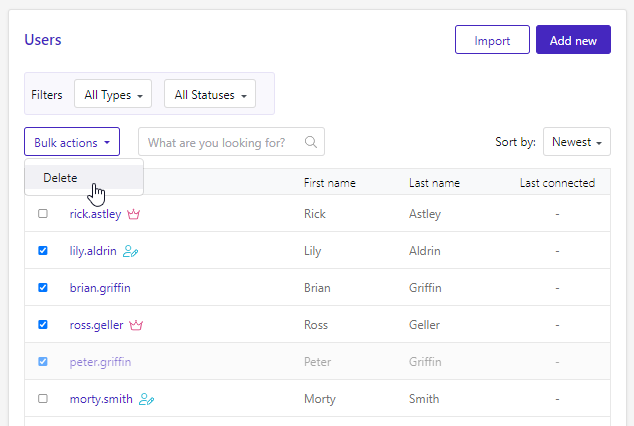
To remove multiple users at once you can select the users and click the “Bulk action” dropdown. This will show you the Delete button.
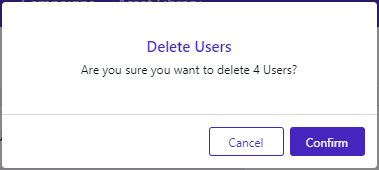
This will also show you a confirmation screen before these changes are finalized.
Groups
Within this view you can search for, sort, and create groups of users.
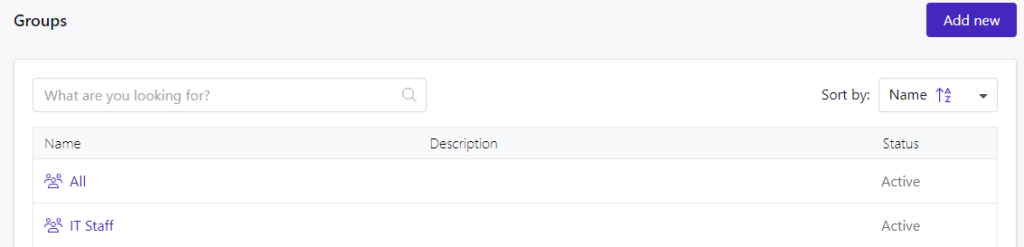
By clicking the ‘Add new’ button, you will arrive in a new view where you can start creating your new group.
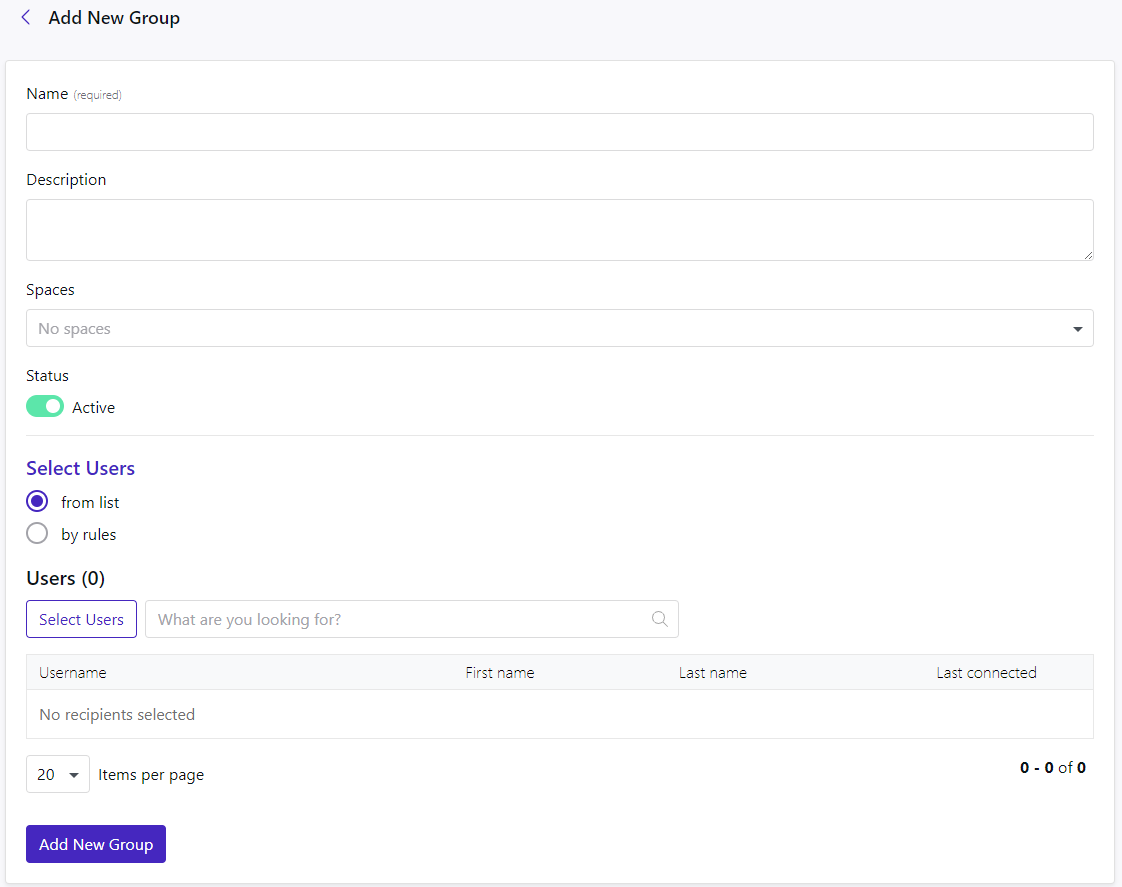
A name is required for the new group. A description is optional.
You will need to add this group to a Space so it will be available as an audience when articles are created.
The groups can also be set to inactive prior to adding it to the list in case it needs to be activated at a later stage.
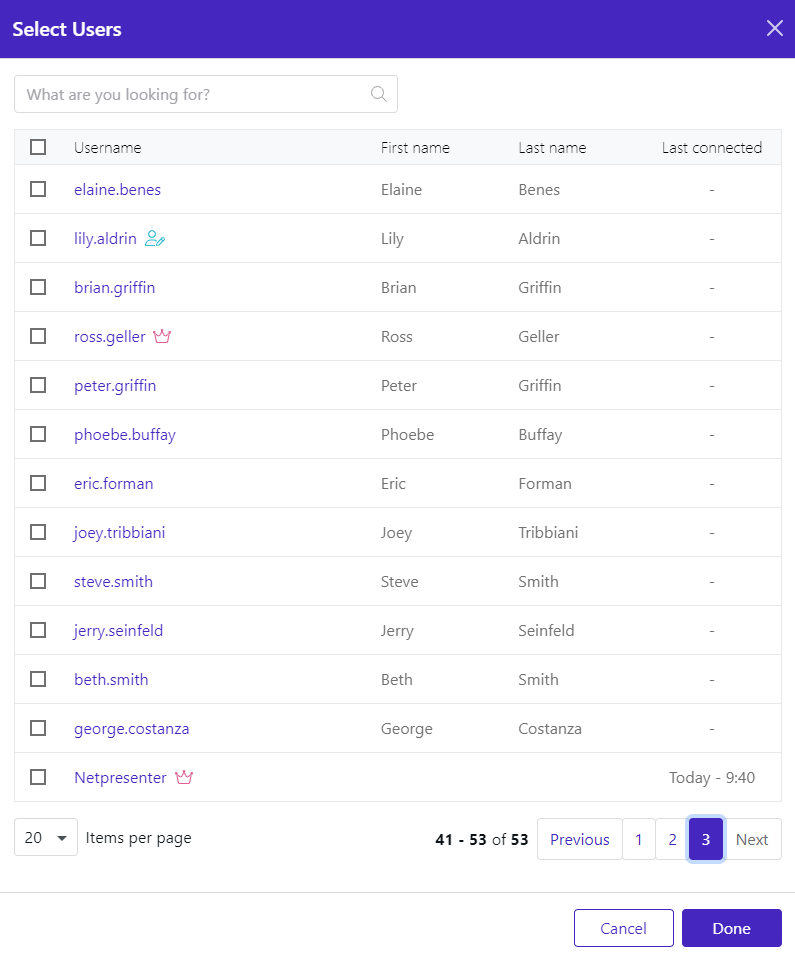
The recipients of the group can be added via the player list.
Or users can be added to a group via rules.

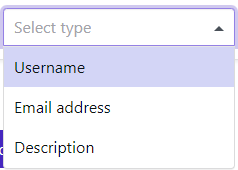
A rule is made of 3 parts. A type, an operator, and the value of the operator.
The type can be a Username, email address, or description.
The operator is what you would like the type to be compared to. Does it need to equal, not equal, start or end with, or does it need to contain or not contain the value behind the operator?
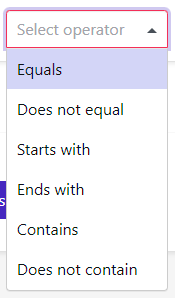
In the final field, you will need to fill in the conditions that need to be met. If you had selected ‘Email address’ as the type and ‘Ends with’ as the operator, you could fill in your @ as its value.

The option to enforce case sensitivity can be activated if desired.
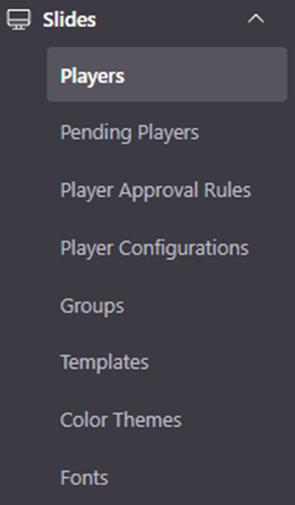
Slides
The ‘slides’ settings will offer 8 options. Players, Pending Players, Player Approval Rules, Player Configurations, Groups, Templates, Color Themes, Fonts.
Players
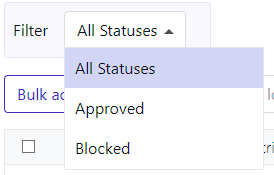
The first option, Players, will show all approved and blocked players that are or have connected to the system.
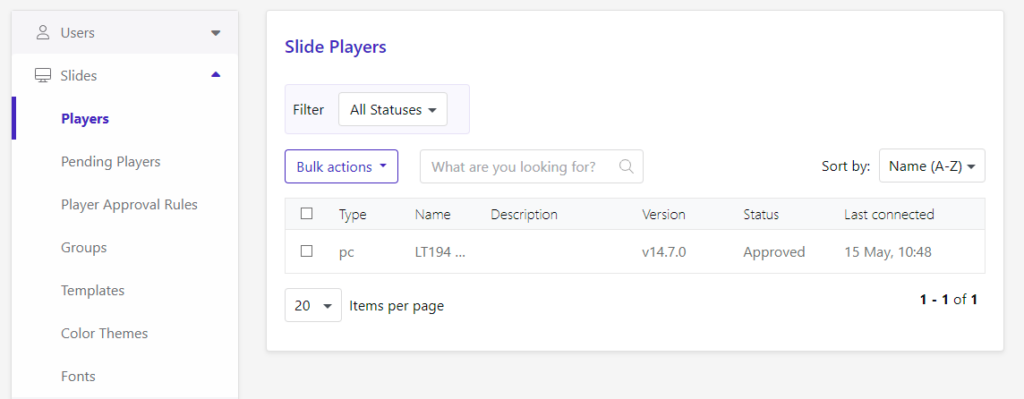
In this overview, you will be able to Filter on either the Approves or Blocked status.
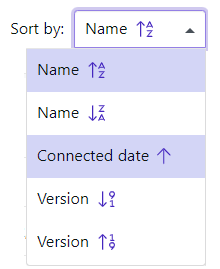
Below that, you can Block, Delete or approve players in bulk. Next to that, you can search for a specific player and sort the list by either Name, Last Connected state, or version number.

The list itself will show the Type of player (PC or TV), the Hostname, the Description that would have been added to it, the Version number, its status, and its last connected state.

Hovering over an entry will reveal 3 actions you can take. Block if the player is approved previously, delete or edit. If the player is blocked, the first action will be to approve it.


Clicking the edit button will reveal all the information that has been gathered on that device.
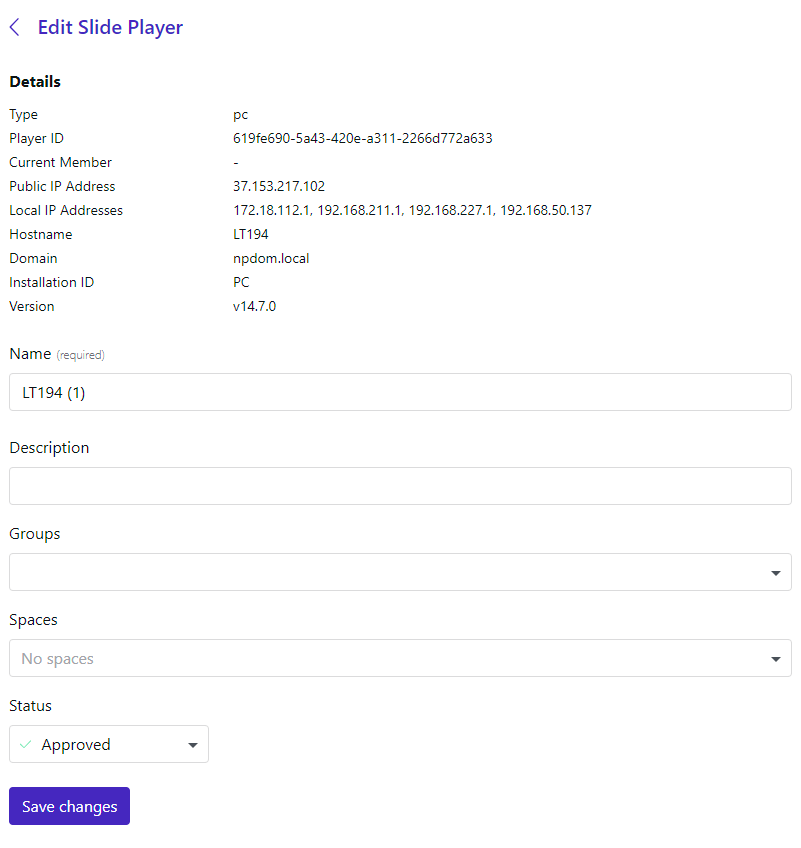
Extra details are shown that were not available in the overview such as Player ID, Member name and Public/ Local IP Addresses.
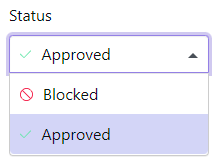
In this view, the name can be changed, a description added/altered, the player can be added to groups and spaces. The status can also be changed in this view with the drop-down menu at the bottom.
Pending players
The ‘pending players’ page is like the ‘players’ settings page. The difference between these two views is that in this one, you will need to accept connecting players into your tenant, as their first state will be neither blocked nor approved.
Player Approval Rules
This view will show rules that have been made for pending players to be approved automatically if they align with specific conditions.

Bly clicking ‘Add New’ in the top right, you will arrive in the next window where you can create a new rule.
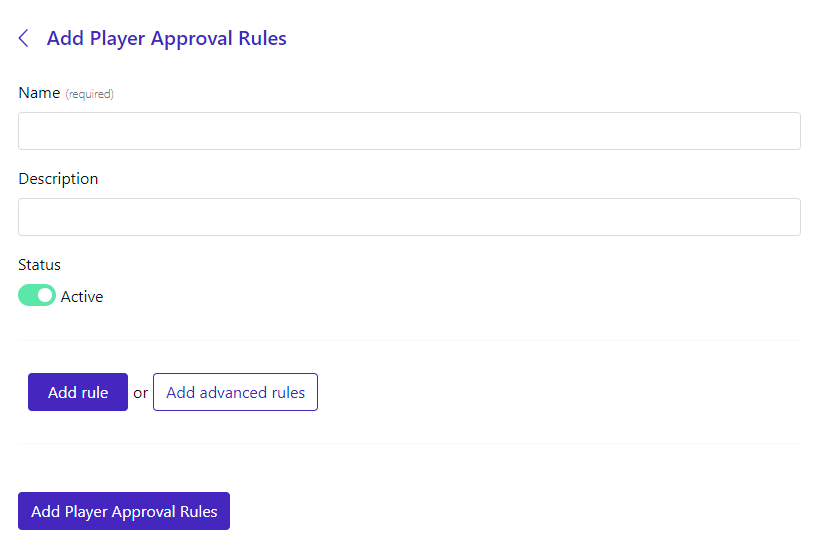
The first requirement will be a name. A description is optional.
The status can already be set to inactive if you wish to activate it at a later stage, but the initial status of a new rule is active.
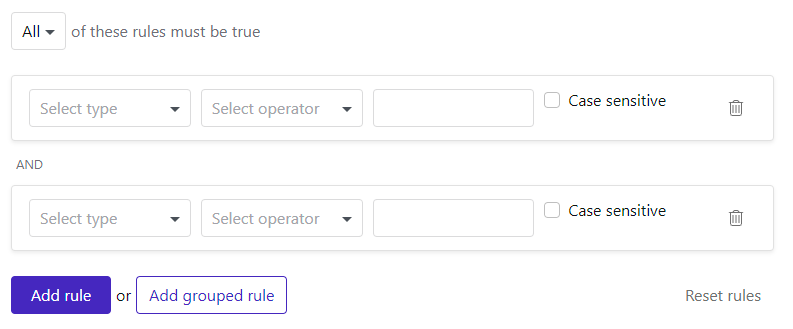
There are two ways to add a rule. By clicking on the button ‘Add rule’ or by clicking ‘Add advanced rules’.
The difference between the two options is that the Advanced rules will require two conditions to be met at the same time.

In the advanced rules, you can keep on adding extra conditions to be met and even add a subsequent grouped rule.
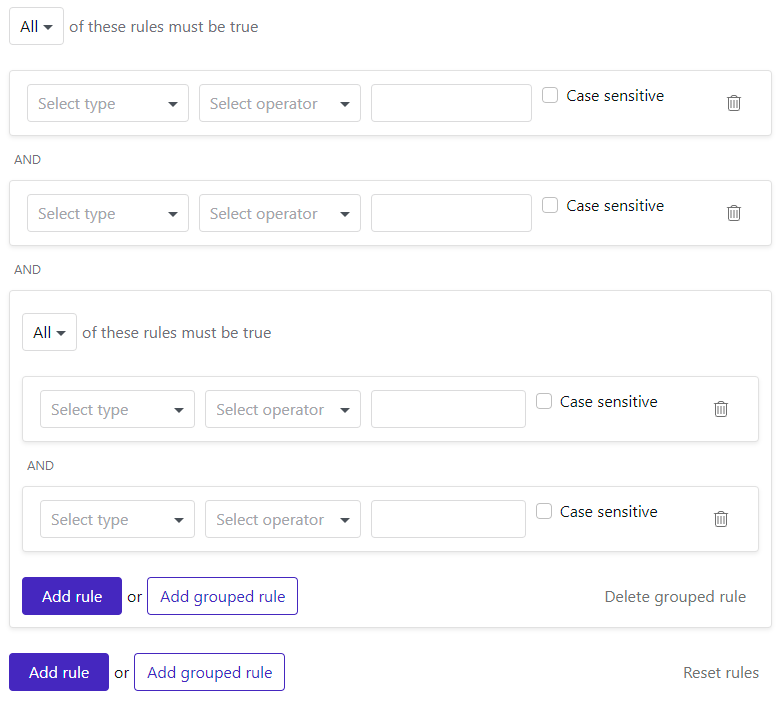
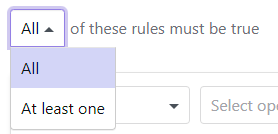
This can go on for many levels. But if you do not need all the rules to meet the requirements, you can change it so that at least one will suffice.
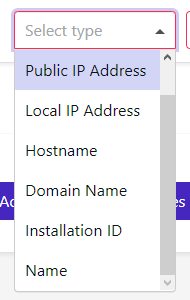
A rule is made of 3 parts. A type, an operator, and the value of the operator.
The type can be an IP Address, Hostname, Domain name, Installation ID, or name.
The operator is what you would like the type to be compared to. Does it need to equal, not equal, start or end with, or does it need to contain or not contain the value behind the operator?

In the final field, you will need to fill in the conditions that need to be met. If you had selected ‘Domain name’ as the type and ‘Equals’ as the operator, you could fill in your domain name as its value.

The option to enforce case sensitivity can be activated if desired.
Player Configurations
Within this view you can set default settings for your Players.
They are already divided in 3 main groups:
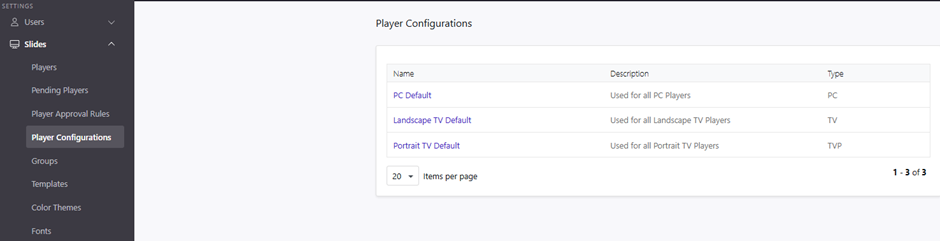
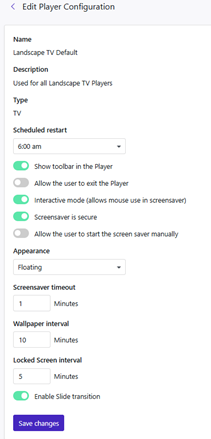
Please note that the Screensaver timeout / Wallpaper interval / Locked Screen interval, are in minutes. Meaning when the set interval is reached, it will progress onto the next “slide”.
Groups
Within this view you can search for, sort, and create groups of players.
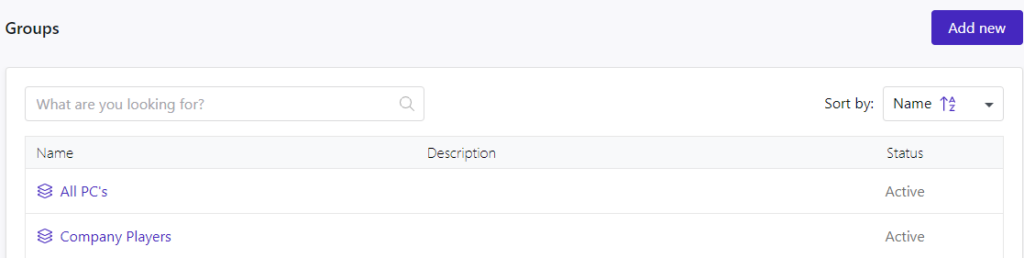
By clicking the ‘Add new’ button, you will arrive in a new view where you can start creating your new group.

A name is required for the new group. A description is optional.
You will need to add this group to a Space so it will be available as an audience when slides are created.
The groups can also be set to inactive prior to adding it to the list in case it needs to be activated at a later stage.
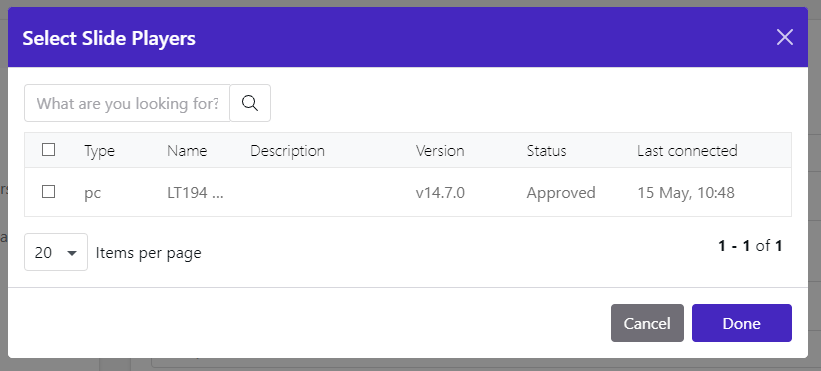
The recipients of the group can be added via the player list.
Or players can be added to a group via rules.

A rule is made of 3 parts. A type, an operator, and the value of the operator.
The type can be an IP Address, Hostname, Domain name, Installation ID, or name.

The operator is what you would like the type to be compared to. Does it need to equal, not equal, start or end with, or does it need to contain or not contain the value behind the operator?
In the final field, you will need to fill in the conditions that need to be met. If you had selected ‘Domain name’ as the type and ‘Equals’ as the operator, you could fill in your domain name as its value.

The option to enforce case sensitivity can be activated if desired.
Templates
Within this view, you can see all the templates that have been made available for your tenant.
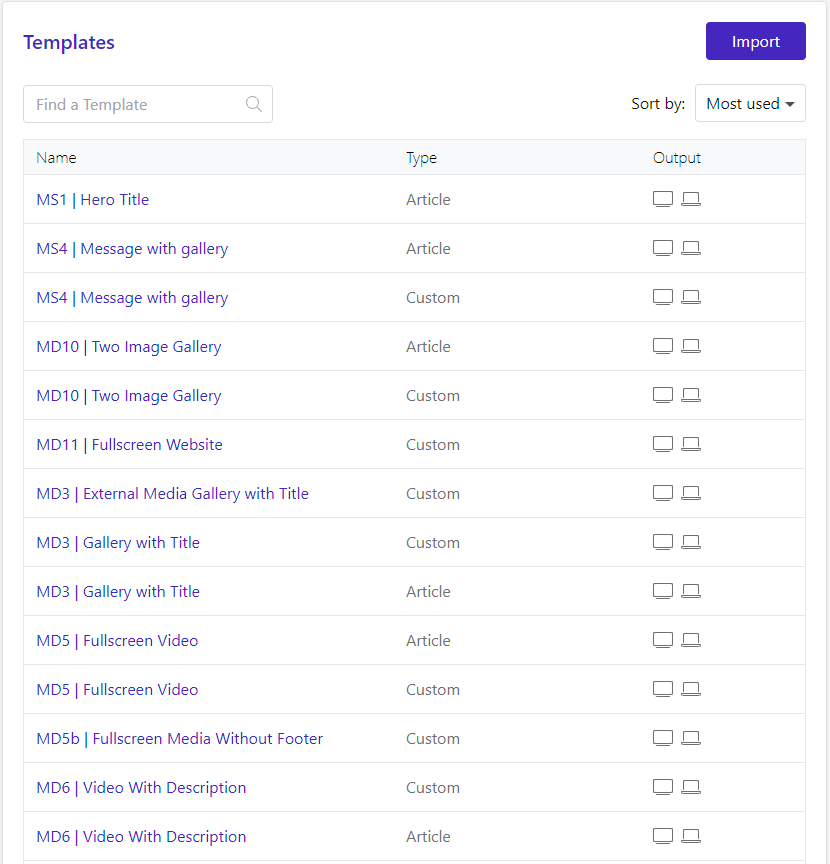
You can search for a specific template, sort the list by most used or by name and you can tell if the template is designed for slides derived from articles or standalone slides.
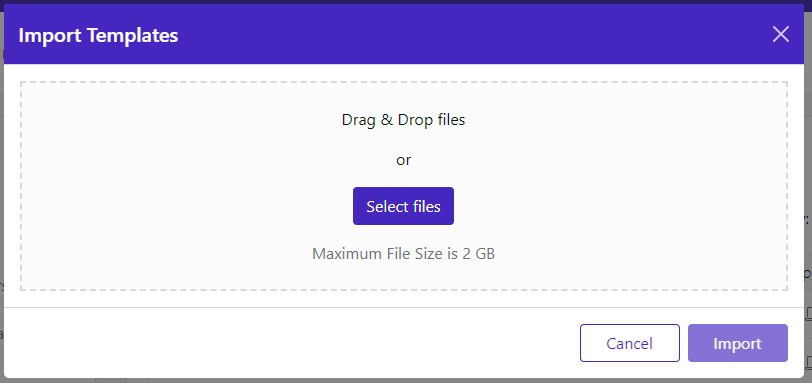
By clicking the Import button, a pop-up window will be shown where you will need to upload a template.zip file. This file is provided by Netpresenter and can be selected from your computer with the ‘Select files’ button or you can drag & drop the file into the pop-up window.
Color themes
Within this view, you can see all the color themes that have been imported to your tenant.
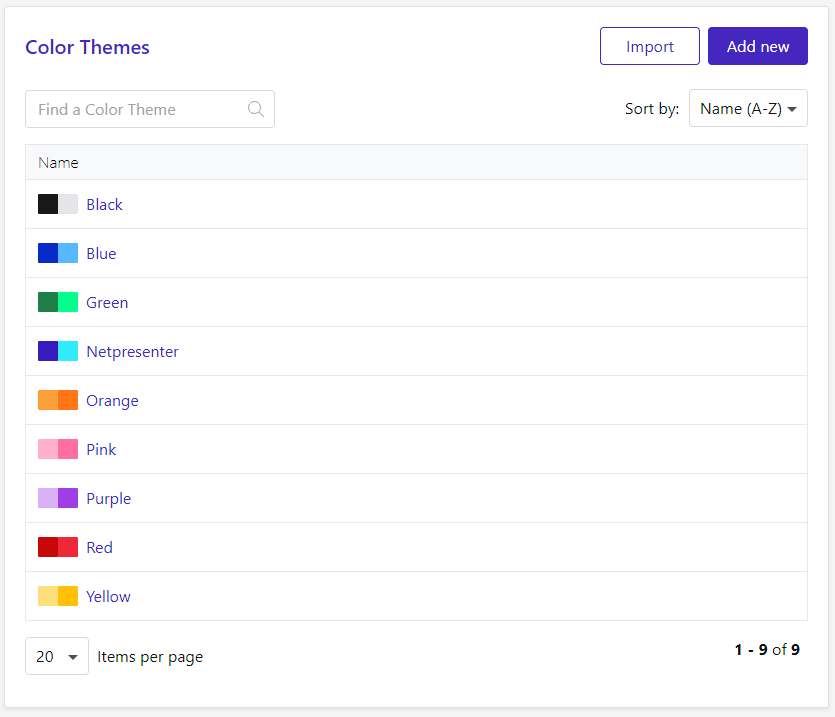
You can search for a specific color theme, sort the list by most used or by name.
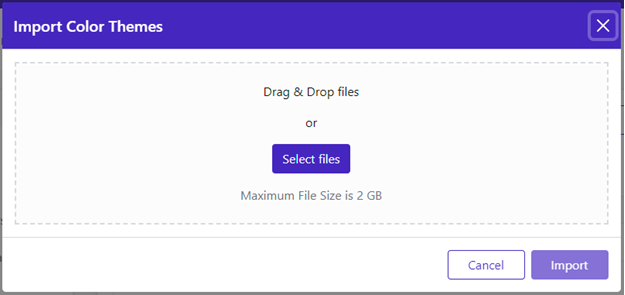
By clicking the Import button, a pop-up window will be shown where you will need to upload a colortheme.zip file. This file is provided by Netpresenter and can be selected from your computer with the ‘Select files’ button or you can drag & drop the file into the pop-up window.
By clicking the Add new button, you will arrive at a new view where colors can be selected for specific elements.
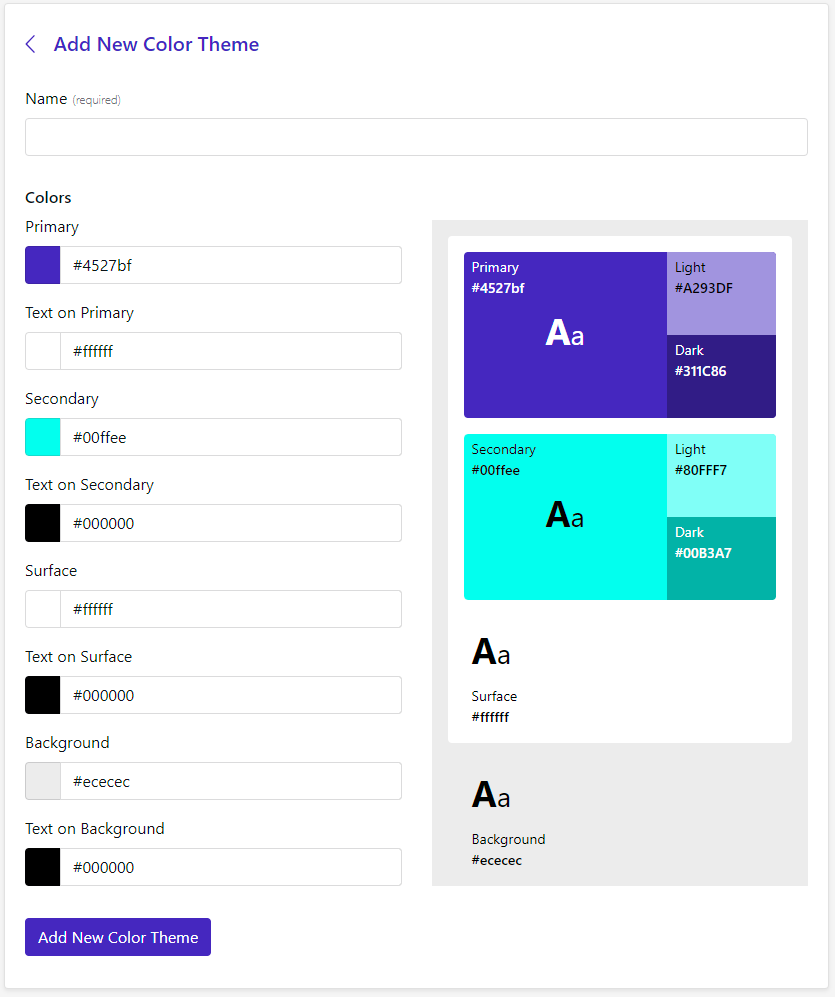
A name is required for the new color theme. Hex color codes can be used to fill in the Primary, Secondary, Surface and Background colors. Color codes can also be used for each text color on top of the other elements.
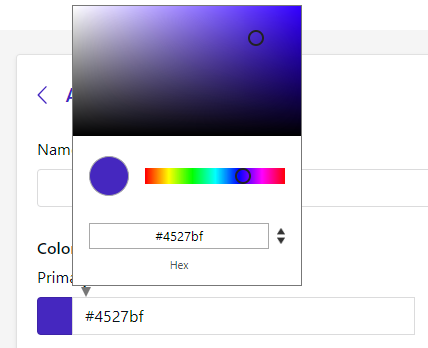
If there is no hex color code, the color can be selected from a color picker.
Fonts
If you wish to use a custom font within your tenant, a font set will be necessary. These can be created by Netpresenter, or you can create them yourself.

By clicking the Import font set button, a pop-up window will be shown where you will need to upload a fontset.zip file. This file is provided by Netpresenter and can be selected from your computer with the ‘Select files’ button or you can drag & drop the file into the pop-up window.
By clicking the ‘download an example’ hyperlink, you will download an example that can be used to create your own font set.
Audiences
Audiences give you a way to target content by bundling different group types or. You can make a combination of User, Player, and SMS groups. You can for instance have an office where multiple work and they also have TVs on their floor. To target both the computers and the TVs in this department, you will need to create an Audience with the User and Player groups.
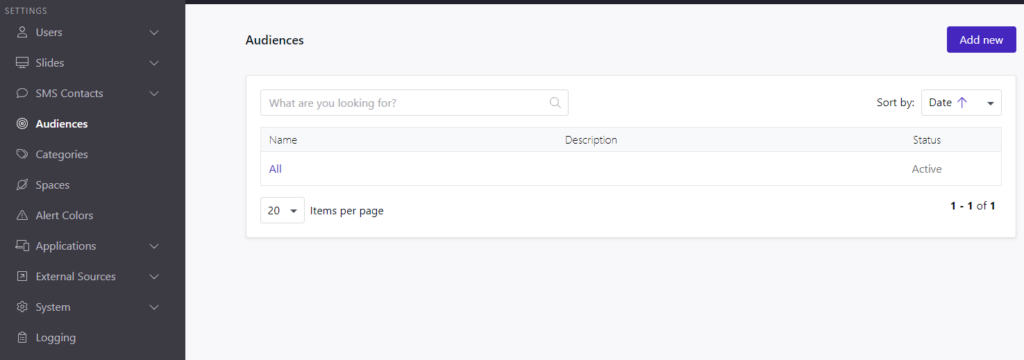
Creating an Audience
To create a new Audience, click the Add new button at the top of the Audience list. Fill in the Name, description and assign a Space. Add the groups you want to bundle to the space.
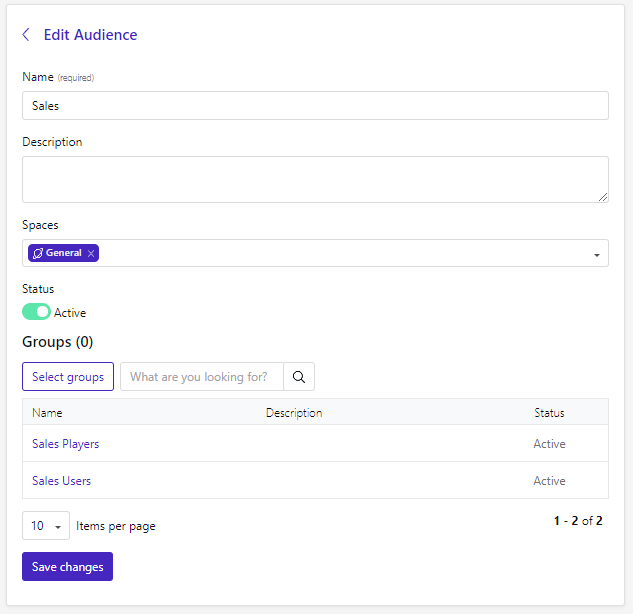
Updating an Audience
To update or change an Audience open the Audience from the list. Make the changes you need and click the “Save changes” button.
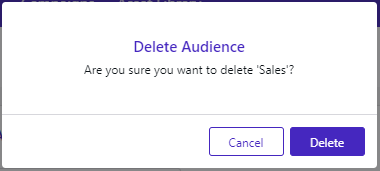
Deleting an Audience
To remove an Audience, hover over the Audience in the list and click the trashcan icon.

You will receive a conformation to complete removing the Audience
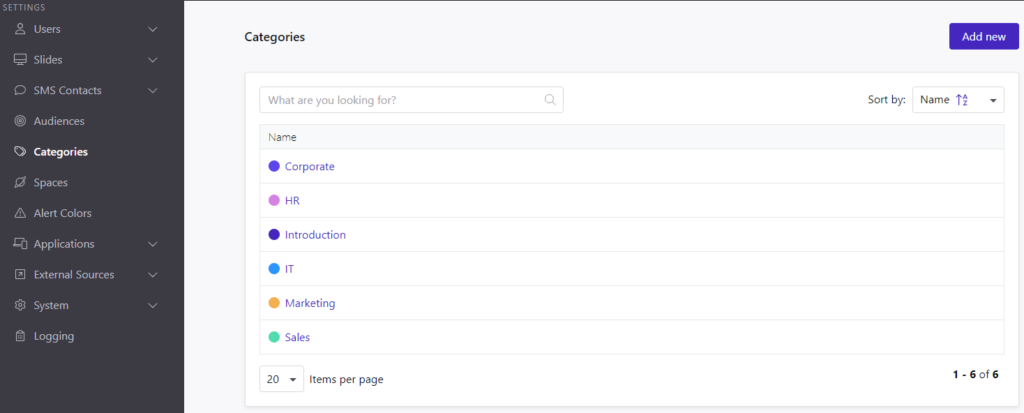
Categories
Categories can be used to label both Articles and Slides. These labels can be used to filter messages in the Employee App and in the Content Hub.
Creating a Category
Click the “Add new” button at the top of the Categories list. Choose a name and color for your category and link it to one or more Spaces.
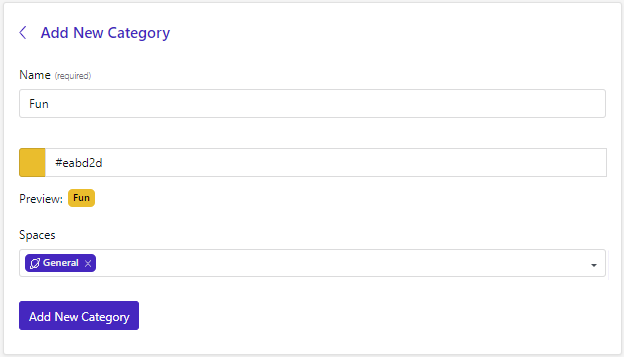
Click the “Add New Category” button to complete.
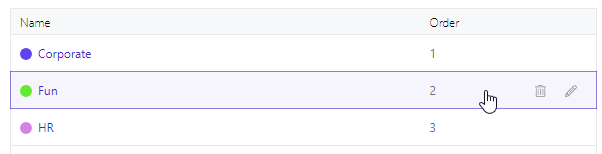
Updating a Category
Select the Category you need to change. Make the changes you want to make. Click the “Save changes” button to complete.
Deleting a Category
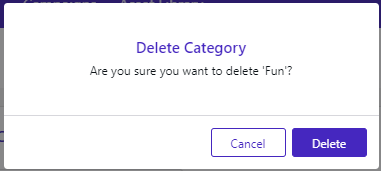
Hover over the Category you want to remove and click the trashcan icon.
You will get a notification to confirm that you want to delete the Category.
Spaces
Spaces provide a way to split your Content Hub into separate entities with their own content, Publishers, Categories, Groups and Audiences. Spaces can also have their own default Color theme and default Slide template. You could use Spaces for separate departments, business units or subdivisions of your organization.

Creating a Space
To create a new Space, start by clicking the Add new button at the top of the screen.

This will take you to the New Space form where you can fill in the Space name, description and select the Publishers and Categories for this Space. You can also select the default Color theme and default template for Article slides. The Ticker URL field is optional, and allows you to enter the default RSS news feed for new Article or Custom slides.
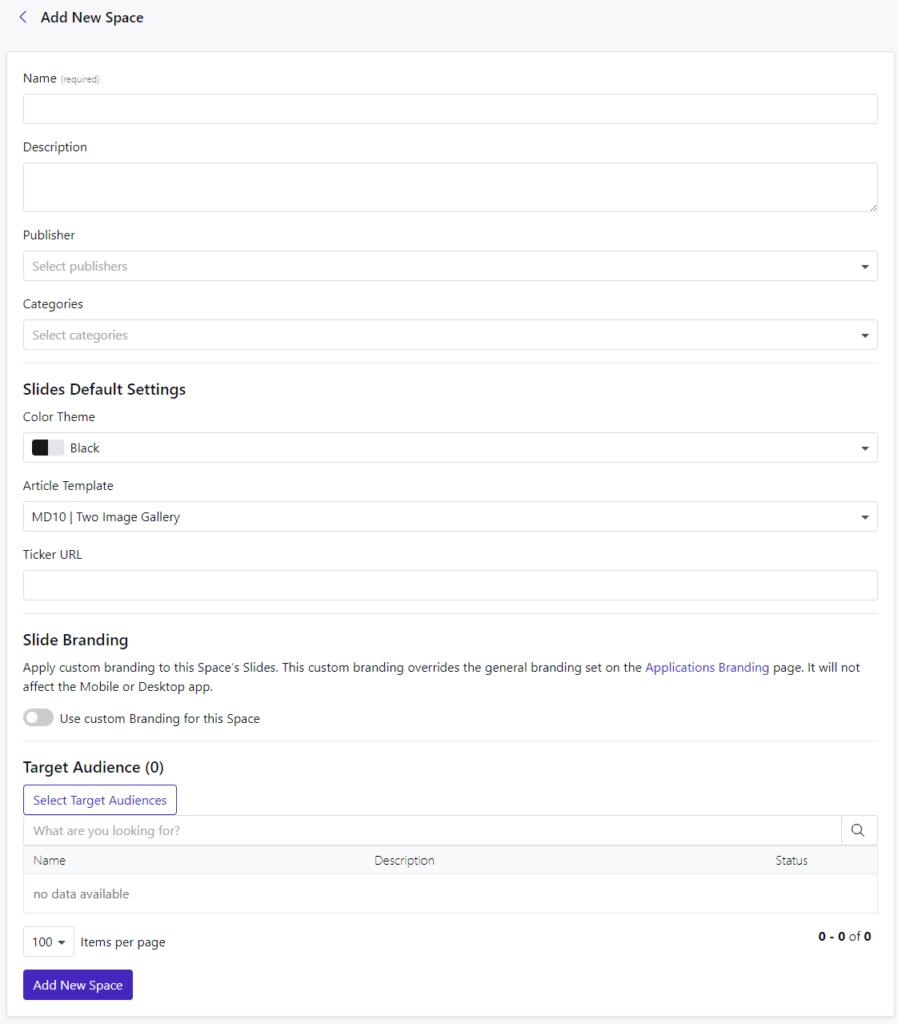
In the second part of the New Space form, you can start add space specific branding. This means that slide players will receive different logo’s and/or color themes when this is enabled and configured. Next you can start adding Target Audiences by clicking the Select Target Audiences button.
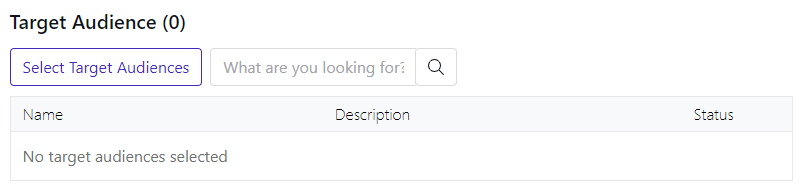
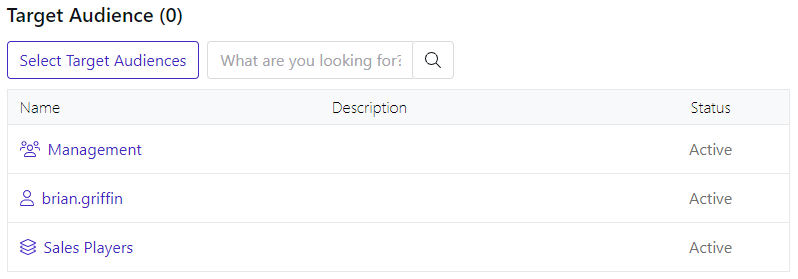
This shows you a list of Target Audiences, you can select one or multiple Audiences, Groups, Users or Players to be added to the Space. You can select these from multiple pages and add all of them by clicking the Done button.
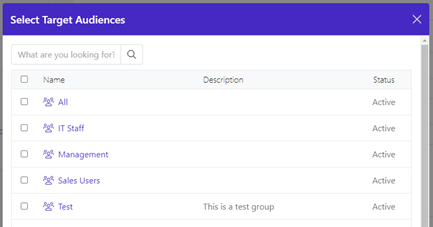
The Audiences you selected will now show in the New Space form.
To complete creating the Space you can click the Add New Space button.
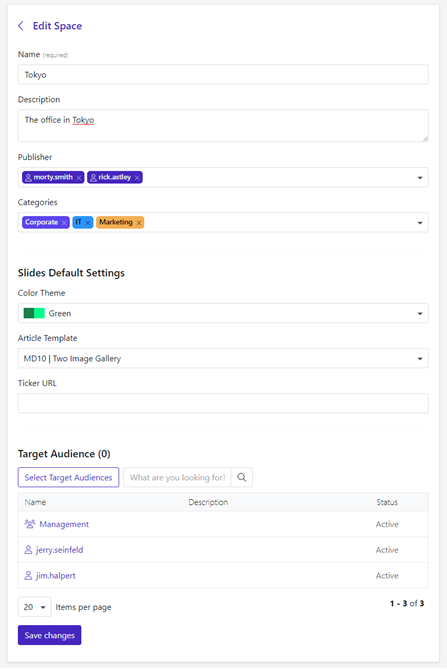
Updating a Space
To make changes to a Space, go to the Spaces list and hover the mouse over the Space. You can either click the edit button or click on the Space name to open the Space details.
The screen looks like it looked when first creating the Space. You can change the name or description; add or remove Target Audiences or change the default Color theme and template settings.
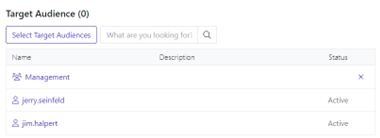
To remove a Target Audience from the Space, hover over the name of the Audience and click the X, this will only remove the Audience from the Space, not remove them from the Content Hub.
Once editing is done, click the Save changes button.
Deleting a Space
To remove a Space, go back to the Spaces list. Hover over the Space you want to remove and click the trashcan.
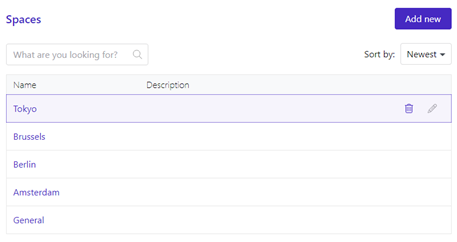
You will receive a Confirmation screen to confirm removing the Space. Please note that removing a Space, will also remove ALL the Articles, Polls, Alerts and Assets in that Space. This action cannot be reversed.
Alert Colors
Here you can Add New colors for different alerts
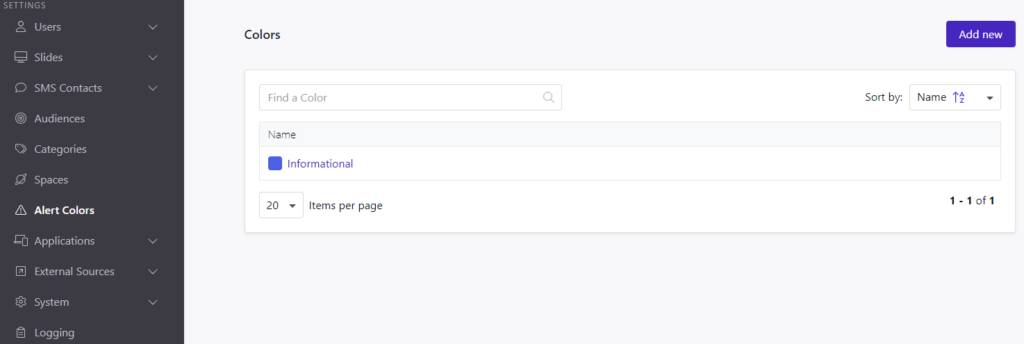
Click the Add New button in the top right to add a new color

The name is mandatory, as is the color.
Click on the color you want, or provide the Hex code to choose a color.
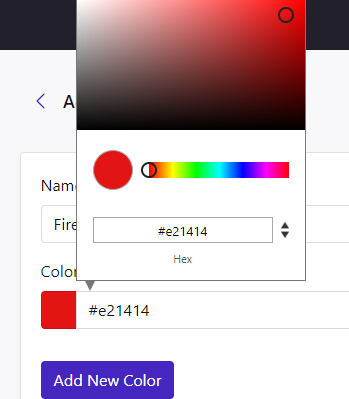
Save by clicking the Add New Color.
Applications

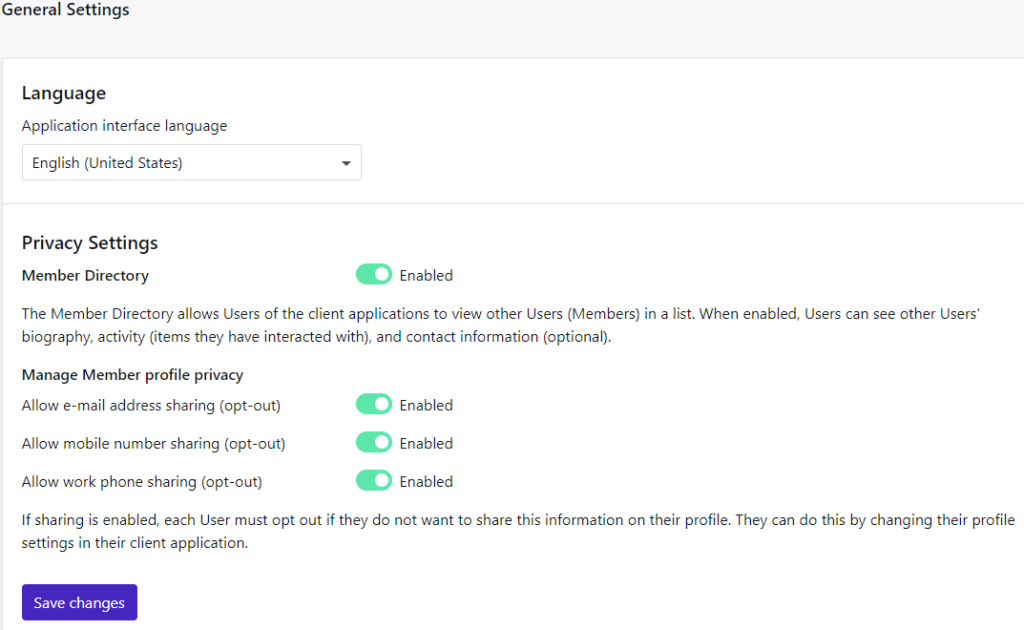
General Settings
In the General Settings you will find your Language and Privacy Settings.
Configure them to your need, and apply the changes by click the “Save changes” button
Branding
In the Branding tab it lets you set the branding for your organization for the Employee App. Also, these settings are applied to the Slide Players templates.
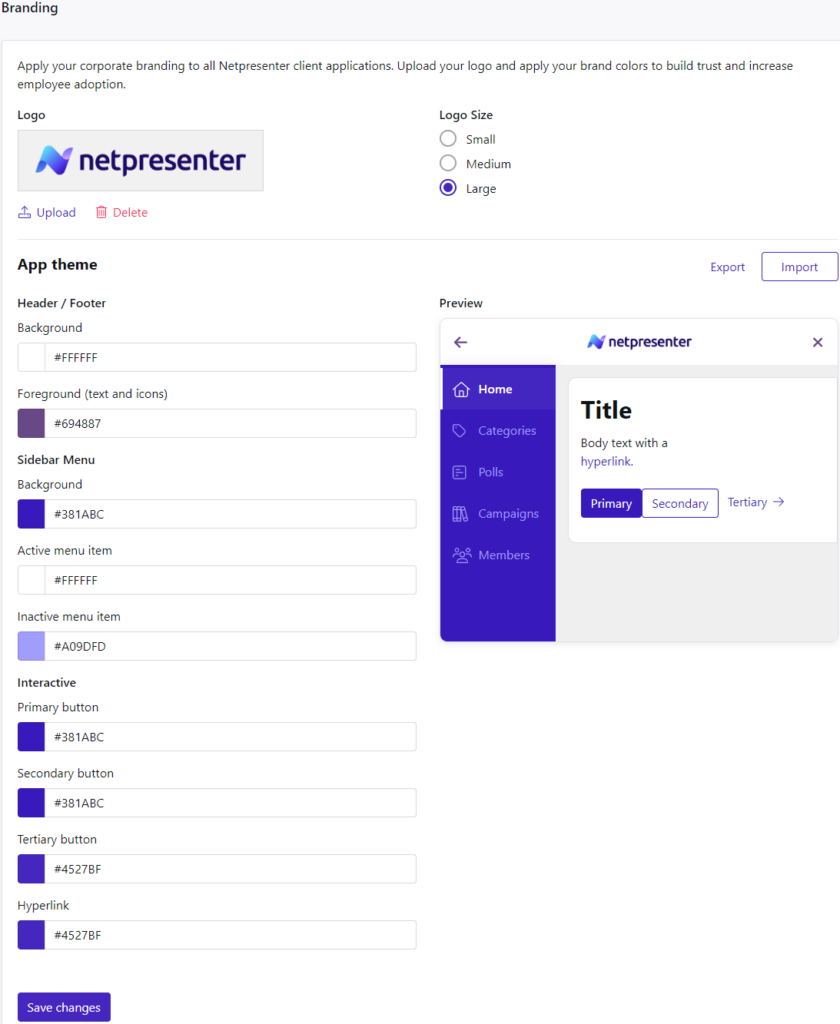
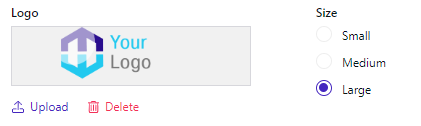
Adding your logo
Click the Upload button and select your logo image. Our advice is to use a PNG or SVG image with a transparent background, but JPEG is allowed as well. Set the logo size, large is the default here.
Set your colors
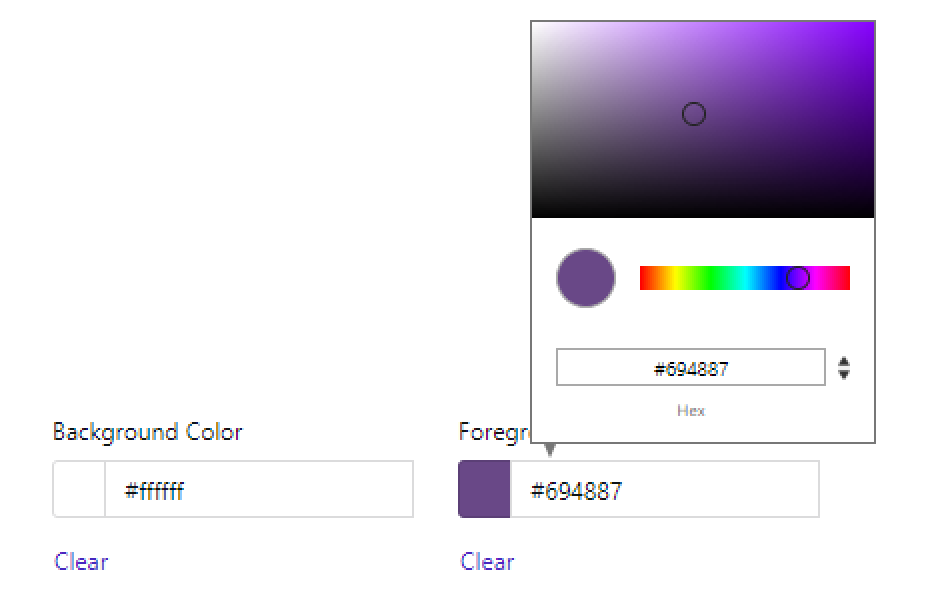
Check your branding guidelines for the correct colors, use an RGB or HEX code if this is provided by your guidelines. Set the Background and Foreground color by clicking on the box. You can choose a color manually or enter the RGB or HEX code.
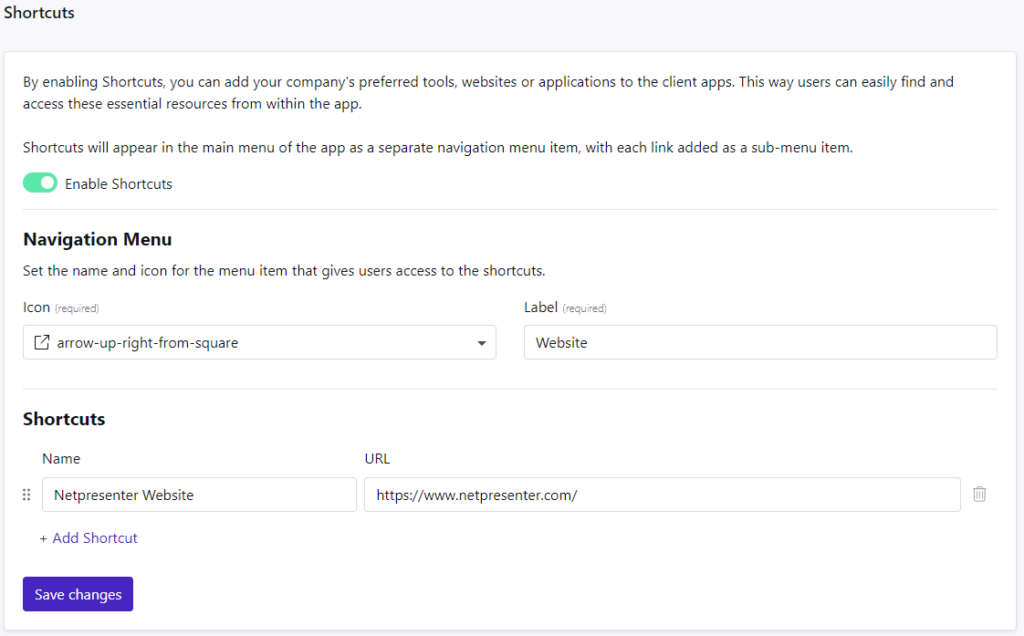
Shortcuts
By enabling Shortcuts, you can add your company’s preferred tools, websites or applications to the client apps. This way users can easily find and access these essential resources from within the app.
Shortcuts will appear in the main menu of the app as a separate navigation menu item, with each link added as a sub-menu item.
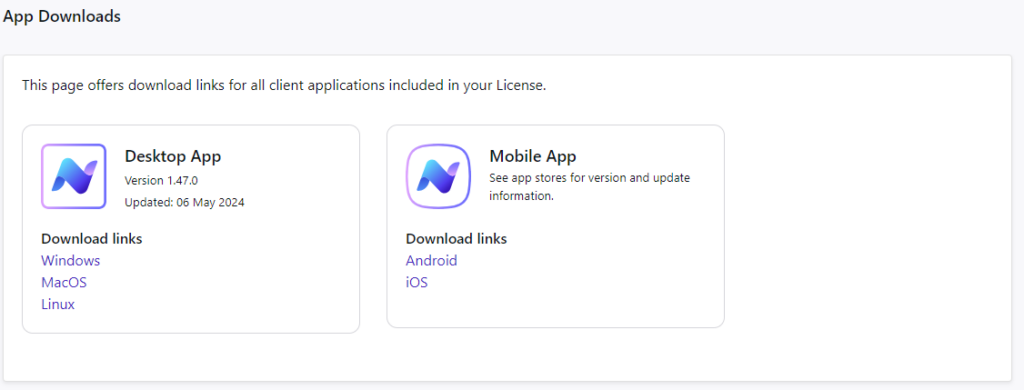
App Downloads
The app downloads section will allow you to download the installers for the Desktop Employee app as well as receive links for the mobile app download.
External Sources
In this tab, you can configure the External Sources, for more information, please follow the manual for External Sources
System
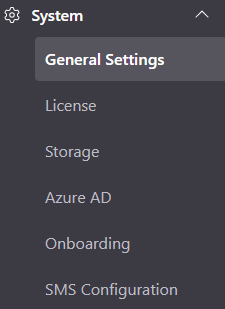
General Settings
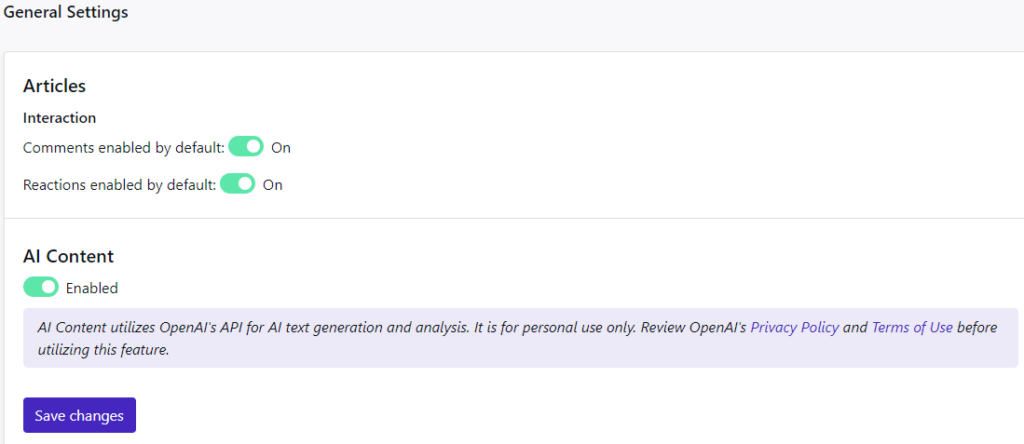
Here you can Enable/Disable the AI Content, click the “Save changes” button to save.
License
Here you can view your current licenses that you have and are in use. You will also find a message here if any of the license are exceeded in usage.
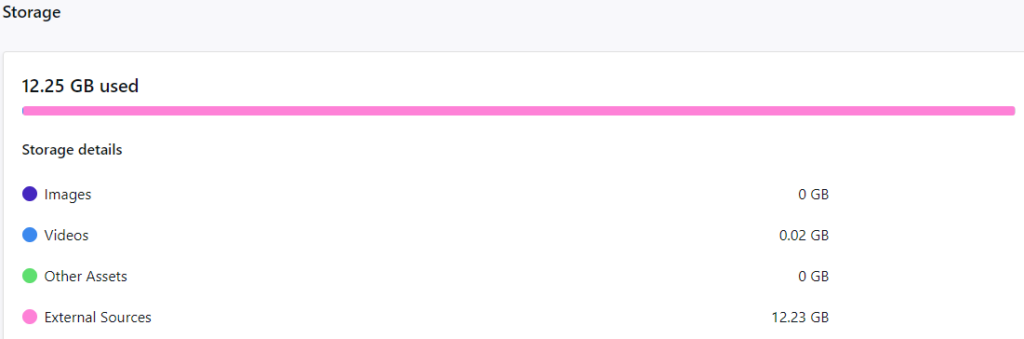
Storage
Here you can find how much storage is being used:
Azure AD
This setting will allow you to connect your Azure environment to your Content Hub. You can grant Netpresenter access to your organization’s data. This will allow you to provision users and they will be able to log in with their existing accounts.
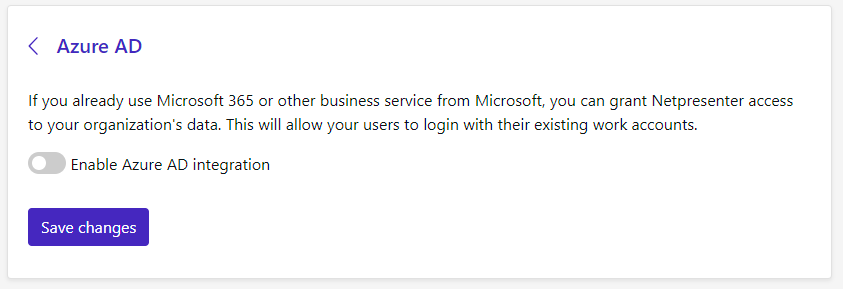
To enable the Azure AD integration, you can view the Configuring Azure AD document.
Onboarding
When users are added to the tenant, they must be onboarded too. There are two ways to onboard your users.
Automatic: Every user that is added will receive an onboarding e-mail automatically.
Manual: Users that have not received an e-mail yet or have never logged in will be shown here with an option to send an onboarding e-mail manually.
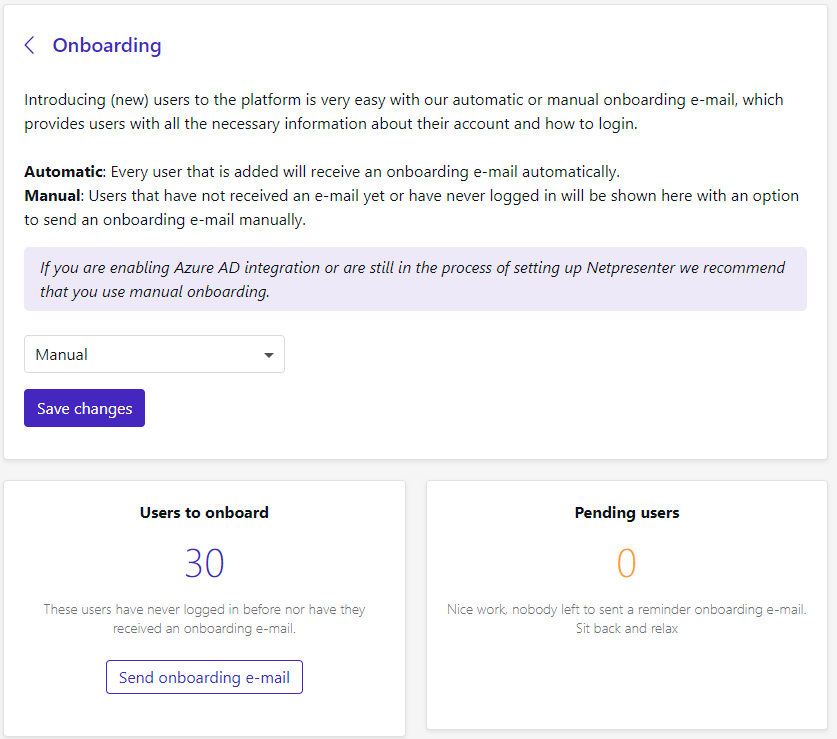
When you are ready to onboard the users, you can click on ‘Send onboarding e-mail.’ This will send the onboarding e-mail to the number of users that are ready to be onboarded.
If these users have not reacted to the onboarding email, the pending users’ number will go up after 14 days (about 2 weeks) and a button will appear to send a reminder to those users.
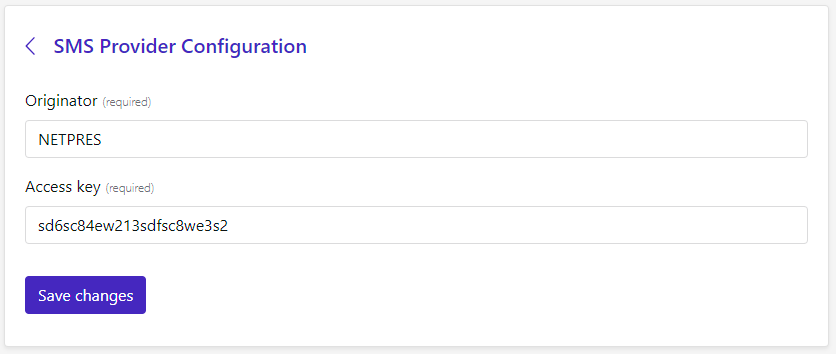
SMS configuration
If your tenant wishes to utilize text messaging, the SMS feature needs to be configured.
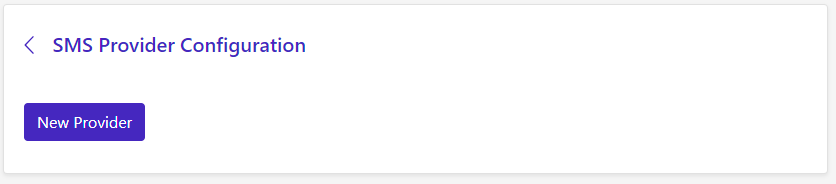
By clicking the ‘New Provider’ button, you will need to fill in the Originator and Access Key fields.
The Originator and Access keys will be provided by Netpresenter.
Logging
On this page you can find the logging, which might be helpfull in case of troubleshooting.