


Content Hub Polls
Estimated reading time: 14 minutes
This page explains how to create and manage Polls in the Netpresenter Content Hub. Before proceeding please check if you use the Content Hub or the Message Server & Alert Server.
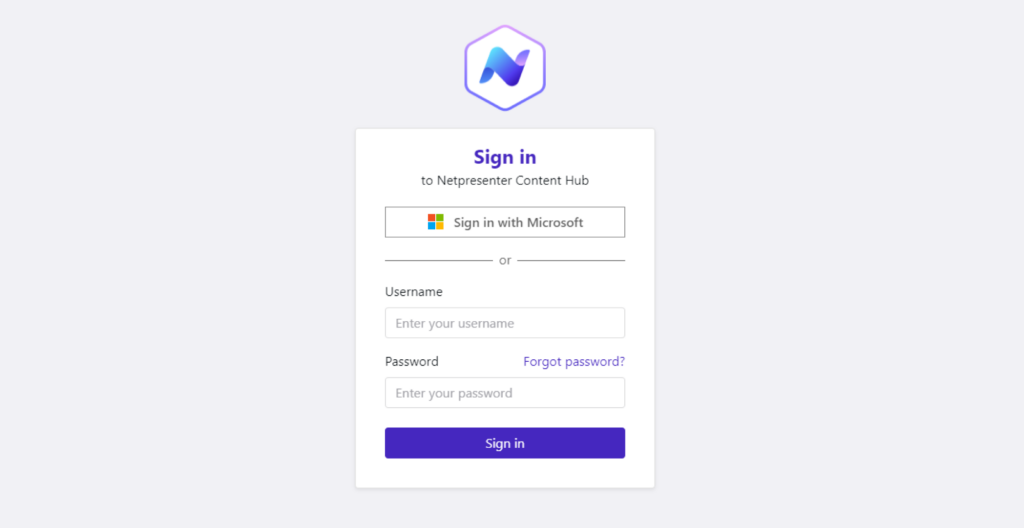
If you login looks like this you can proceed on this page.
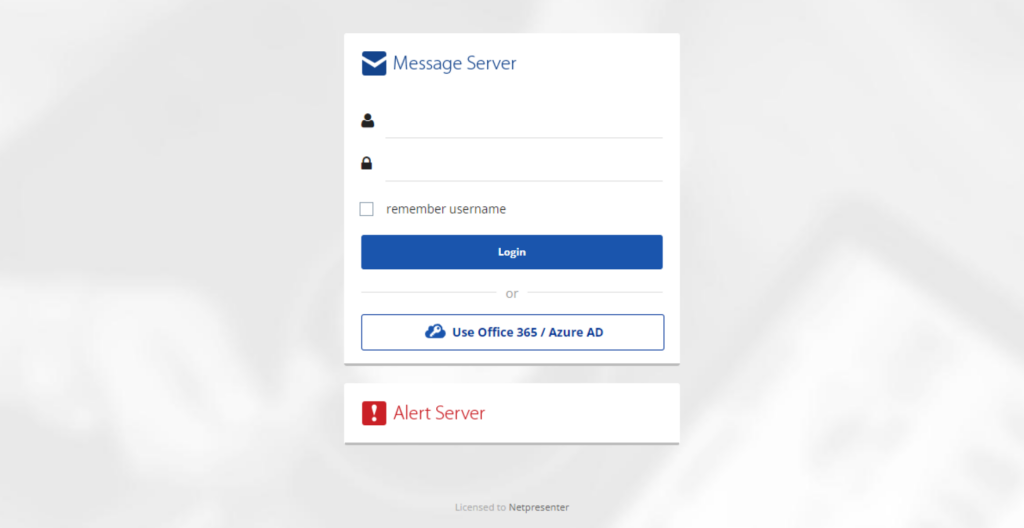
If it looks like this please click here to read the Message Server & Alert Server documentation.
Table of contents
Manual to create Content Hub Polls
Polls
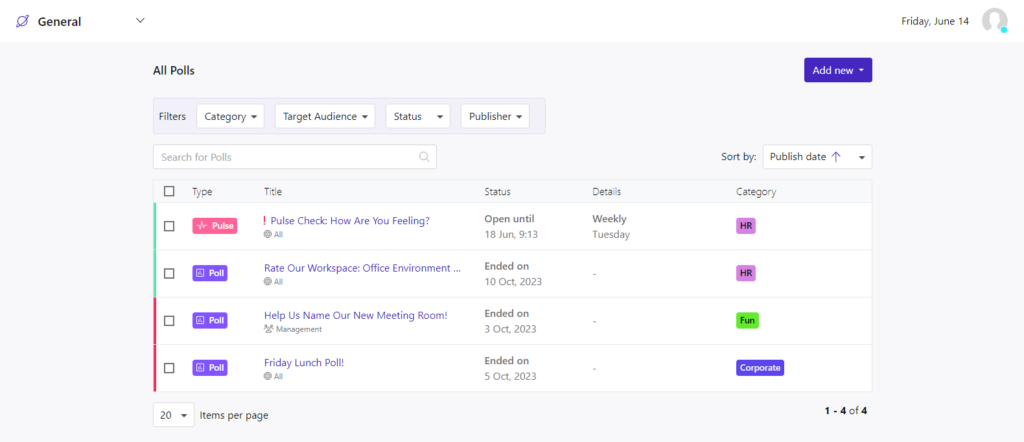
In the left menu, you can select Polls. This will allow you to create, you guessed it, Polls!
Whenever you want to engage with your employees, whether it is about what they think about a specific topic within the company or what to eat for company lunch, a poll can be created to see what your colleagues are thinking and what they want.
To create a poll, you can click on the Add new button. A drop-down menu appears so you can choose between two different poll types. A normal poll or a Pulse poll.
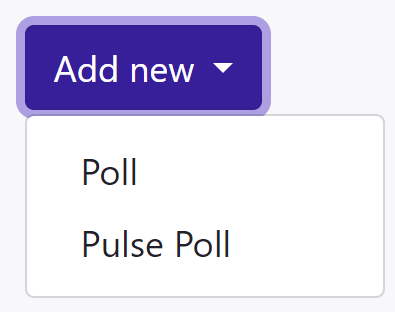
Let us start with the normal poll.
Content
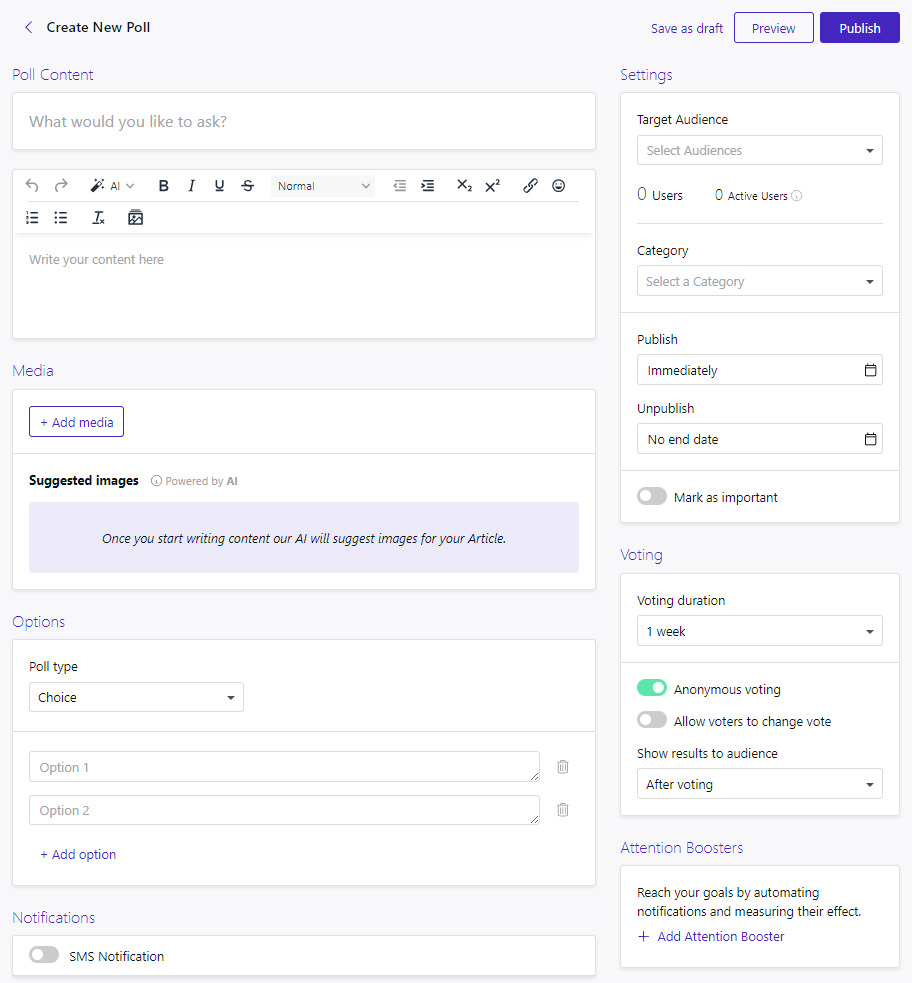
The first step is to create the question. What will the Poll be about?

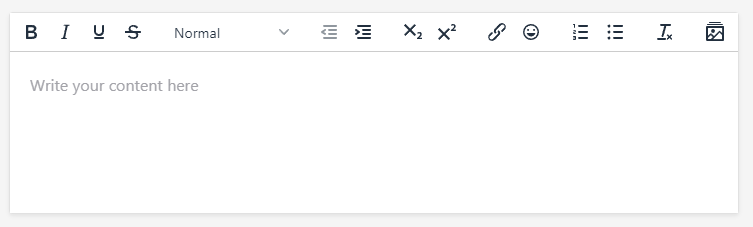
In the next field, you can add additional information. You can highlight your question and even add media to further add meaning to the question.
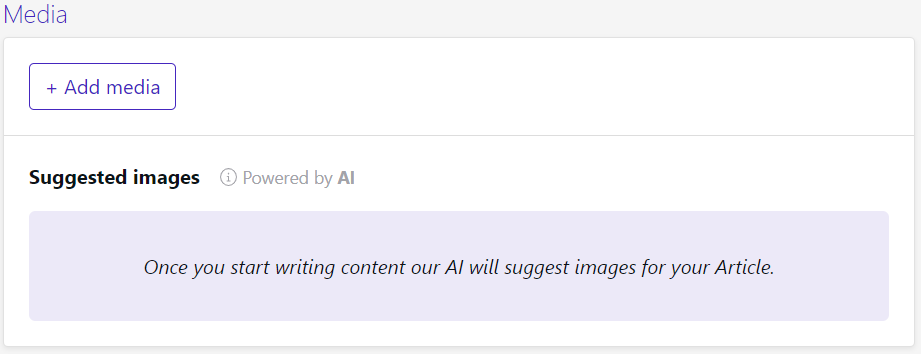
To add media, you can refer to the Asset Library documentation. The AI suggested images are based on the contents written in the description. Instead of uploading or adding your own media, you can choose to select one of the AI suggested images.
Options
The next step will be to add options to the poll
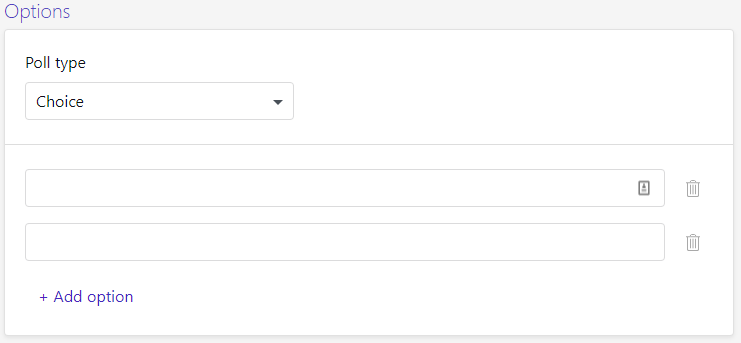
What kind of poll type will it be? A choice, a Rating, or an Emoji poll.
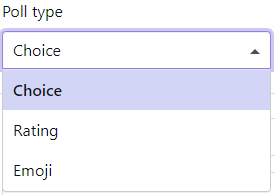
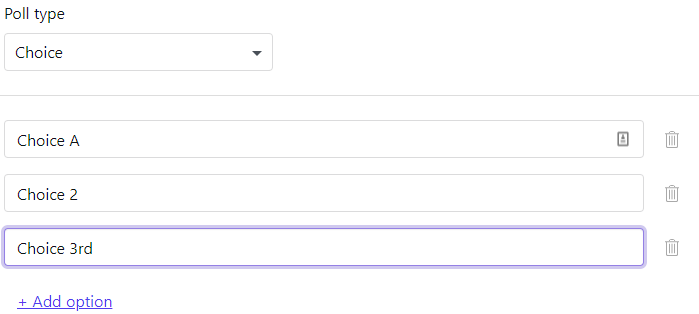
Choice
When the poll is a choice, you can type custom choices and add as many choices as desired.
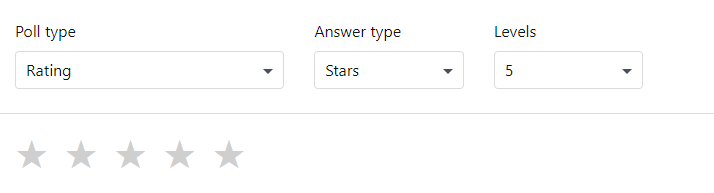
Rating
When the poll is a rating, there is a choice between a numbered rating and a star rating
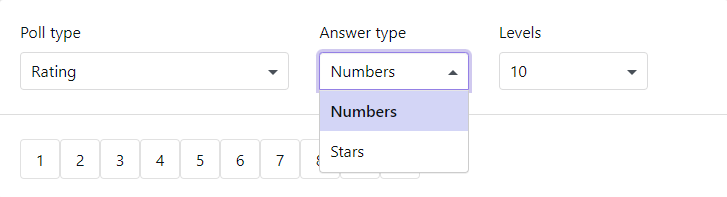
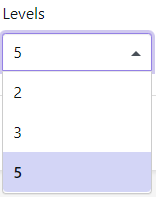
When choosing your rating type, the levels can also be chosen.
Emoji
The emoji poll will let employees select a mood emoji, showing how they feel about the question.
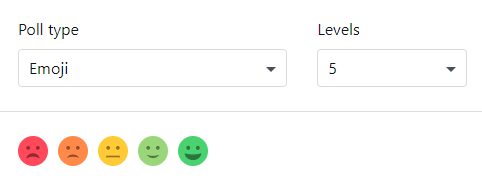
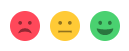
The levels option in this layer will let you choose between 2, 3 or 5 levels
2 being either good or bad.

3 is adding a middle ground.
And 5 will work as a 5-star rating but with emojis.

Notifications
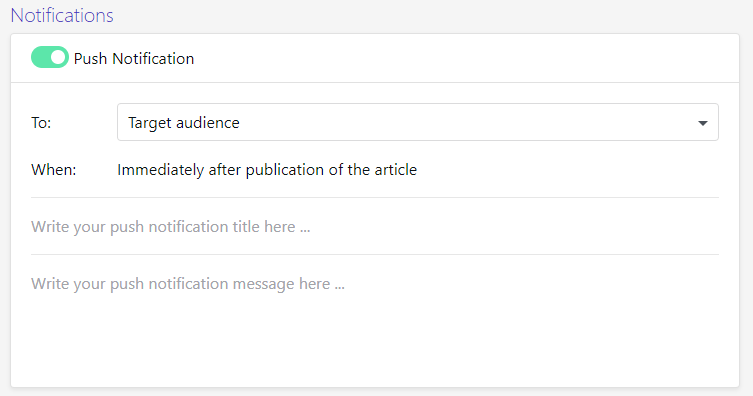
When creating aa poll and publishing it, a notification can be sent to your target audience by enabling the push notification function.

When enabled, you can select that target audience and edit that notification message.
Settings
A poll can be sent to any audience you desire, should it be configured beforehand. If configured, you can send a poll to a group of users or even specific users. Audiences are configured by an administrator and can contain any number of users or groups.
A category can be added to this poll by clicking its drop-down menu and selecting your desired category.
It can also be made a high priority poll so it will always be the top message in the app.
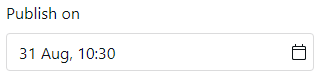
To schedule a poll, you can enable this feature and you are presented with a publish and unpublish date option.
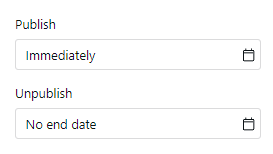
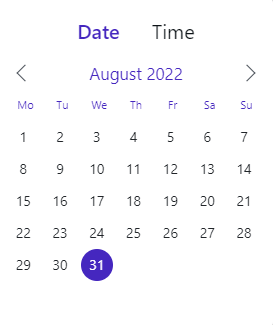
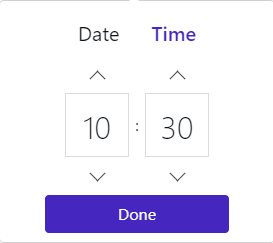
Click on the calendar icon to select your dates and times
This poll can be marked as important to push it to the top of the Employee app.

Voting
In the next configuration step, you can choose how the target audience will cast their vote.
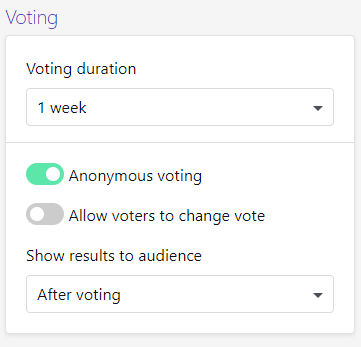
The vote duration can be changed, if the voter will be anonymous and if you will allow voters to change their vote during the complete voting period.
You can choose to show the audience the results or not, or only after the period ends.

Attention Boosters
IF your goal is to actively engage with your audience and have them participate, you can enable attention boosters, to make them active.
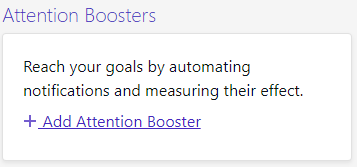
By clicking the add attention booster button, you will arrive in the Attention Booster view.
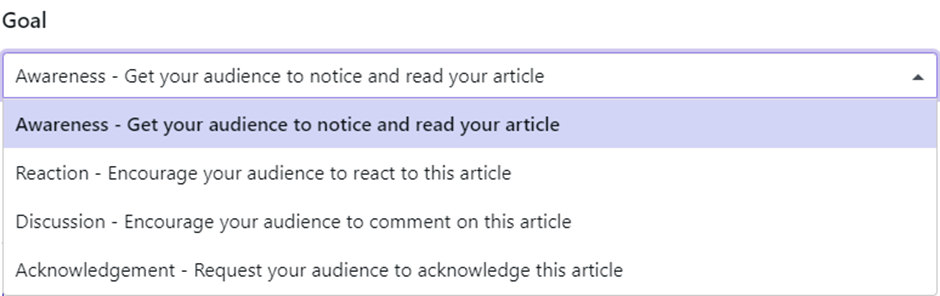
The first thing to set up is your goal. What would you like to achieve with this booster.

The next step will be to create attempts to reach your adience.
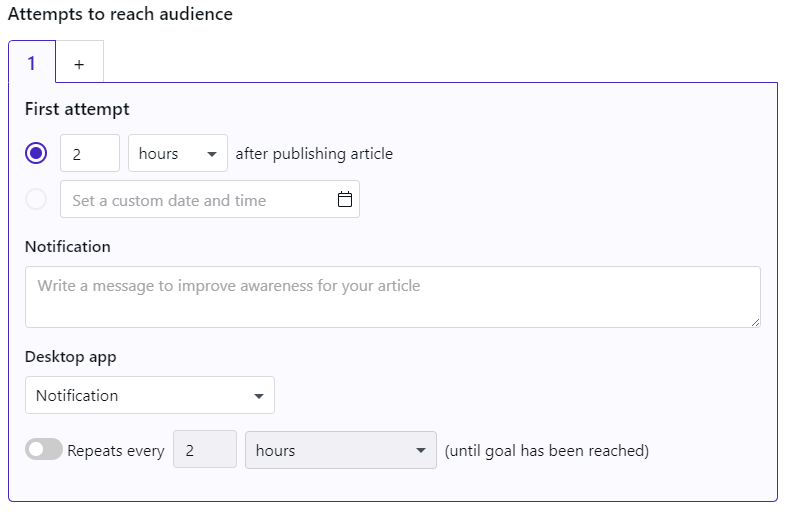
You can configure how many hours, minutes, or days after publishing the poll the first attempt will be made. Or you can set up your own custom date and time to achieve this.
Create your own notification message if you so desire and select if you want the notification to open the desktop app or the poll.
If necessary, you can send repeats every so often until your goal is reached.
By clicking the + button next to your first attempt tab, you can add more attempts, up to 8.
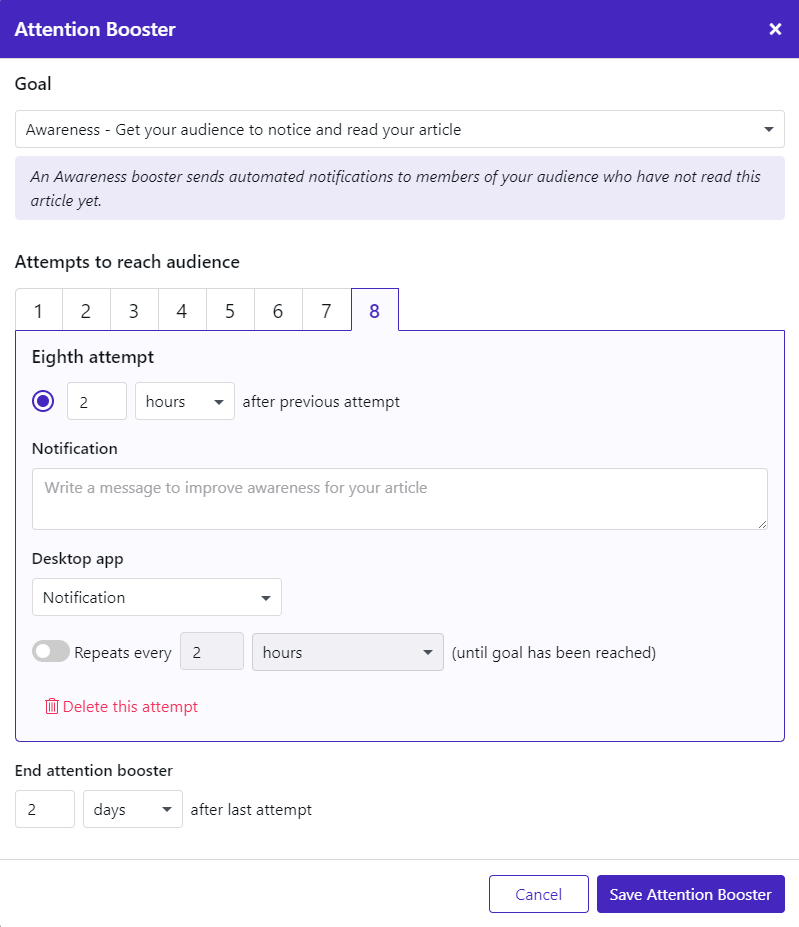
You can delete attempts by clicking the delete button on the bottom of the attempt.
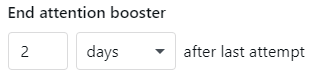
Lastly, you can end the attention booster after your custom amount of time, after the last attempt was made.
When everything is configured as desired, you can click on the Save button in the bottom right.
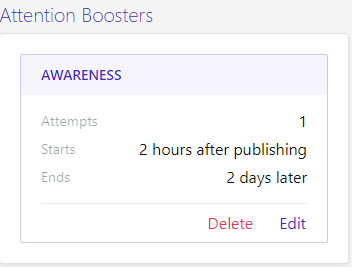
Should you wish to edit or delete this attention booster, you can click on those buttons in the Attention Booster field.
Draft, Schedule/Publish
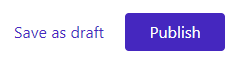
When you have finished creating the poll, but it needs to be reviewed or you want to take a break from it, you can click the Save as draft button.

Your poll will be available in the Polls Overview but grayed out and prefixed by ‘Draft – ‘.

The poll can be continued working on by editing it.
By clicking the publish button, your poll will be available on the Desktop app and mobile app from that moment forward.

If you scheduled the poll to start later, the publish button will change to a schedule button.
It will add the poll to the list, but it will be yellow and only available from the scheduled date.
