Content Hub Lock Screens
Estimated reading time: 10 minutes
This page explains how to create and manage Lock Screens in the Netpresenter Content Hub. Before proceeding please check if you use the Content Hub or the Message Server & Alert Server.
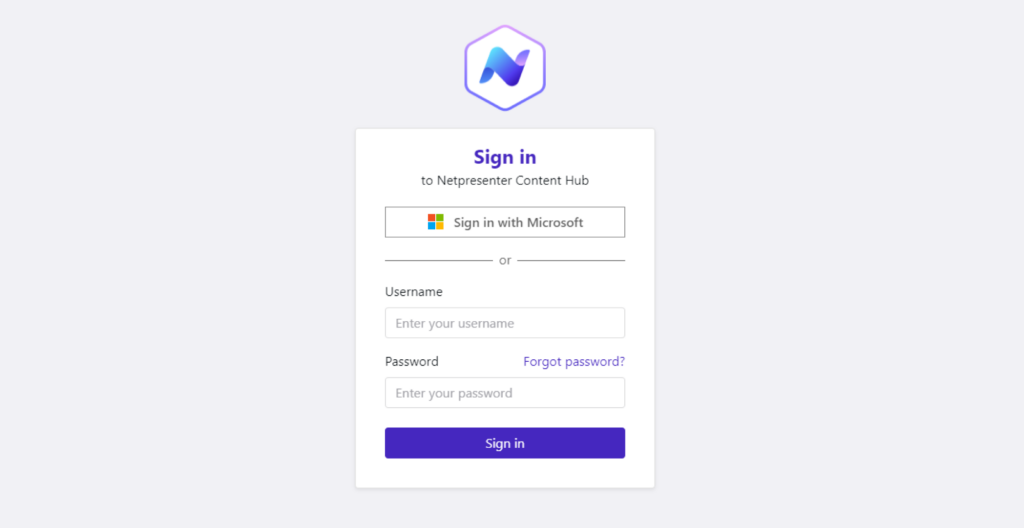
If you login looks like this you can proceed on this page.
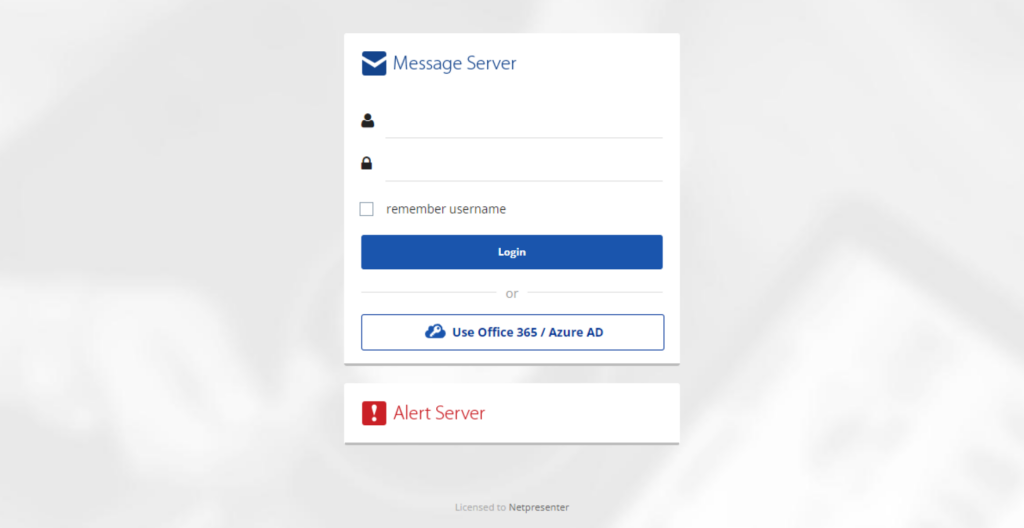
If it looks like this please click here to read the Message Server & Alert Server documentation.
Table of contents
Introduction to Lock Screens
The Netpresenter Slide player is capable of altering the Windows Lock Screen images.
An image will be created from the created content and pushed to your audience.
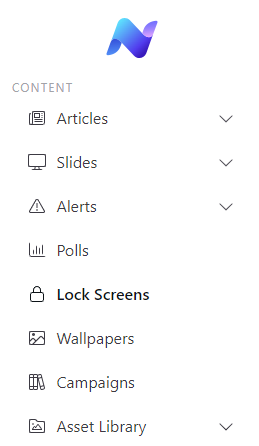
To start creating lock screen images, select the Lock Screens option in the left menu.
Creating Lock Screens
If this is your first time within the Lock Screens menu, you will be presented with the following image.
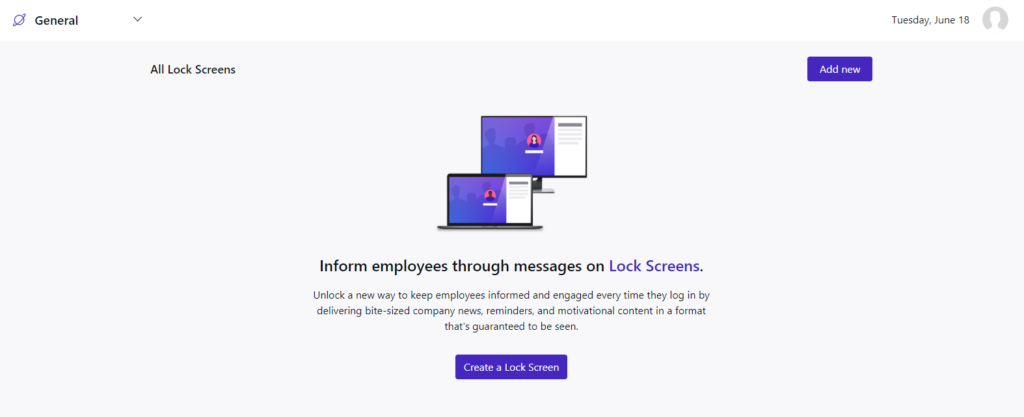
Click on Add new or Create a Lock Screen to start.
Adding content
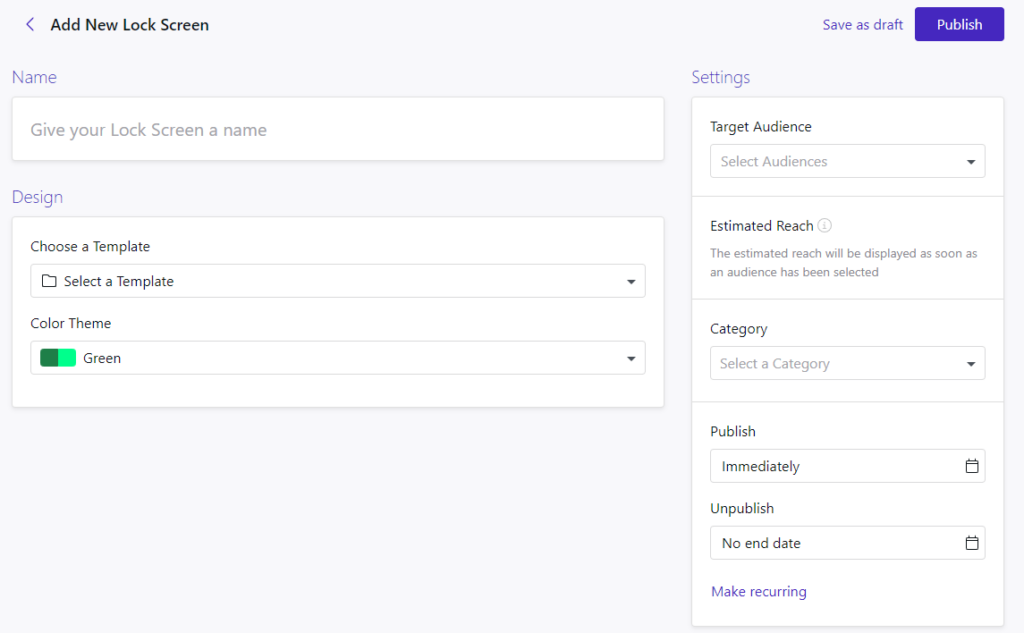
The first thing that you will need to do is add a lock screen name. This will only be used in the Lock Screens overview and will not be visible on the image itself.
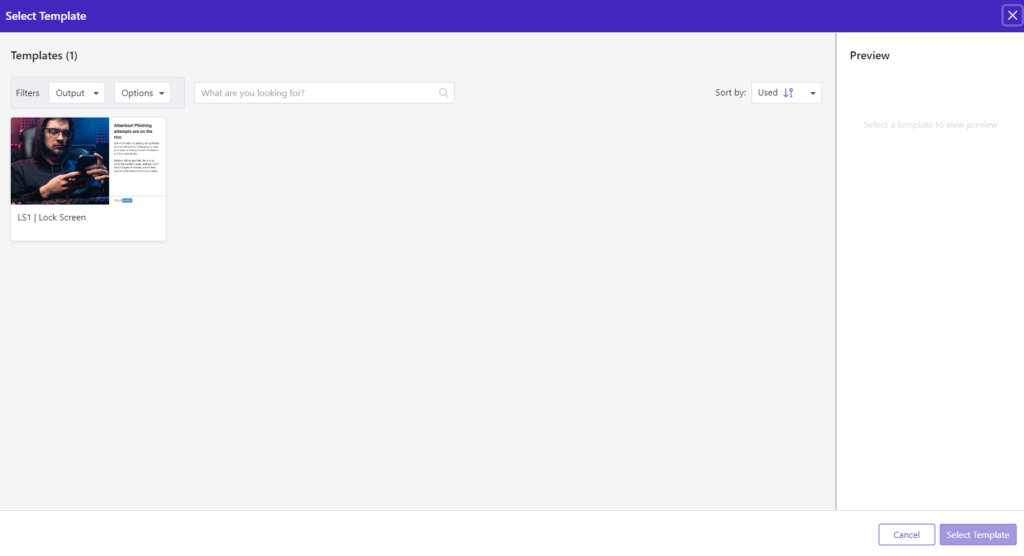
Next, you will need to select a template from our current selection.
A content box will appear below with sections. These sections are Title, Message, Footer and Media.
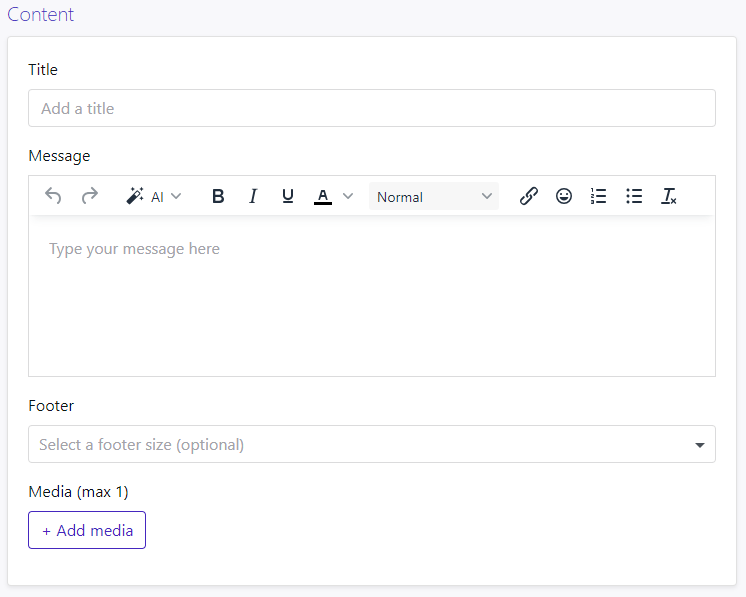
The title and message fields can be filled in to your preference. It is also possible to use the ‘AI Content Generator’ button. This will open a new window that will allow you to ask the AI chat bot to draft an article for you. Just write your suggestion for the article’s content and after a while, you will be presented with a full article that you will need to manually copy and paste into the description field.
The Footer section allows you to choose if you want a footer on the image, a small, medium, or large one.

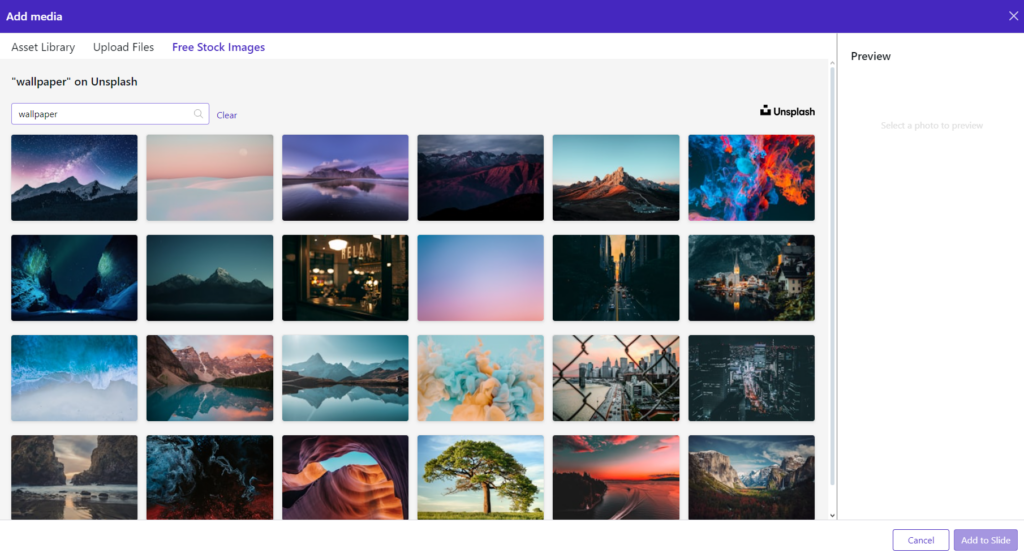
If you wish to add media, you can click the Add media button. This will open a window where you can select images from your asset library, upload a new image or select an image from the Free Stock Images section.
Settings
When the lock screen is created, the target audience needs to be configured.
This can be a custom group or a specific slide player. The category for this lock screen can also be configured here.
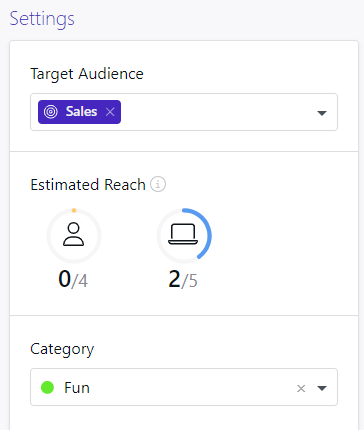
Below that, the Publish, and Unpublish dates can be defined.

By default, it will be published immediately, and it will have no end date. These can be modified to your liking.

You can also make this lock screen reoccur.


First, you will need to select the scheduling type. Recurring or weekly.

Then, select the start date and the recurrence’s end date.
The recurrence can be configured more deeply by selecting the weekly recurrence and even on which days you would have it recur.
Lastly, you will need to select the publishing time and when it should be unpublished.
Options
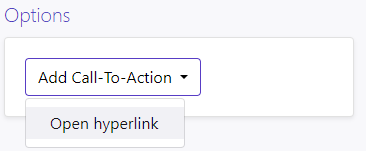
A call to action can be added to open a Hyperlink.

This will not be a clickable button but it will become a QR code that can be scanned and that will open the URL that is filled in in the URL field. The text next to the QR code can be altered as well.
Finalize the Lock screen
When you’re done with all the configurations, you can either save the lock screen as draft or Publish it directly to your target audience.

After selecting either option, you are redirected to the Lock Screen overview and you can see the active or drafted lock screens in the list.

Within the overview you can see all published lock screens, showing their title, outputs, category, and published date. You can filter these lock screens by a specific category with the drop-down menu on the left or search for a specific lock screen with the search function.
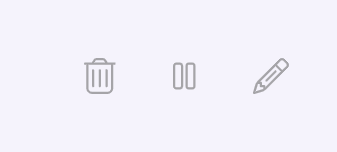
By hovering over an existing lock screen, 3 actions will appear on the right-hand side. 1 action to delete the lock screen, a second to pause the lock screen and another to edit.
By clicking anywhere else on this lock screen, you will also be able to edit the lock screen.
When selecting the boxes in front of the lock screens, Bulk actions will become available.

Lock screens can be unpublished or deleted in bulk this way.

The order of lock screens can also be manipulated by dragging them to a different spot, using the tab next to the status indicator.


By clicking a lock screen within this overview, you will see the Lock Screen’s details
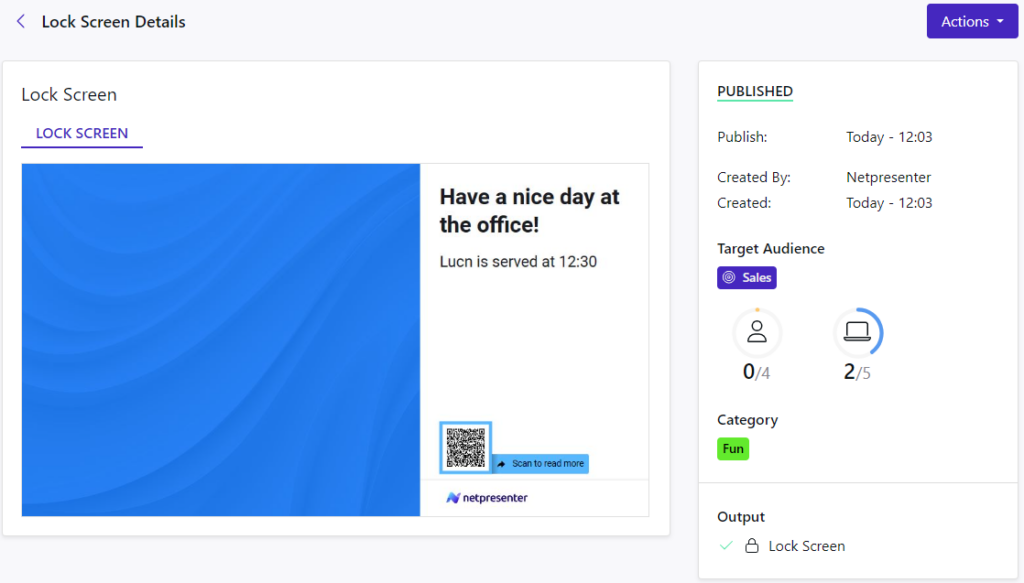
Information such as the lock screen’s title and description are shown alongside the lock screen’s statistics.
On the right side, the publisher’s information is shown as well as the targeted audience.
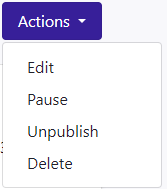
The actions button will show 4 options. The first will allow you to edit the lock screen. The second will pause the lock screen while the 3rd will unpublish it and with the last one you can delete it altogether.