


Content Hub configuring Azure AD Group Provisioning
Estimated reading time: 7 minutes
Introduction
Our default Netpresenter Enterprise Application on Microsoft Azure, does not support provisioning groups yet. As a work around, you can create your own Enterprise Application by following the steps in this tutorial.
Creating the application
As an Azure admin, navigate to your Enterprise applications.
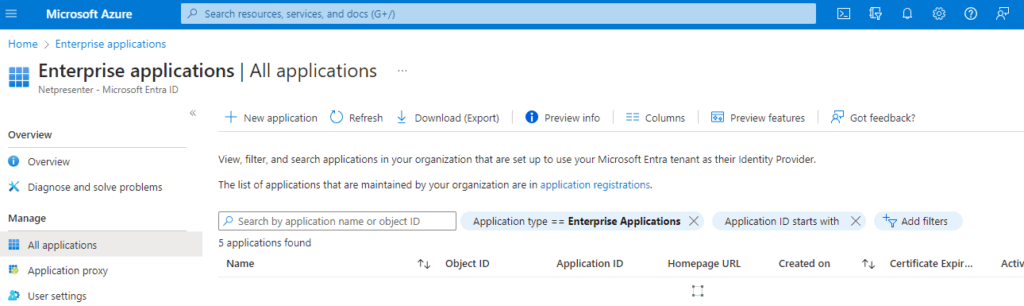
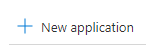
Click on + New application
Then click on + Create your own application. If it is greyed out, you do not have sufficient rights.

Fill in the name of the Application (e.g. Netpresenter_Next_Groups) and select the 3rd option “Integrate any other application you don’t find in the gallery (non-gallery)”.
Do not select the recommended Netpresenter Next app.
Then click on Create in the bottom.

Setting up the Provisioning
Navigate to your Content Hub tenant first. As an admin, go to Settings > System > Azure AD.
You will need the Azure URL found on this page. Enable Azure AD and click Save at the Bottom of the page.
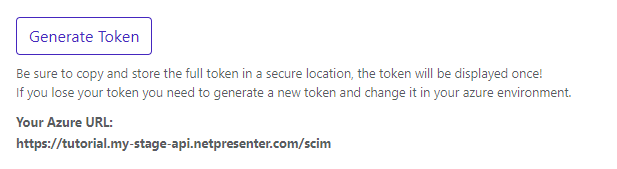
Click Generate Token.
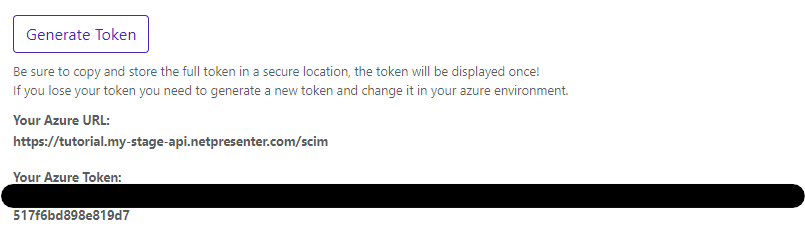
Copy the URL and token to a notepad, you will both in the next steps.
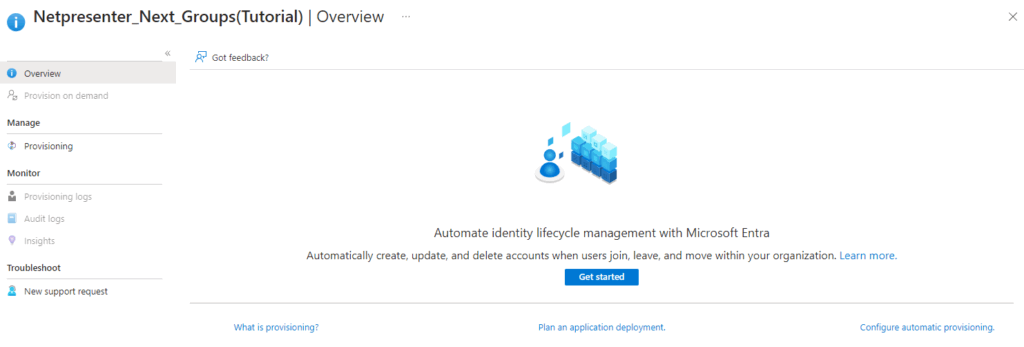
Head back to the Enterprise Application and select Provisioning. There, click on “Get started”.
Select Automatic provisioning mode and fill in the Admin Credentials below.
The Tenant URL is the “Your Azure URL”, found within the content hub, alongside the secret token.
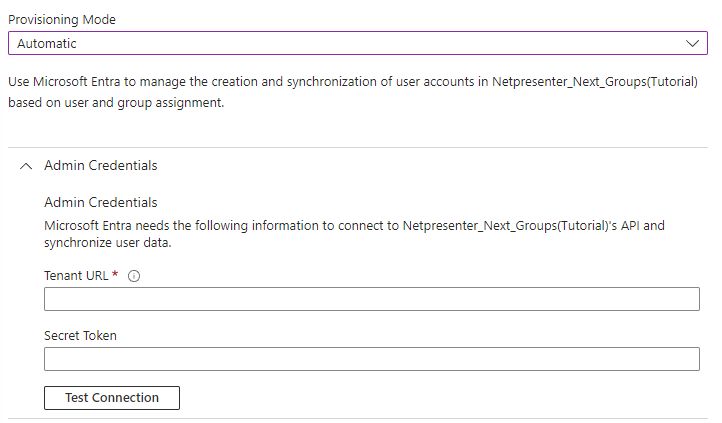
When you click test connection and it is successful, click save in the top left.
A new option called ‘Mapping’ will appear.
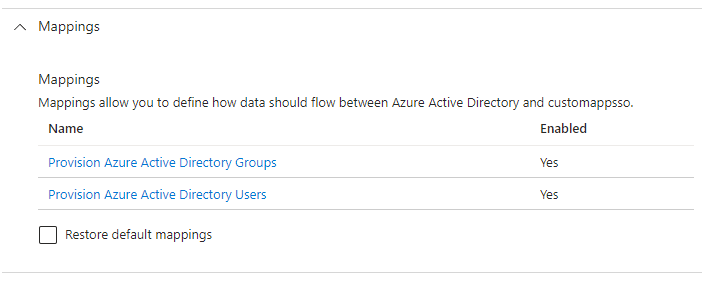
Click on Provision Azure Active Directory Groups. At the bottom, click on Show advanced options.

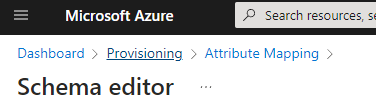
Then click on Review your schema here, in the bottom right.

It should look something like this
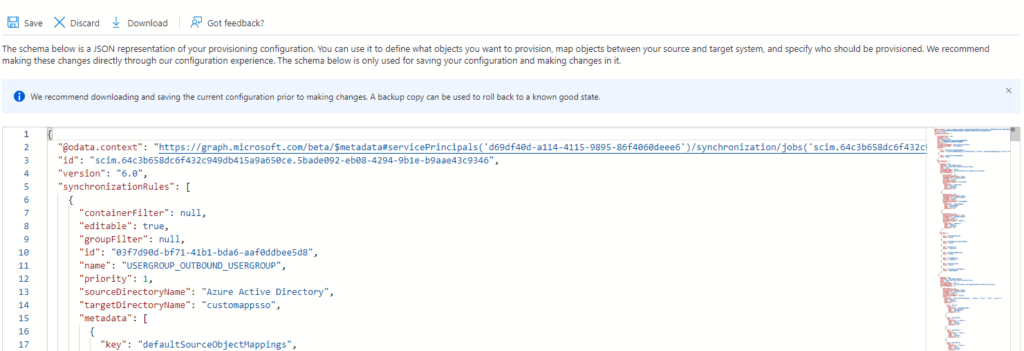
Remove everything you see in the schema
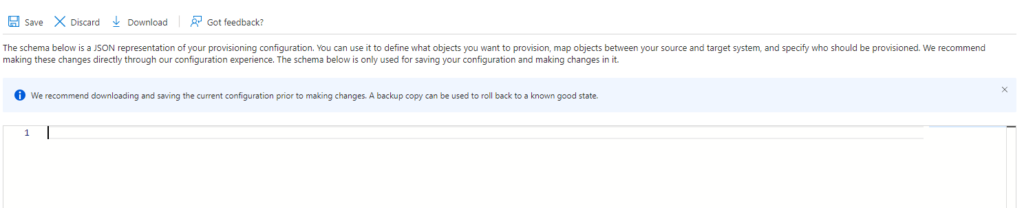
Then paste the contents of this downloadable txt file back into it and save.
Head back to the provisioning window by clicking Provisioning in the top header.
If you only wish to provision assigned users and groups, no further actions are required.
If all users and groups need to be provisioned, open Settings and select the correct option under Scope.
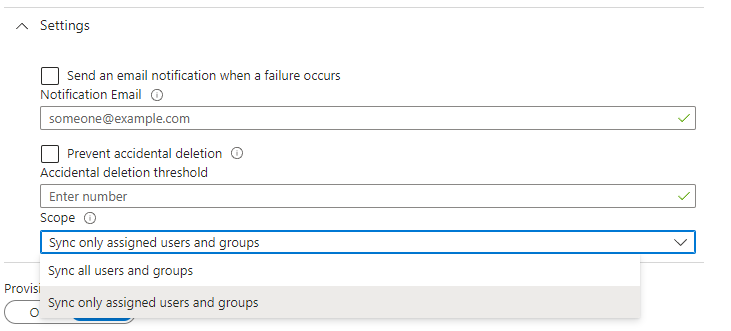
Click Save and return to the provisioning overview.
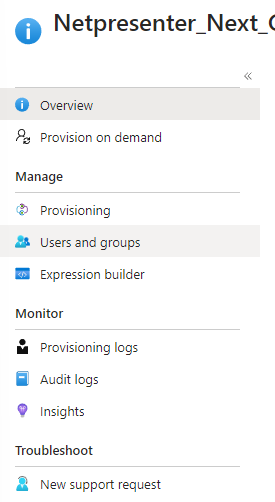
The next step is to add users and groups. Click on Users and Groups on the left.
Then click on + Add user/group and select whomever you wish to add.

The last step is to Start your provisioning by clicking Start provisioning.
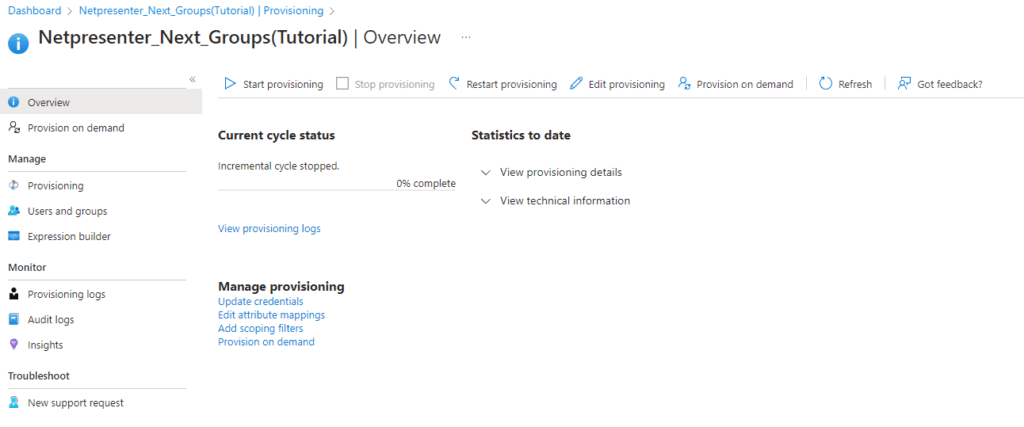
The initial cycle might take some time before it runs.
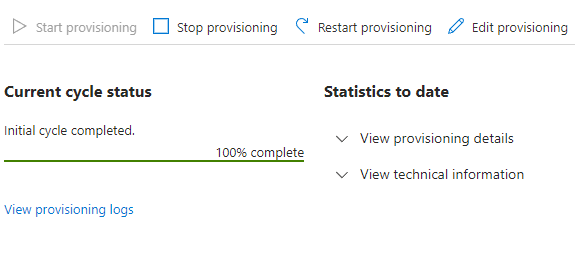
And there you go. Provisioning including groups is now set up.