Content Hub Campaigns
Estimated reading time: 13 minutes
This page explains how to create and manage Campaigns in the Netpresenter Content Hub. Before proceeding please check if you use the Content Hub or the Message Server & Alert Server.
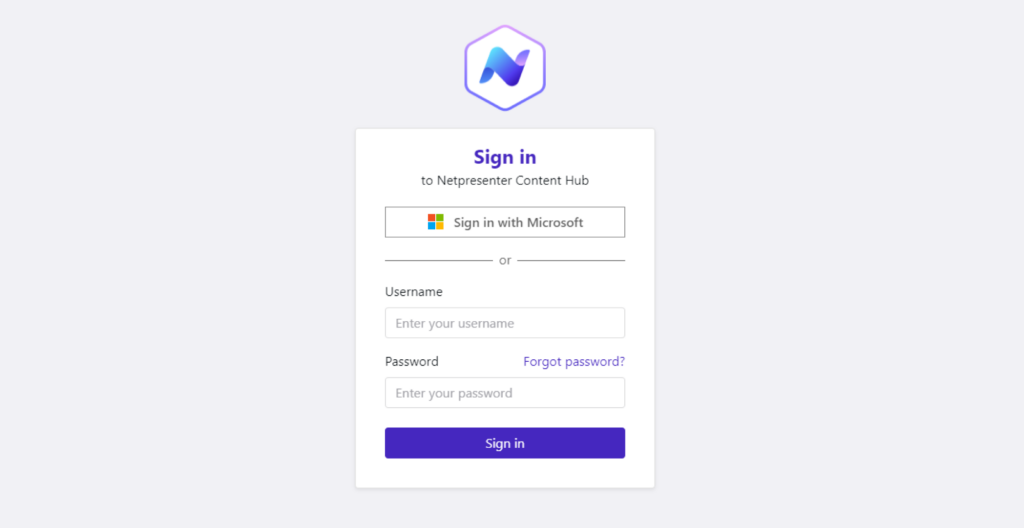
If you login looks like this you can proceed on this page.
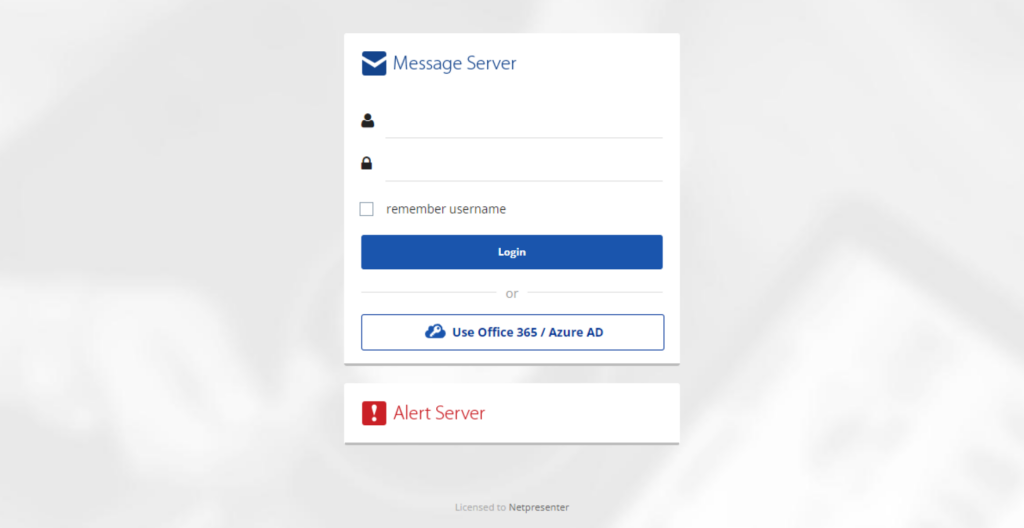
If it looks like this please click here to read the Message Server & Alert Server documentation.
Table of contents
Introduction to Campaigns
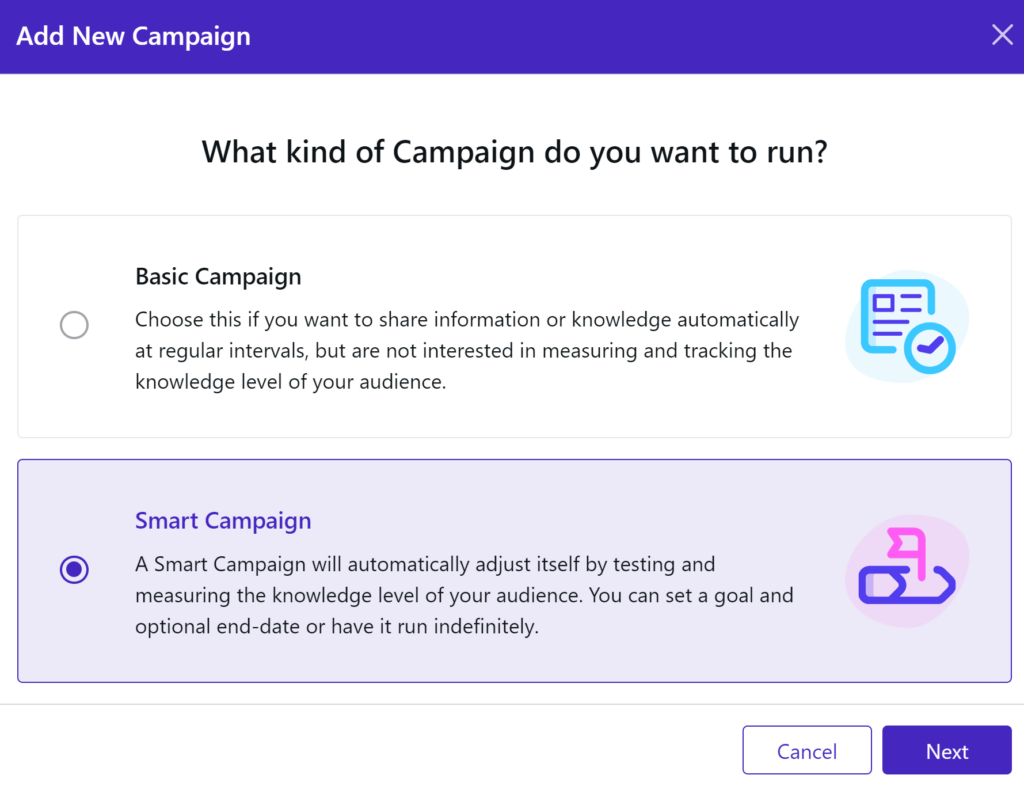
Campaigns are a way to inform and train your employees over a period of time. We offer this in 2 flavours: Basic or Smart.
- Basic Campaigns: Choose this if you want to share information or knowledge automatically at regular intervals, but are not interested in measuring and tracking the knowledge level of your audience.
- Smart Campaigns: A Smart Campaign will automatically adjust itself by testing and measuring the knowledge level of your audience. You can set a goal and optional end-date or have it run indefinitely.
Creating a Campaign
To start creating a Campaign go to Campaigns and click the “Add new” button.
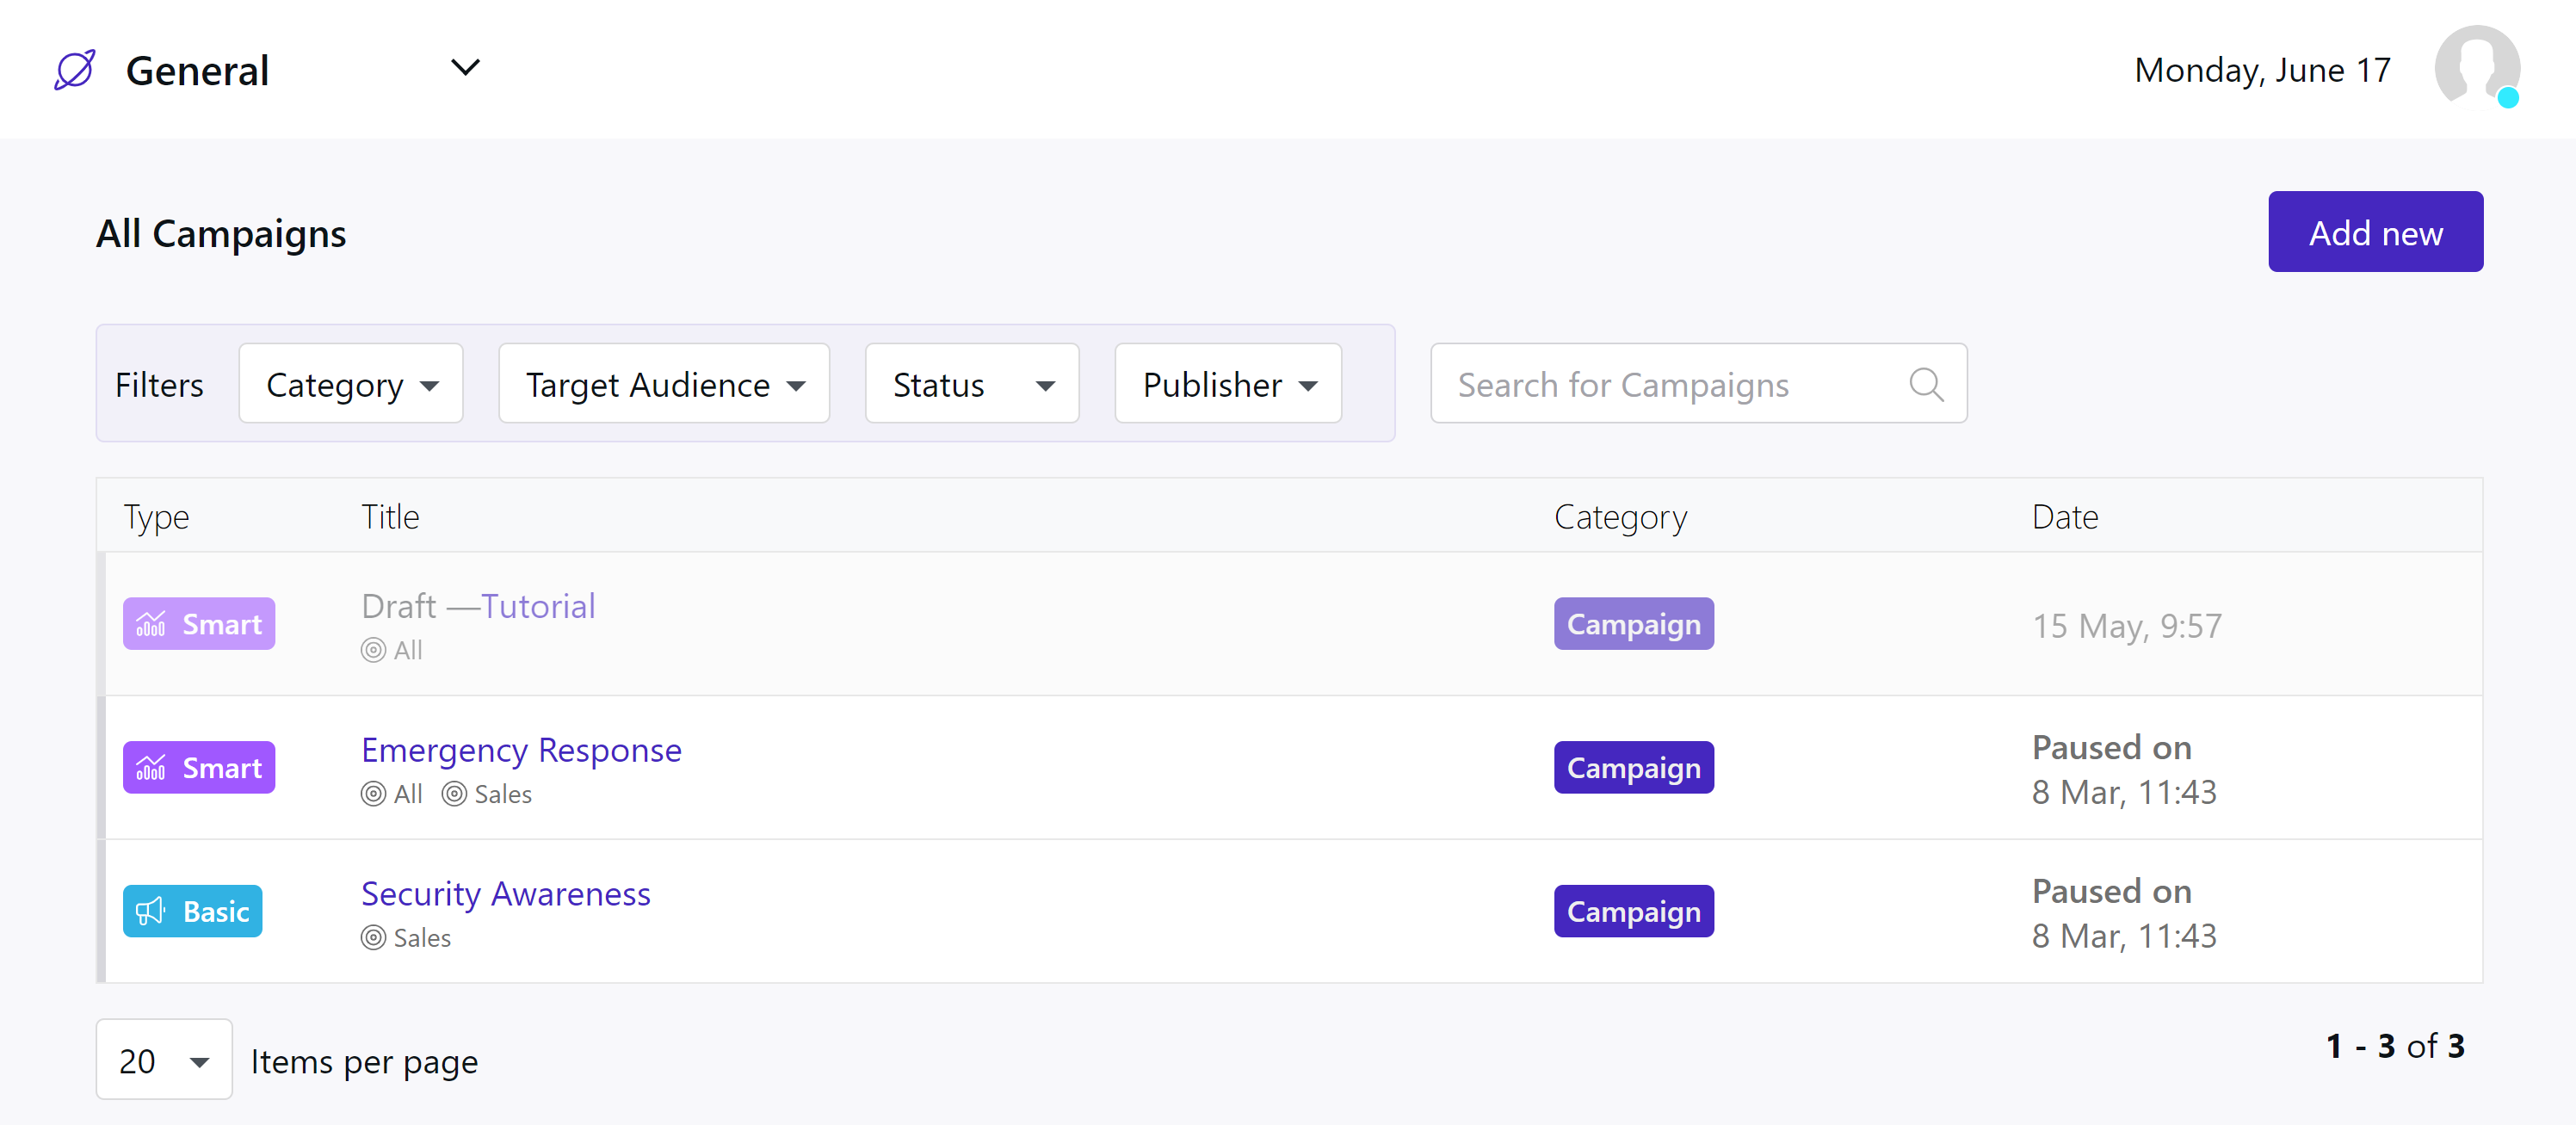
Choose your Campaigns type from the popup.

Basic Campaign
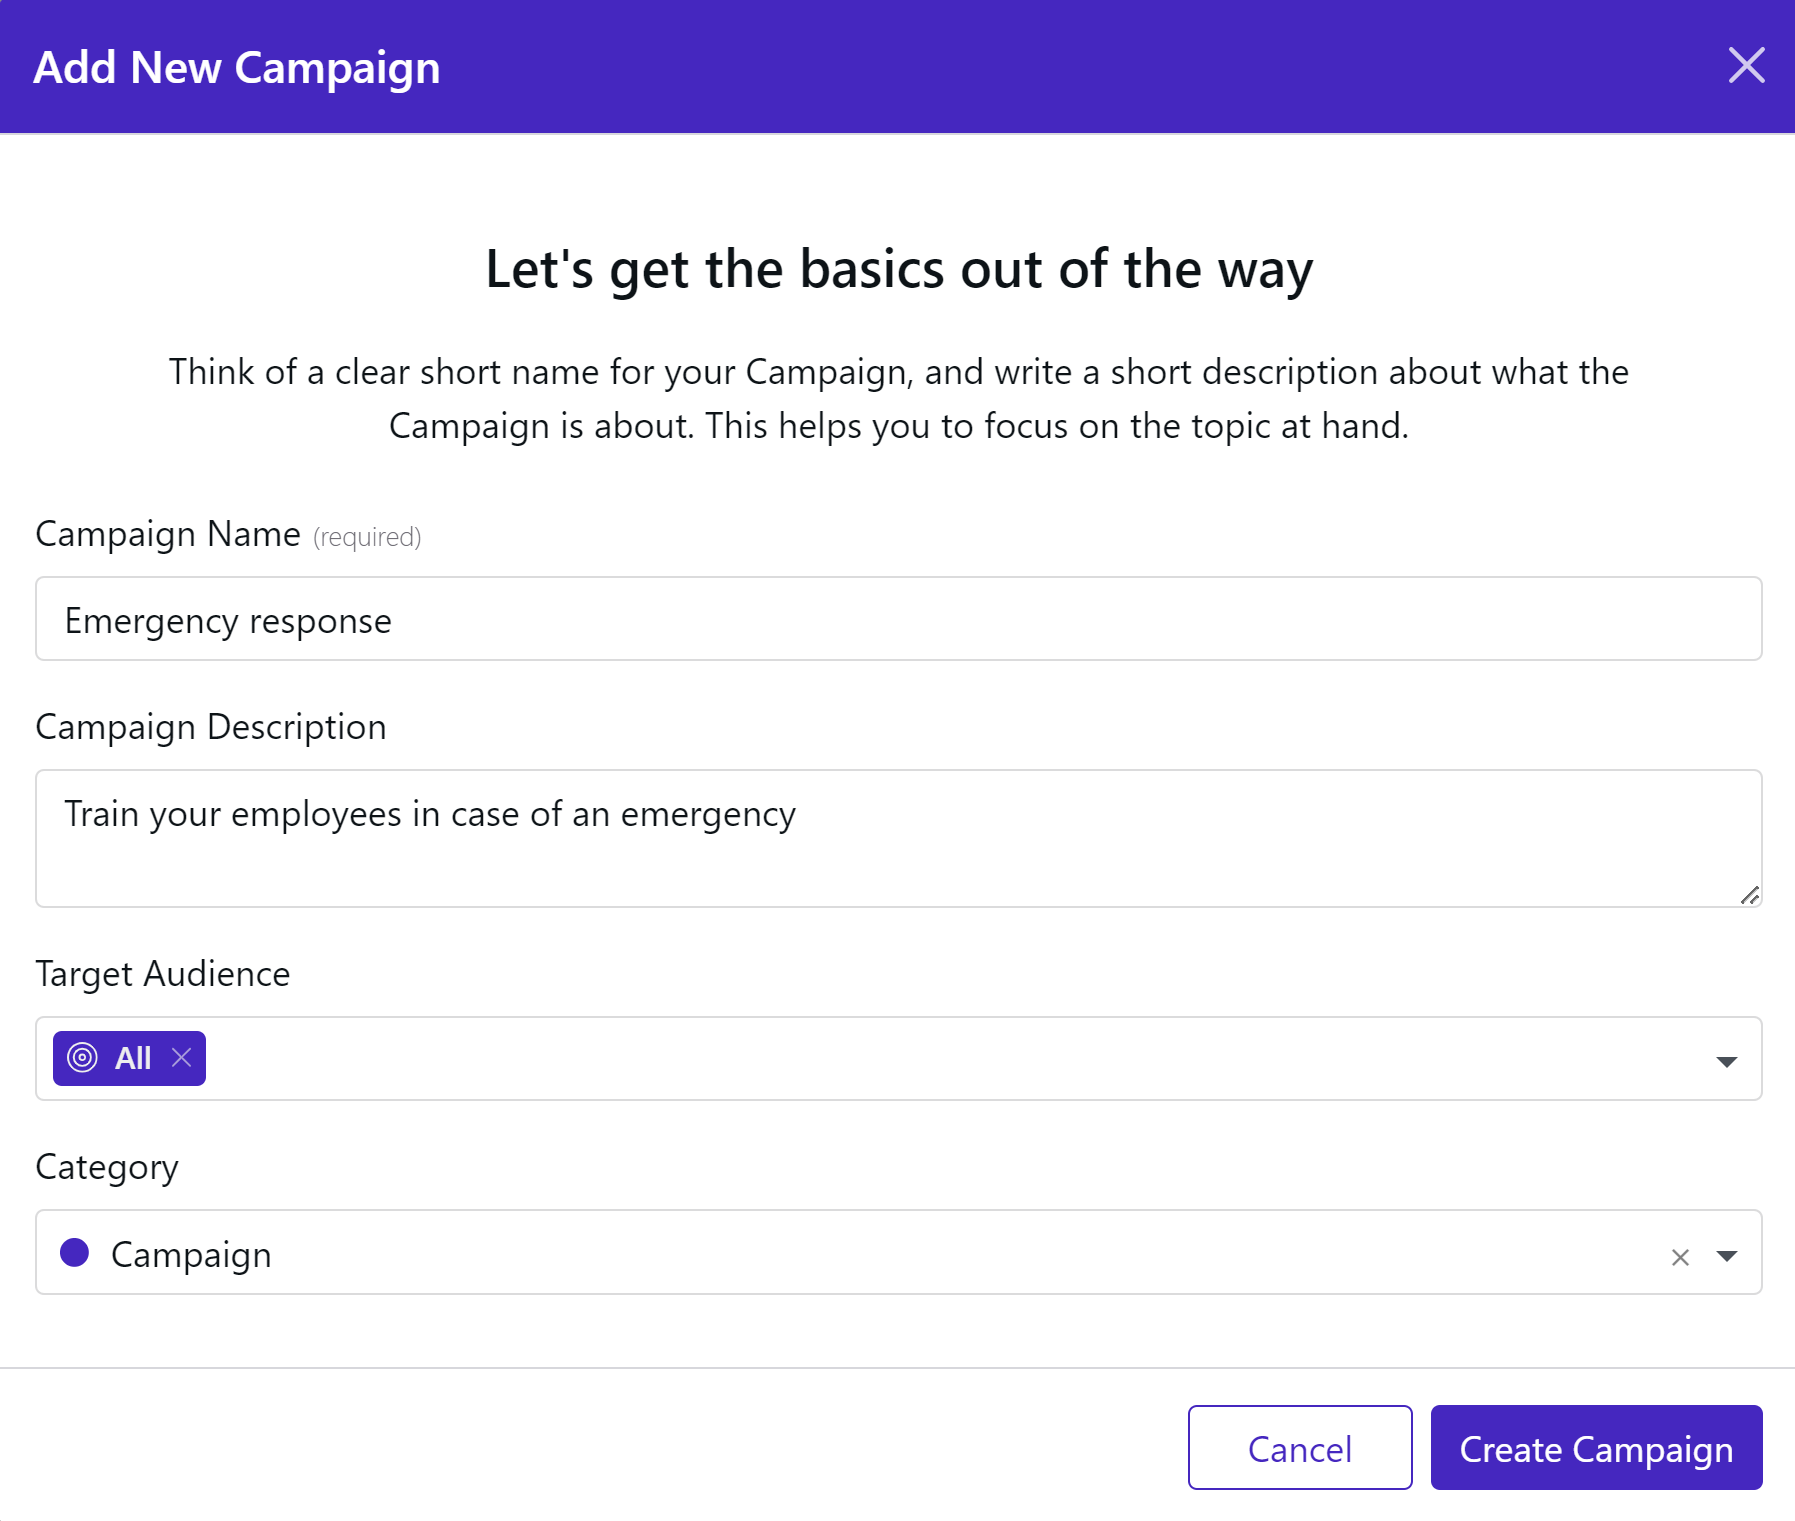
Start by giving your Campaign a relevant name and description. Select an Audience and Category. Choose to Schedule the Campaign if needed. If not scheduled the Campaign will go live right away.
Next, set the intensity level of the campaign. This can go from level 1 to level 10. Level 1:
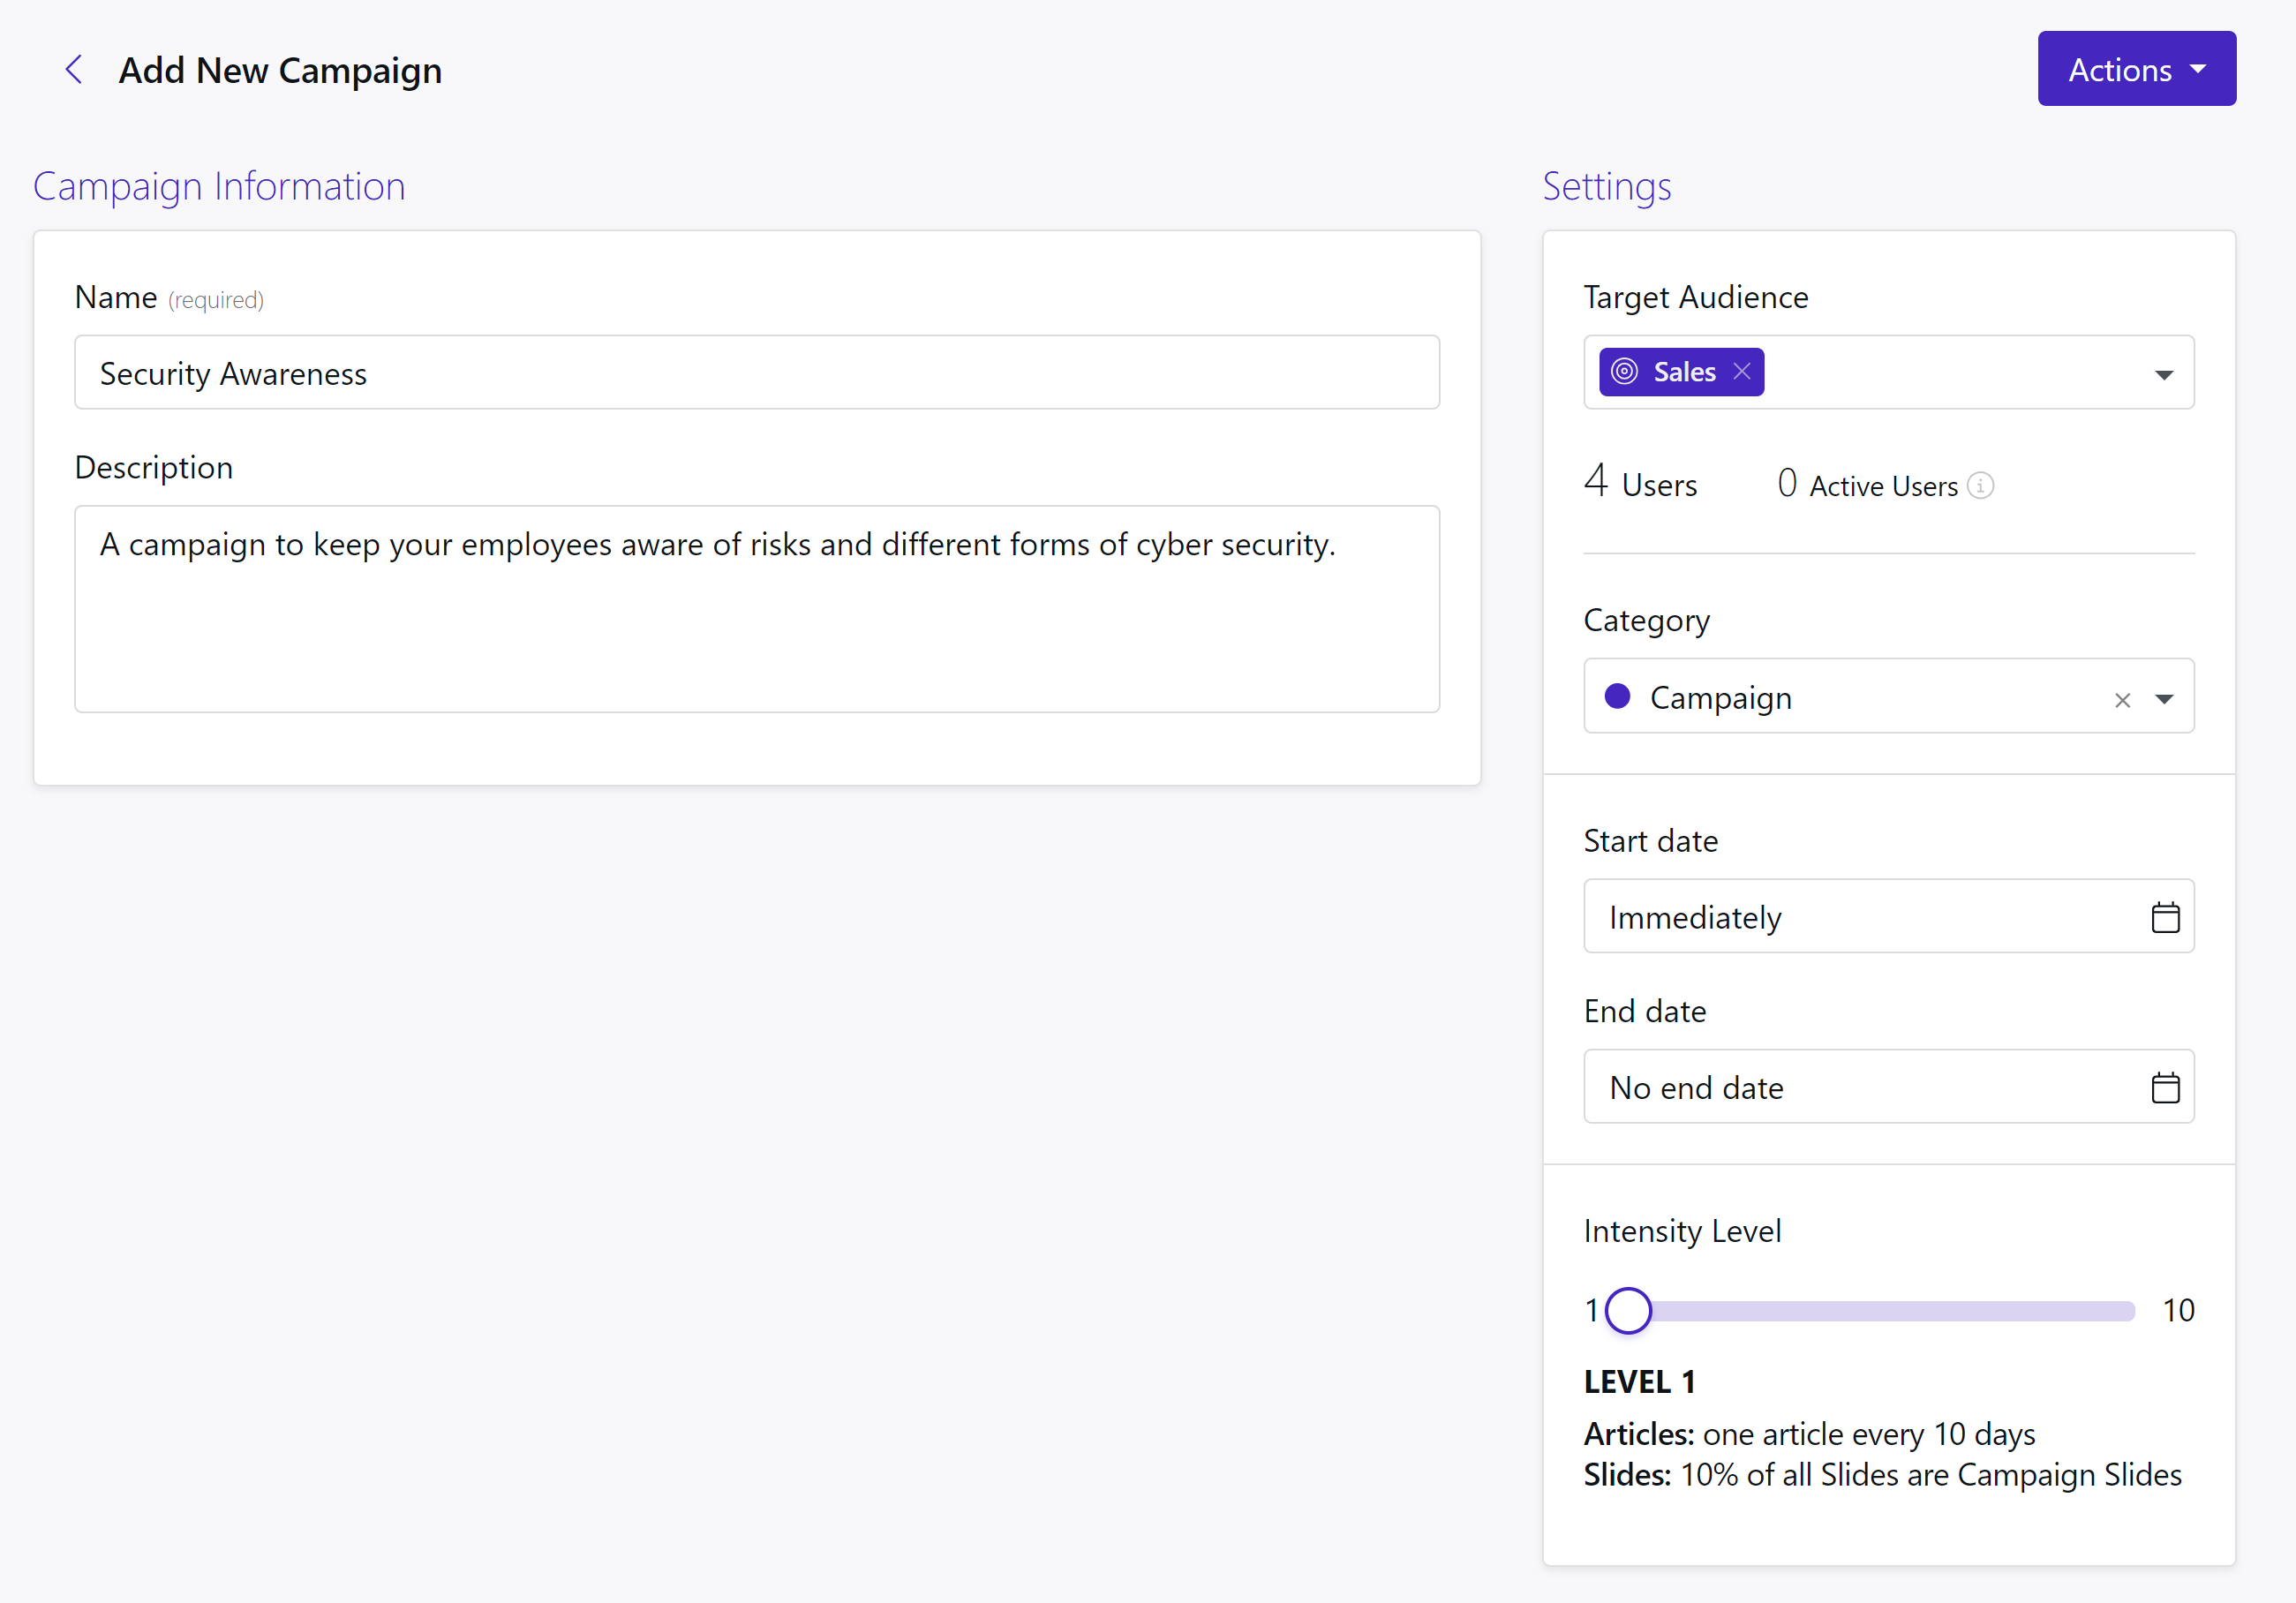
| LEVEL 1 Articles: one article every 10 days Slides: 10% of all slides are campaign slides | Up to | LEVEL 10 Articles: one article every day Slides: 30% of all slides are campaign slides |
Once you have selected the appropriate Intensity level click the “Create Campaign” or “Save as draft” button.

Creating content
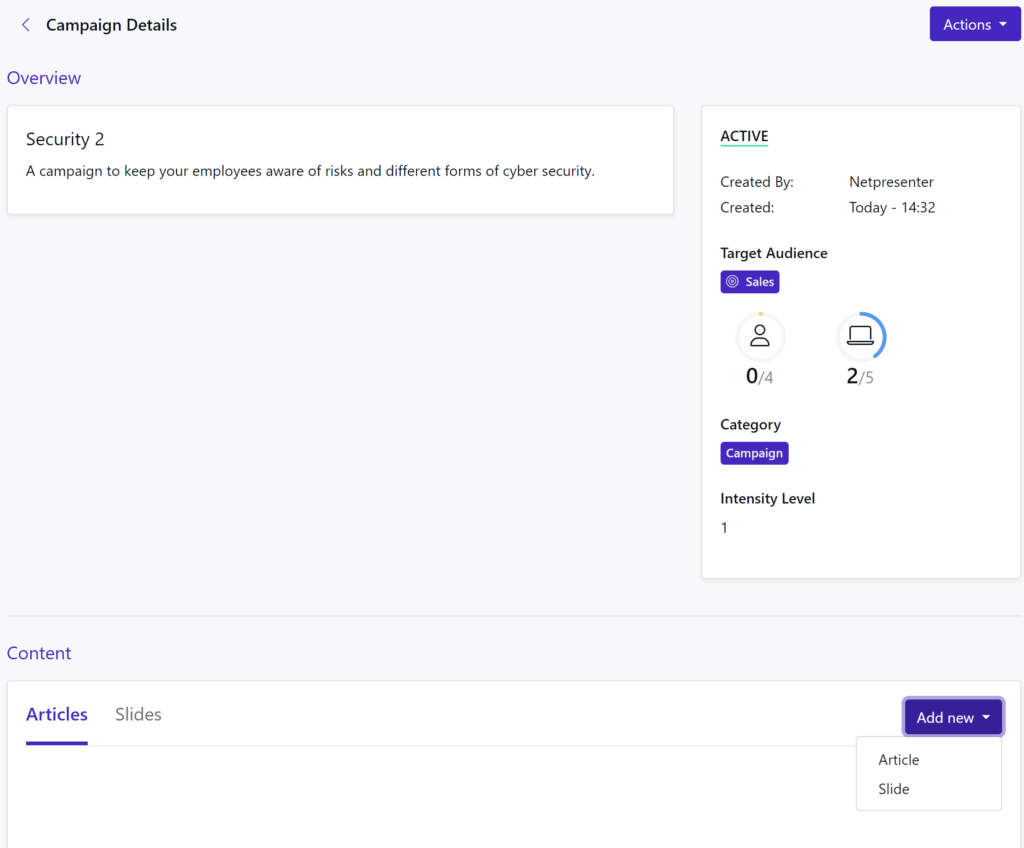
In the campaign main screen you will start with an empty Campaign. You will need to add Articles and/or Slides you want to use in your campaign. Start by clicking the “Add new” button and select if you want to create an Article or Slide.
Adding an Article
Start by adding Article content, Title, body, media, attachment. If needed you can also add a Call-to- Action using a hyperlink for more info or an Acknowledge button to ask your employees to confirm that they have read the Article.
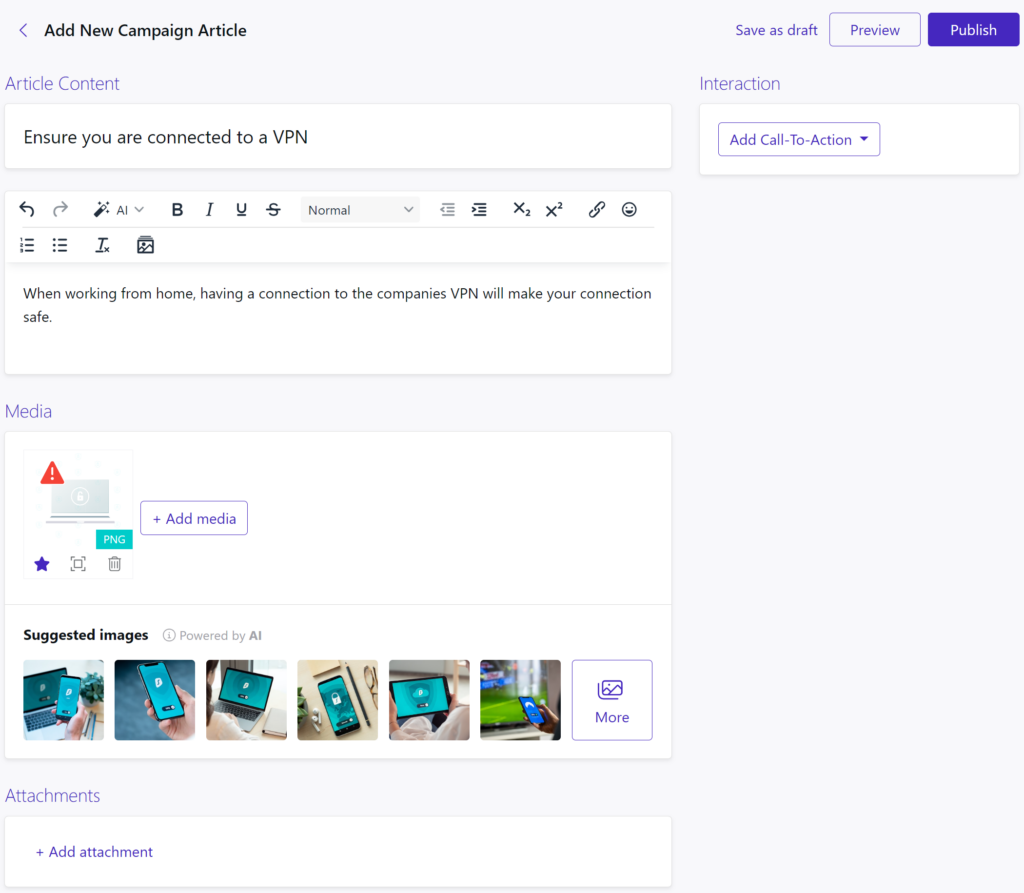
This article can be saved as draft and/or previewed.
Click the publish button to add this article to your campaign.
Adding a Slide
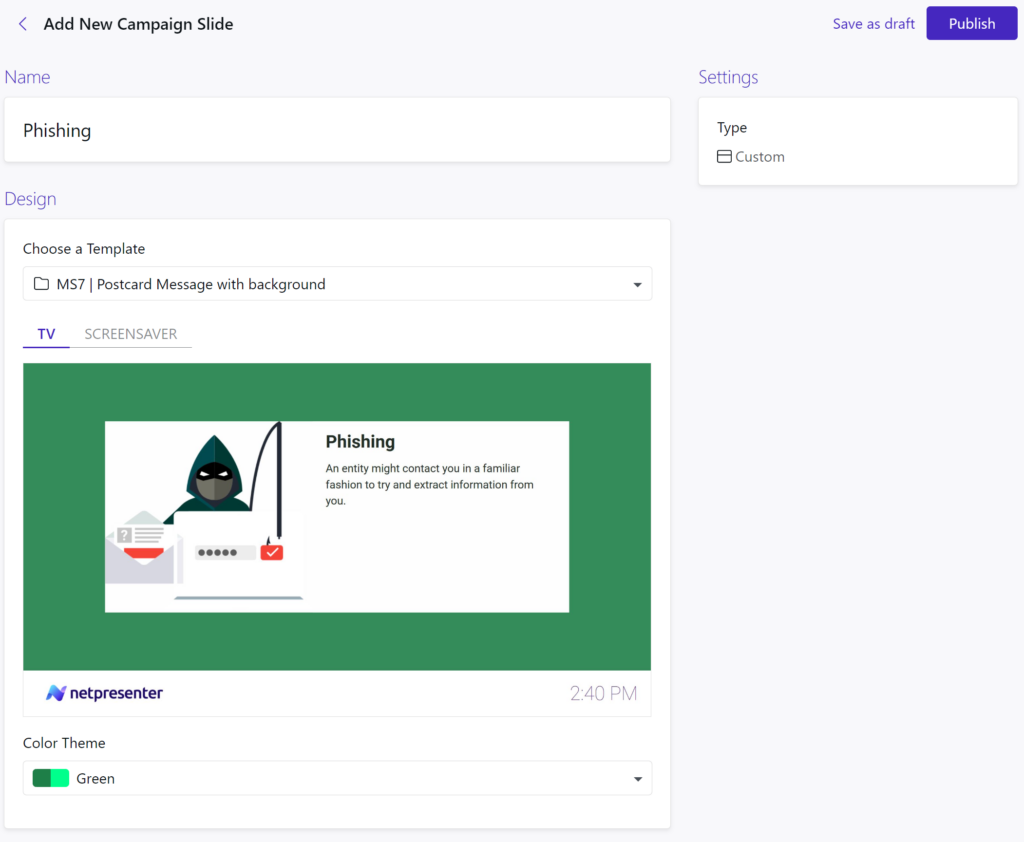
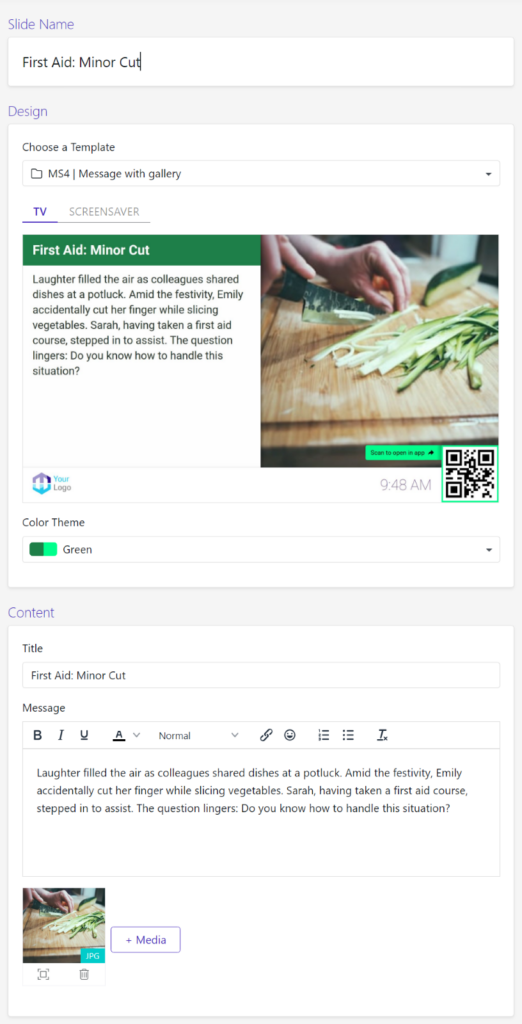
Enter the Slide name and select a template. Provide the Title, Body and Image you want to use. Select the outputs you want and click the “Add to Campaign” button.
Finalizing the Campaign.
Once all the Articles and Slides are added to your Campaign. Content will automatically start appearing in your app and on screens. They will not be visible in your Slide overview but you can check the Player details by going to Slides > Slide Players > “your player”. Here you see all messages displayer on the Player including Campaigns.
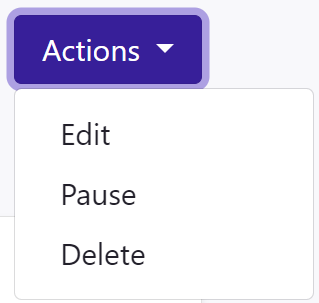
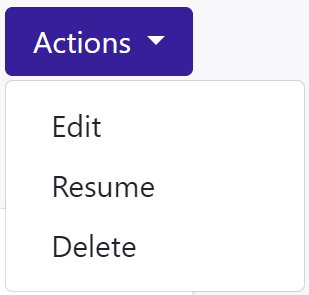
A running campaign can be edited, paused or deleted from the actions menu. When paused, this will change to resume.
Smart Campaigns
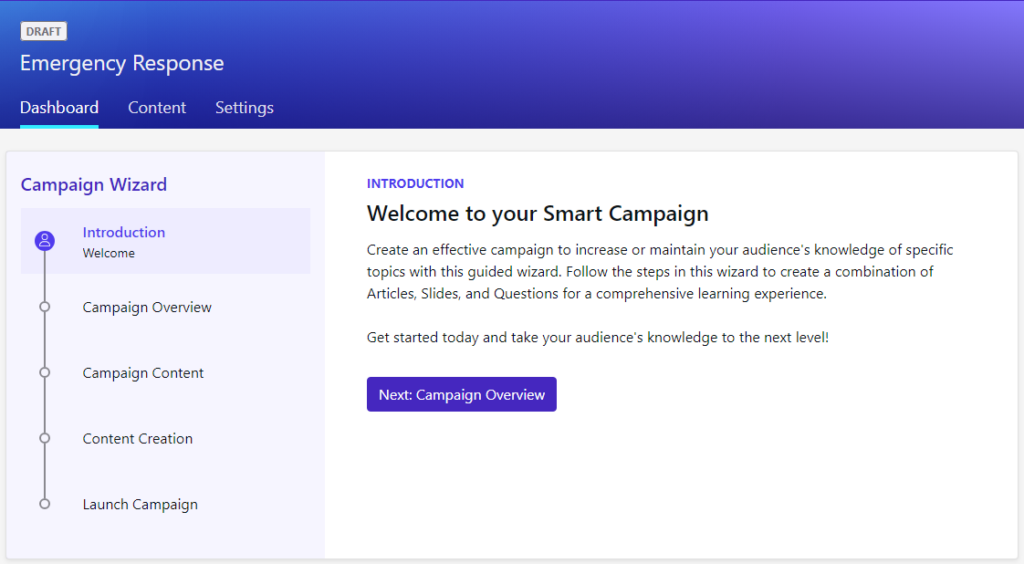
When you select to create a new Smart Campaign you start by selecting a name, description, audience and category. Next you click Create Campaign.
You’ll be greeted by our Campaign Wizard that will tell you how campaigns work. Read through the steps until you get Content Creation.
Creating a Knowledge Module
In the Knowledge modules you can add an Article, multiple Slides and questions.
Choose a name for your module. Use the Create Module button and start creating content

Creating an article
The heart of a Knowledge Module is the Article, which is like a chapter in a book that contains all the information about a single topic in your campaign. Each Module has one main Article, and all will be available to your audience (in a special app section) once you publish your Campaign.
Copies of these articles will also be posted periodically on the home page of your apps. This will increase the natural adoption of the knowledge in your campaign.

Creating Slides
You can use slides to show small portions of the Article you created in a Knowledge Module to boost your Articles without being intrusive. This is a gentle way to repeat small chunks of information and direct your audience to Articles that go into more detail.
Creating Questions

You can add Questions manually or through AI to each Knowledge Module to test knowledge and monitor your audience’s progress. A simple rule of thumb would be to create one question for each of your Slides. These Questions are then automatically used to create individual Quizzes with up to three Questions randomly selected for each Quiz.
AI
By clicking ‘Generate with AI’, a window will pop up to select a template and color theme for your slide.
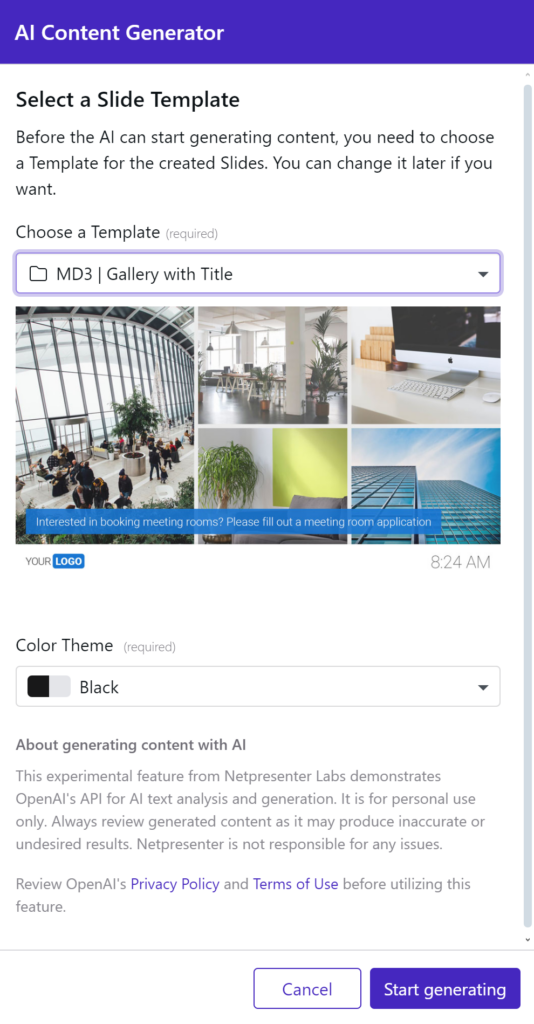
It will take a few moments after clicking ‘start generating’ for the questions and slides to be generated.

When the generator has finished, you can click on ‘view generated content’ to see the questions and slides that have been created for you.

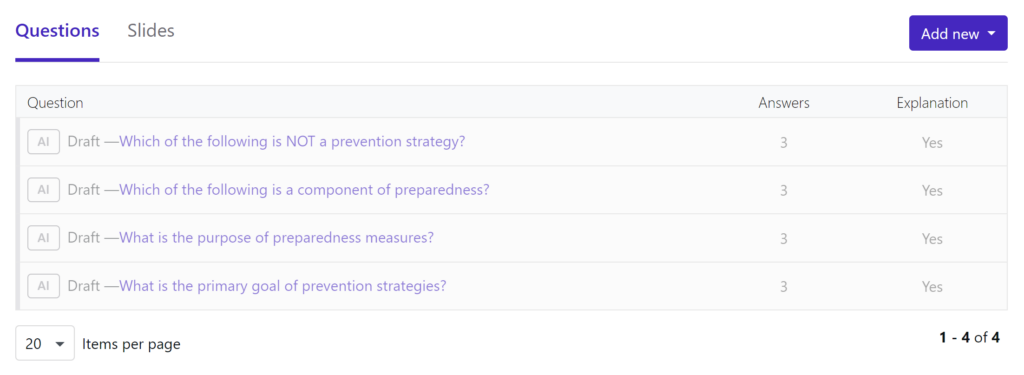
All questions and slides can be checked for their content and published when satisfied.
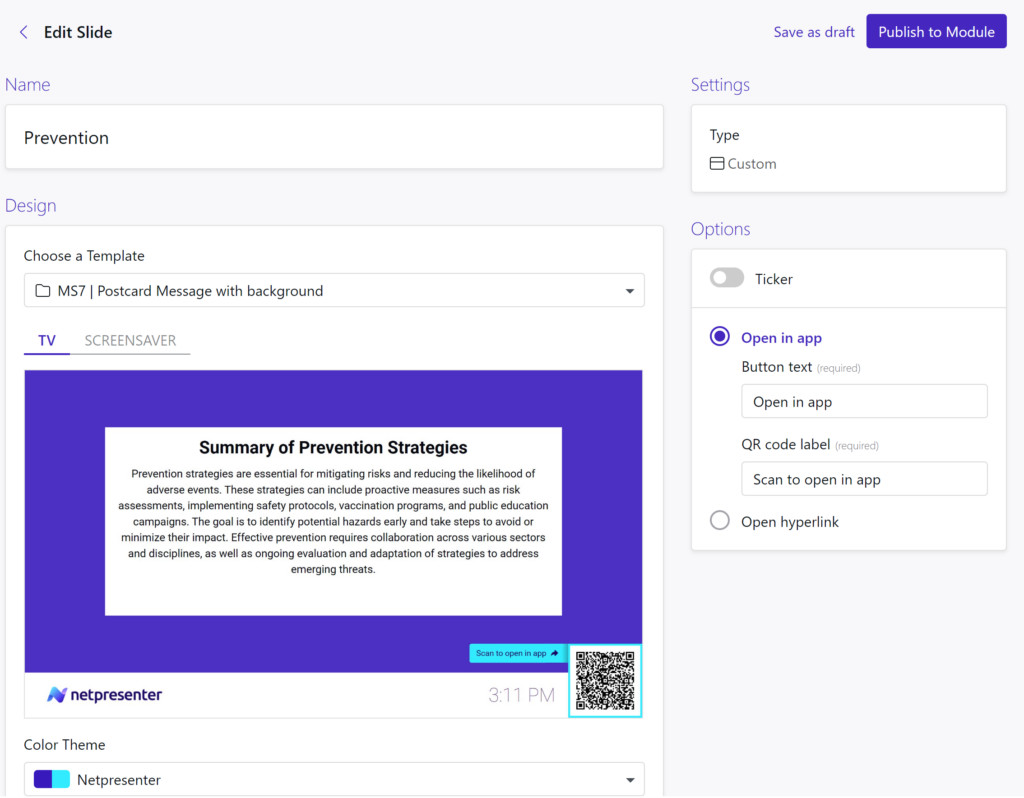
Manually
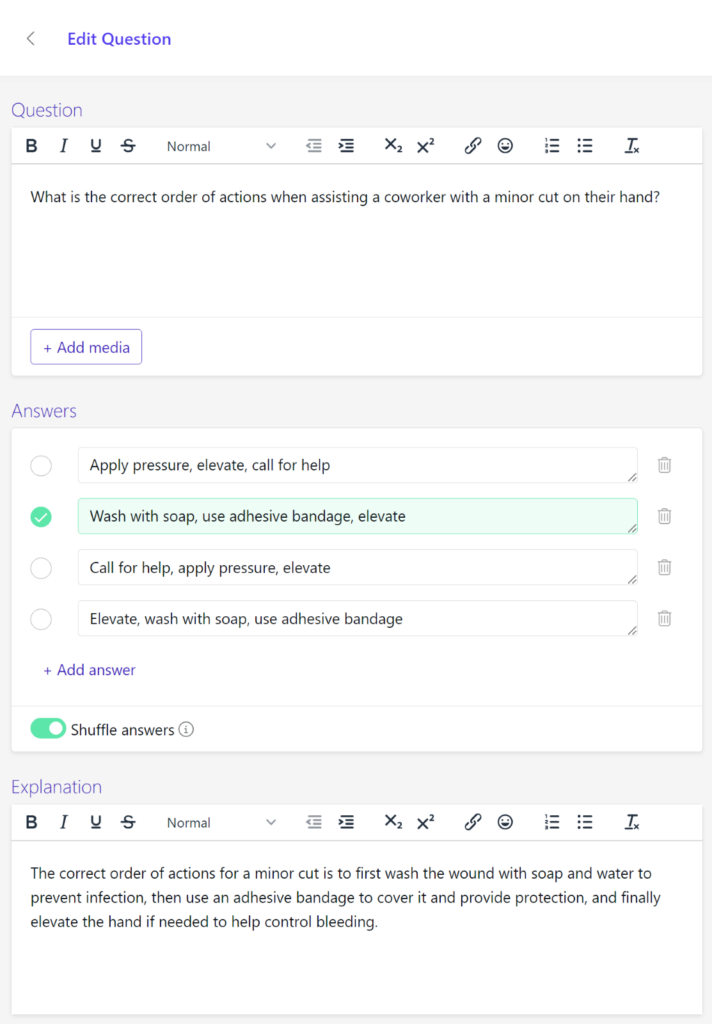
Add multiple slides and questions to your Module


You can create as many Knowledge Modules as you need for your campaign.

Launching your Smart Campaign
Once content has been created you can launch the campaign from the wizard. This will envoke the Launch Campaign wizard.

Go over all the options in the wizard and make sure all the settings are correct. Most of these have already been set in previous steps.

Set the minimum goal you want to reach with your Campaign.

Set the landing page title and body text.

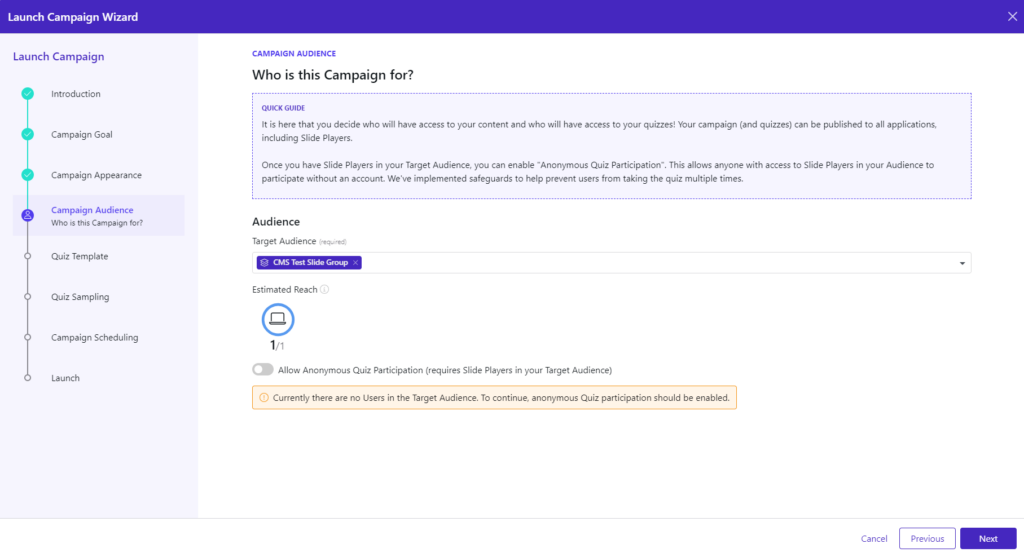
Check the audience for this Campaign. In this step, additional audiences can be chosen. If the audience is Slide Player only, or contains slide players you can opt for anonymous quiz participation. This means that the audience can scan a QR code and participate with the quiz on their phone. All stats will be sent to the system anonymously.
Set a default text for the Monthly Quiz. Questions will be taken from the Campaign’s Knowledge Modules.

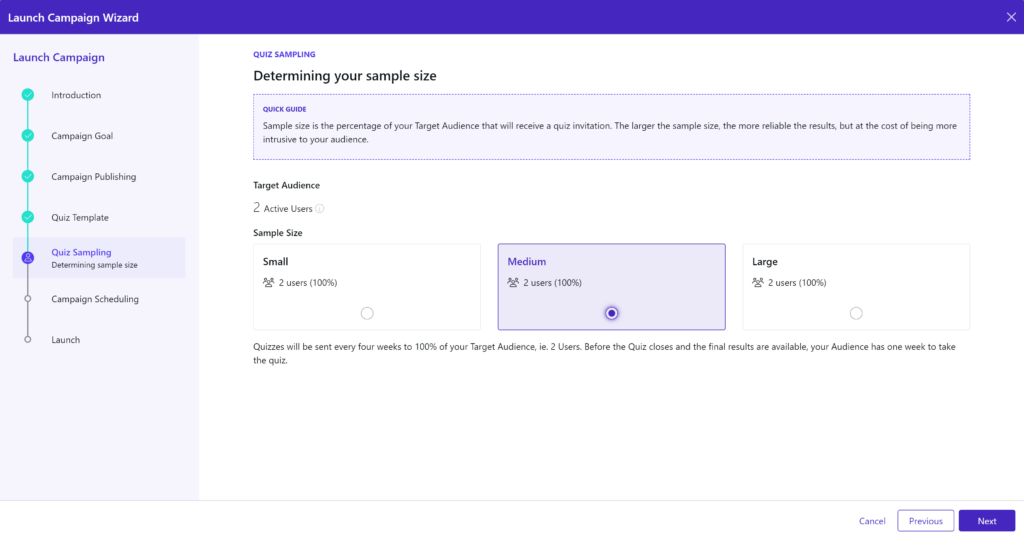
Select the sample size for your quiz, for this we use “engaged” users. These are user accounts that have been active over the past 30 days.
Set the Schedule for your Campaign by selecting a start and end date.

Launch your Campaign

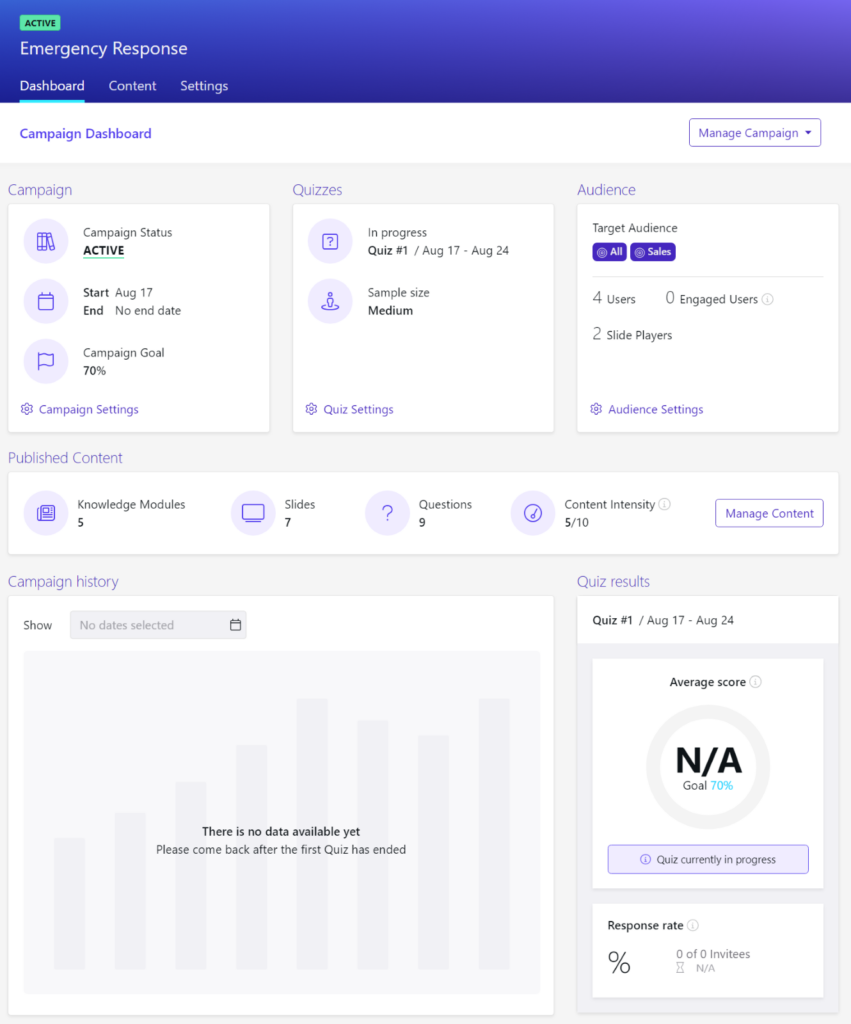
Campaign Stats
Once your Campaign is created you can open it from the overview. You’ll be able to make changes and also see the engagement and training statistics for the Campaign.
