Content Hub Automations
Estimated reading time: 7 minutes
This page explains how to create and manage Automations in the Netpresenter Content Hub. Before proceeding please check if you use the Content Hub or the Message Server & Alert Server.
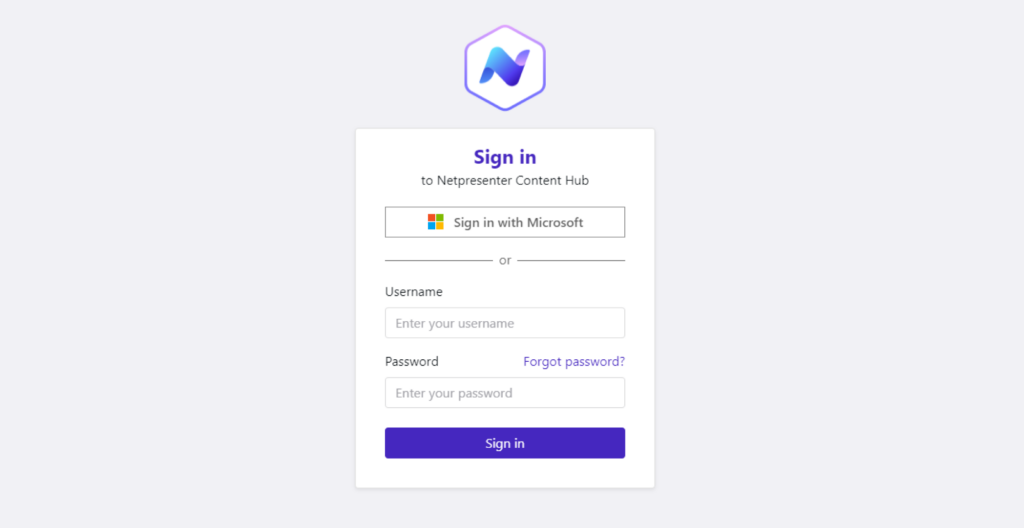
If you login looks like this you can proceed on this page.
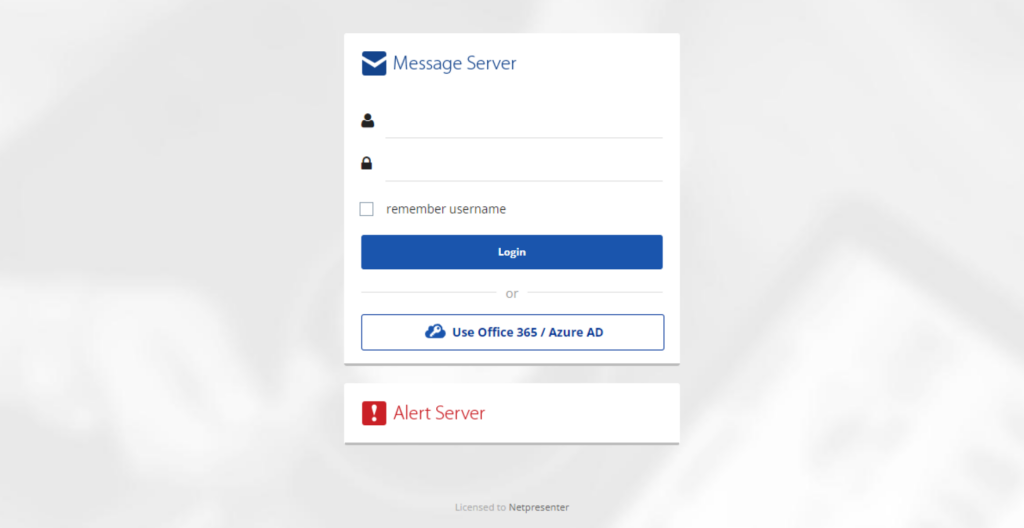
If it looks like this please click here to read the Message Server & Alert Server documentation.
Table of contents
Automations
Automations offer you a way to automatically create Articles or Slides from the content provided by an External Source. You could use this for instance with your SharePoint, Facebook, X, or a news feed.
Slide Automations
Creating a Slide Automation
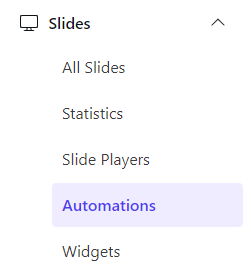
Start by going to Slides > Automations and click the “Add new” button.
Start by giving the Automation a name and select the External source you want to use. Next, set the naming convention for the created Slides, you can for instance use the name of the feed and select the Title from the “Merge Tags” option. This will only be shown in the message list, not on the Slide itself.
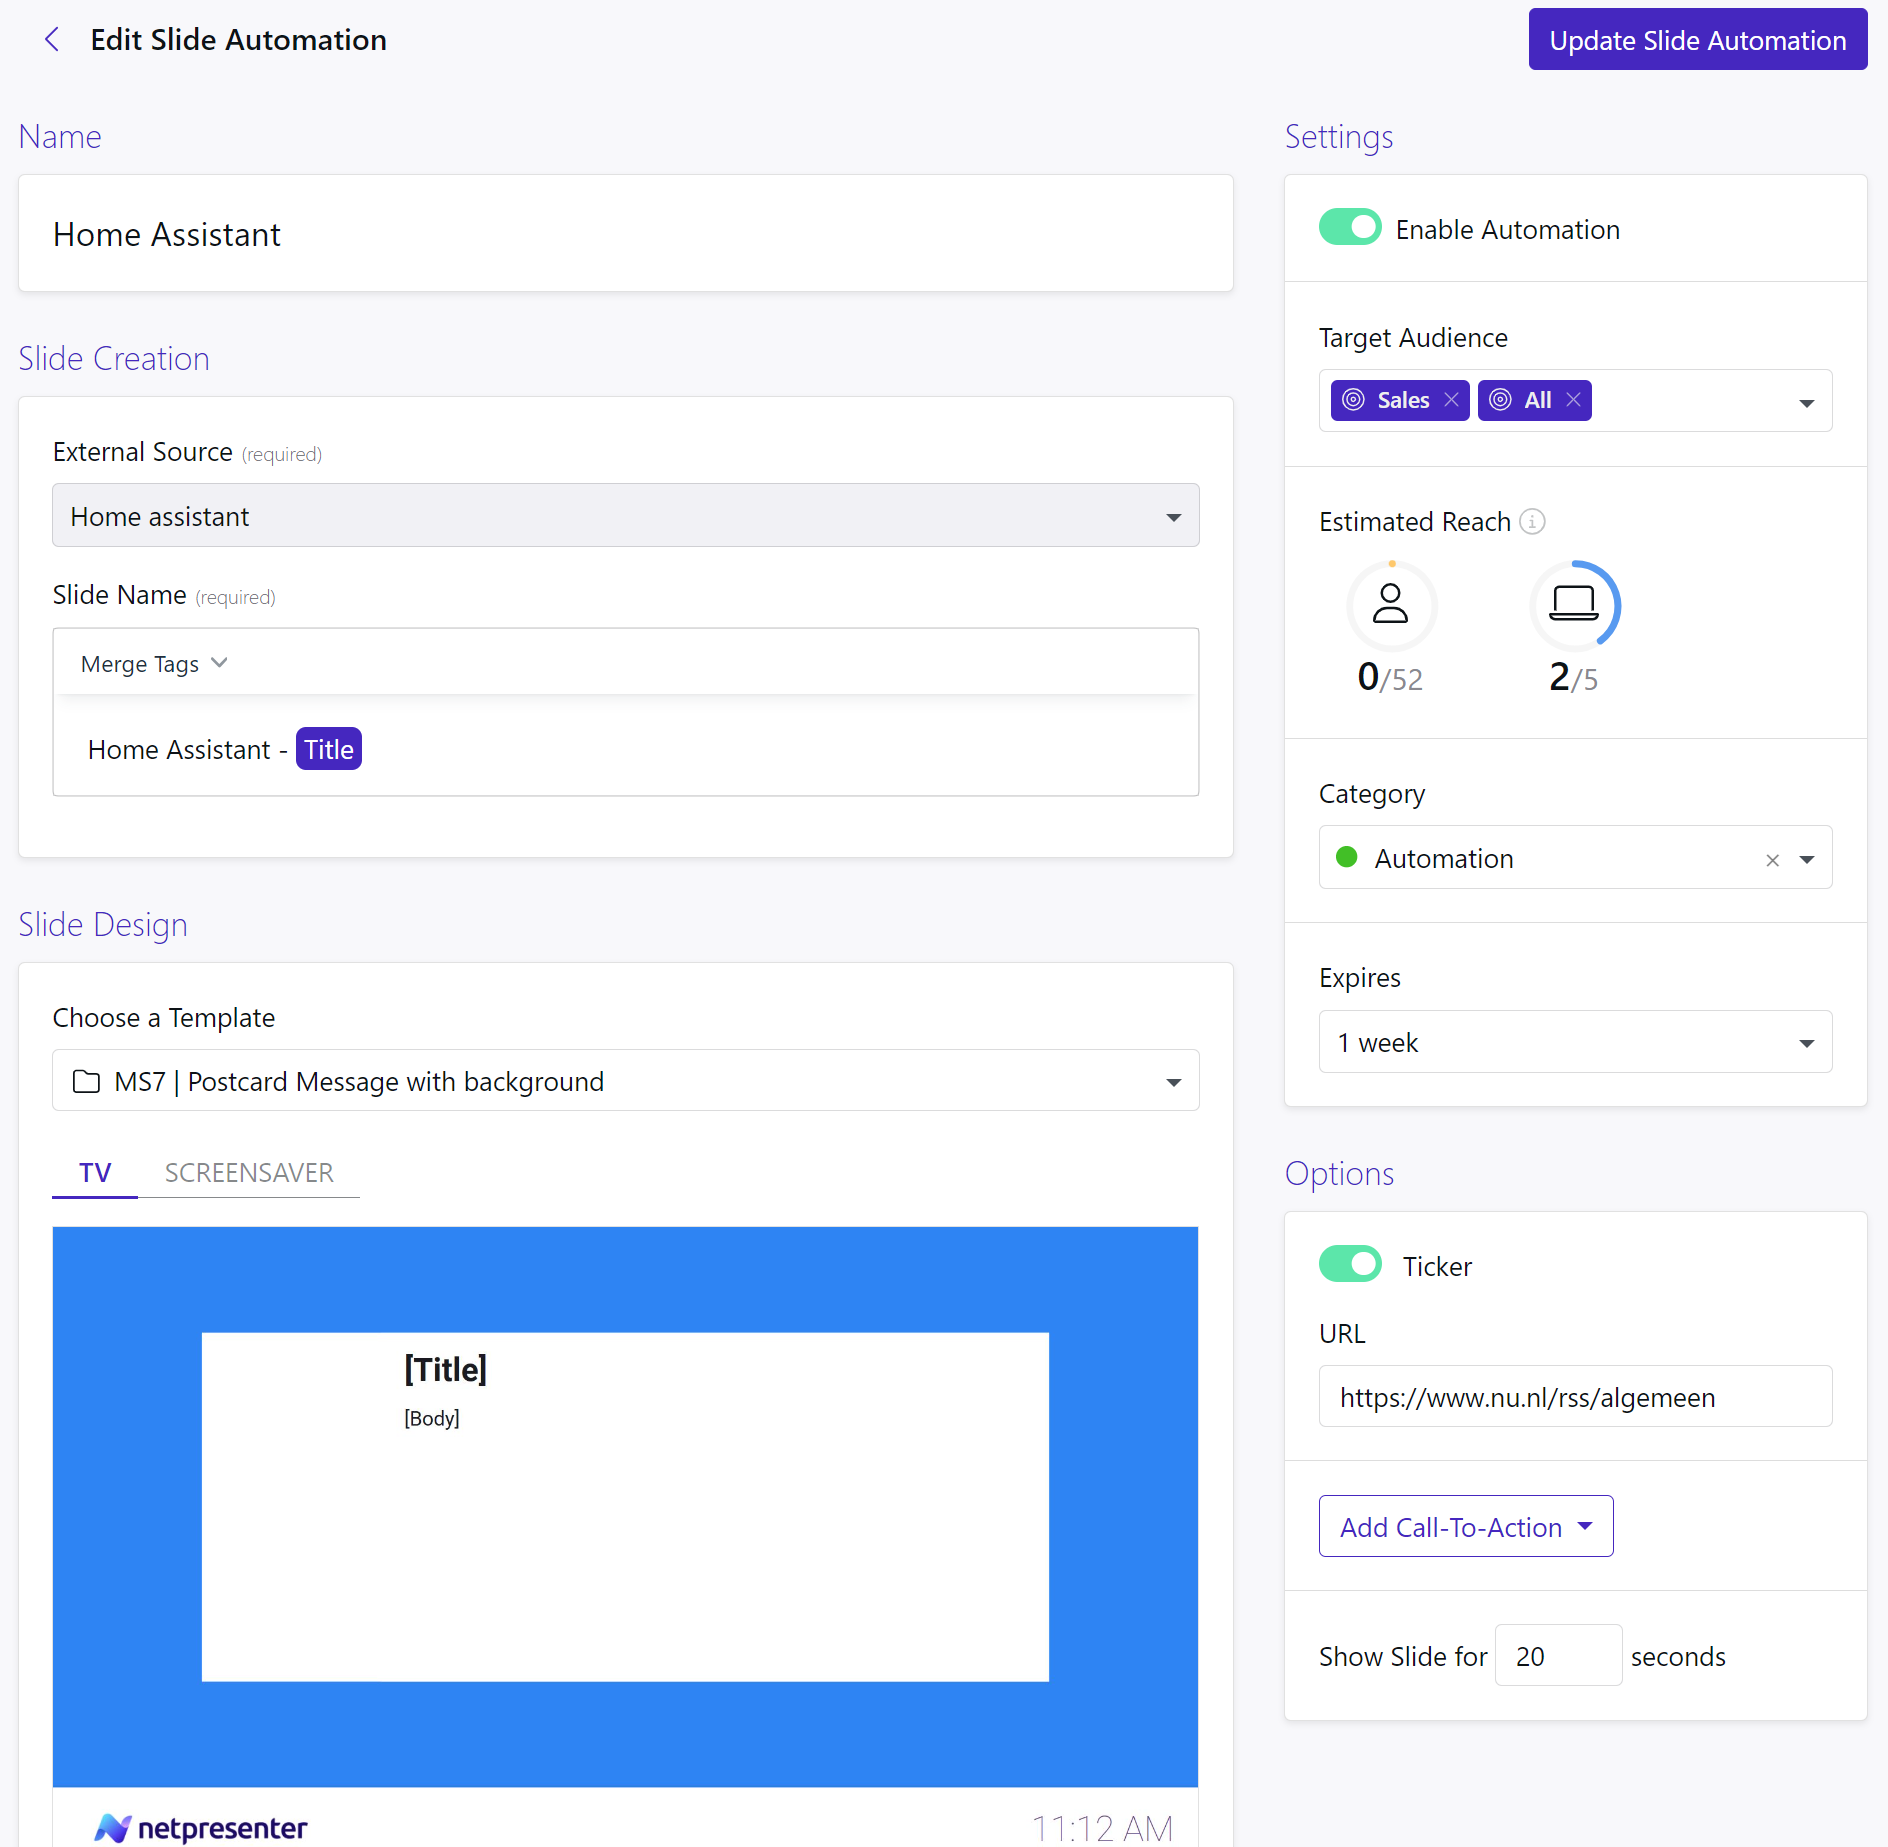

Choosing your Slide and content
- Use the “Choose a Template” option to open the template dialog, select the template you want to use.
- Select a Color Theme from the dropdown menu.
- Set a Title and Message body using the Merge Tags
- Select if you want to show a picture on the Slide.
Set Slide options
- Choose if you want to Enable the Automation directly after saving.
- Select your Audience from the dropdown.
- Select a Category from the dropdown.
- Select an expiration time slot
- Set the duration of new messages. This will determine how long a automatically created message will be visible in the Slide list.
- Select the outputs you want to use. Only outputs that are supported by the template are shown here.
- Add a Ticker if needed.
- Enable the hyperlink option if you want to let users open the source of the message.
- Save by clicking the “Add new Slide Automation” button at the top.

The Result
The Automation will now also show in your Automation overview.

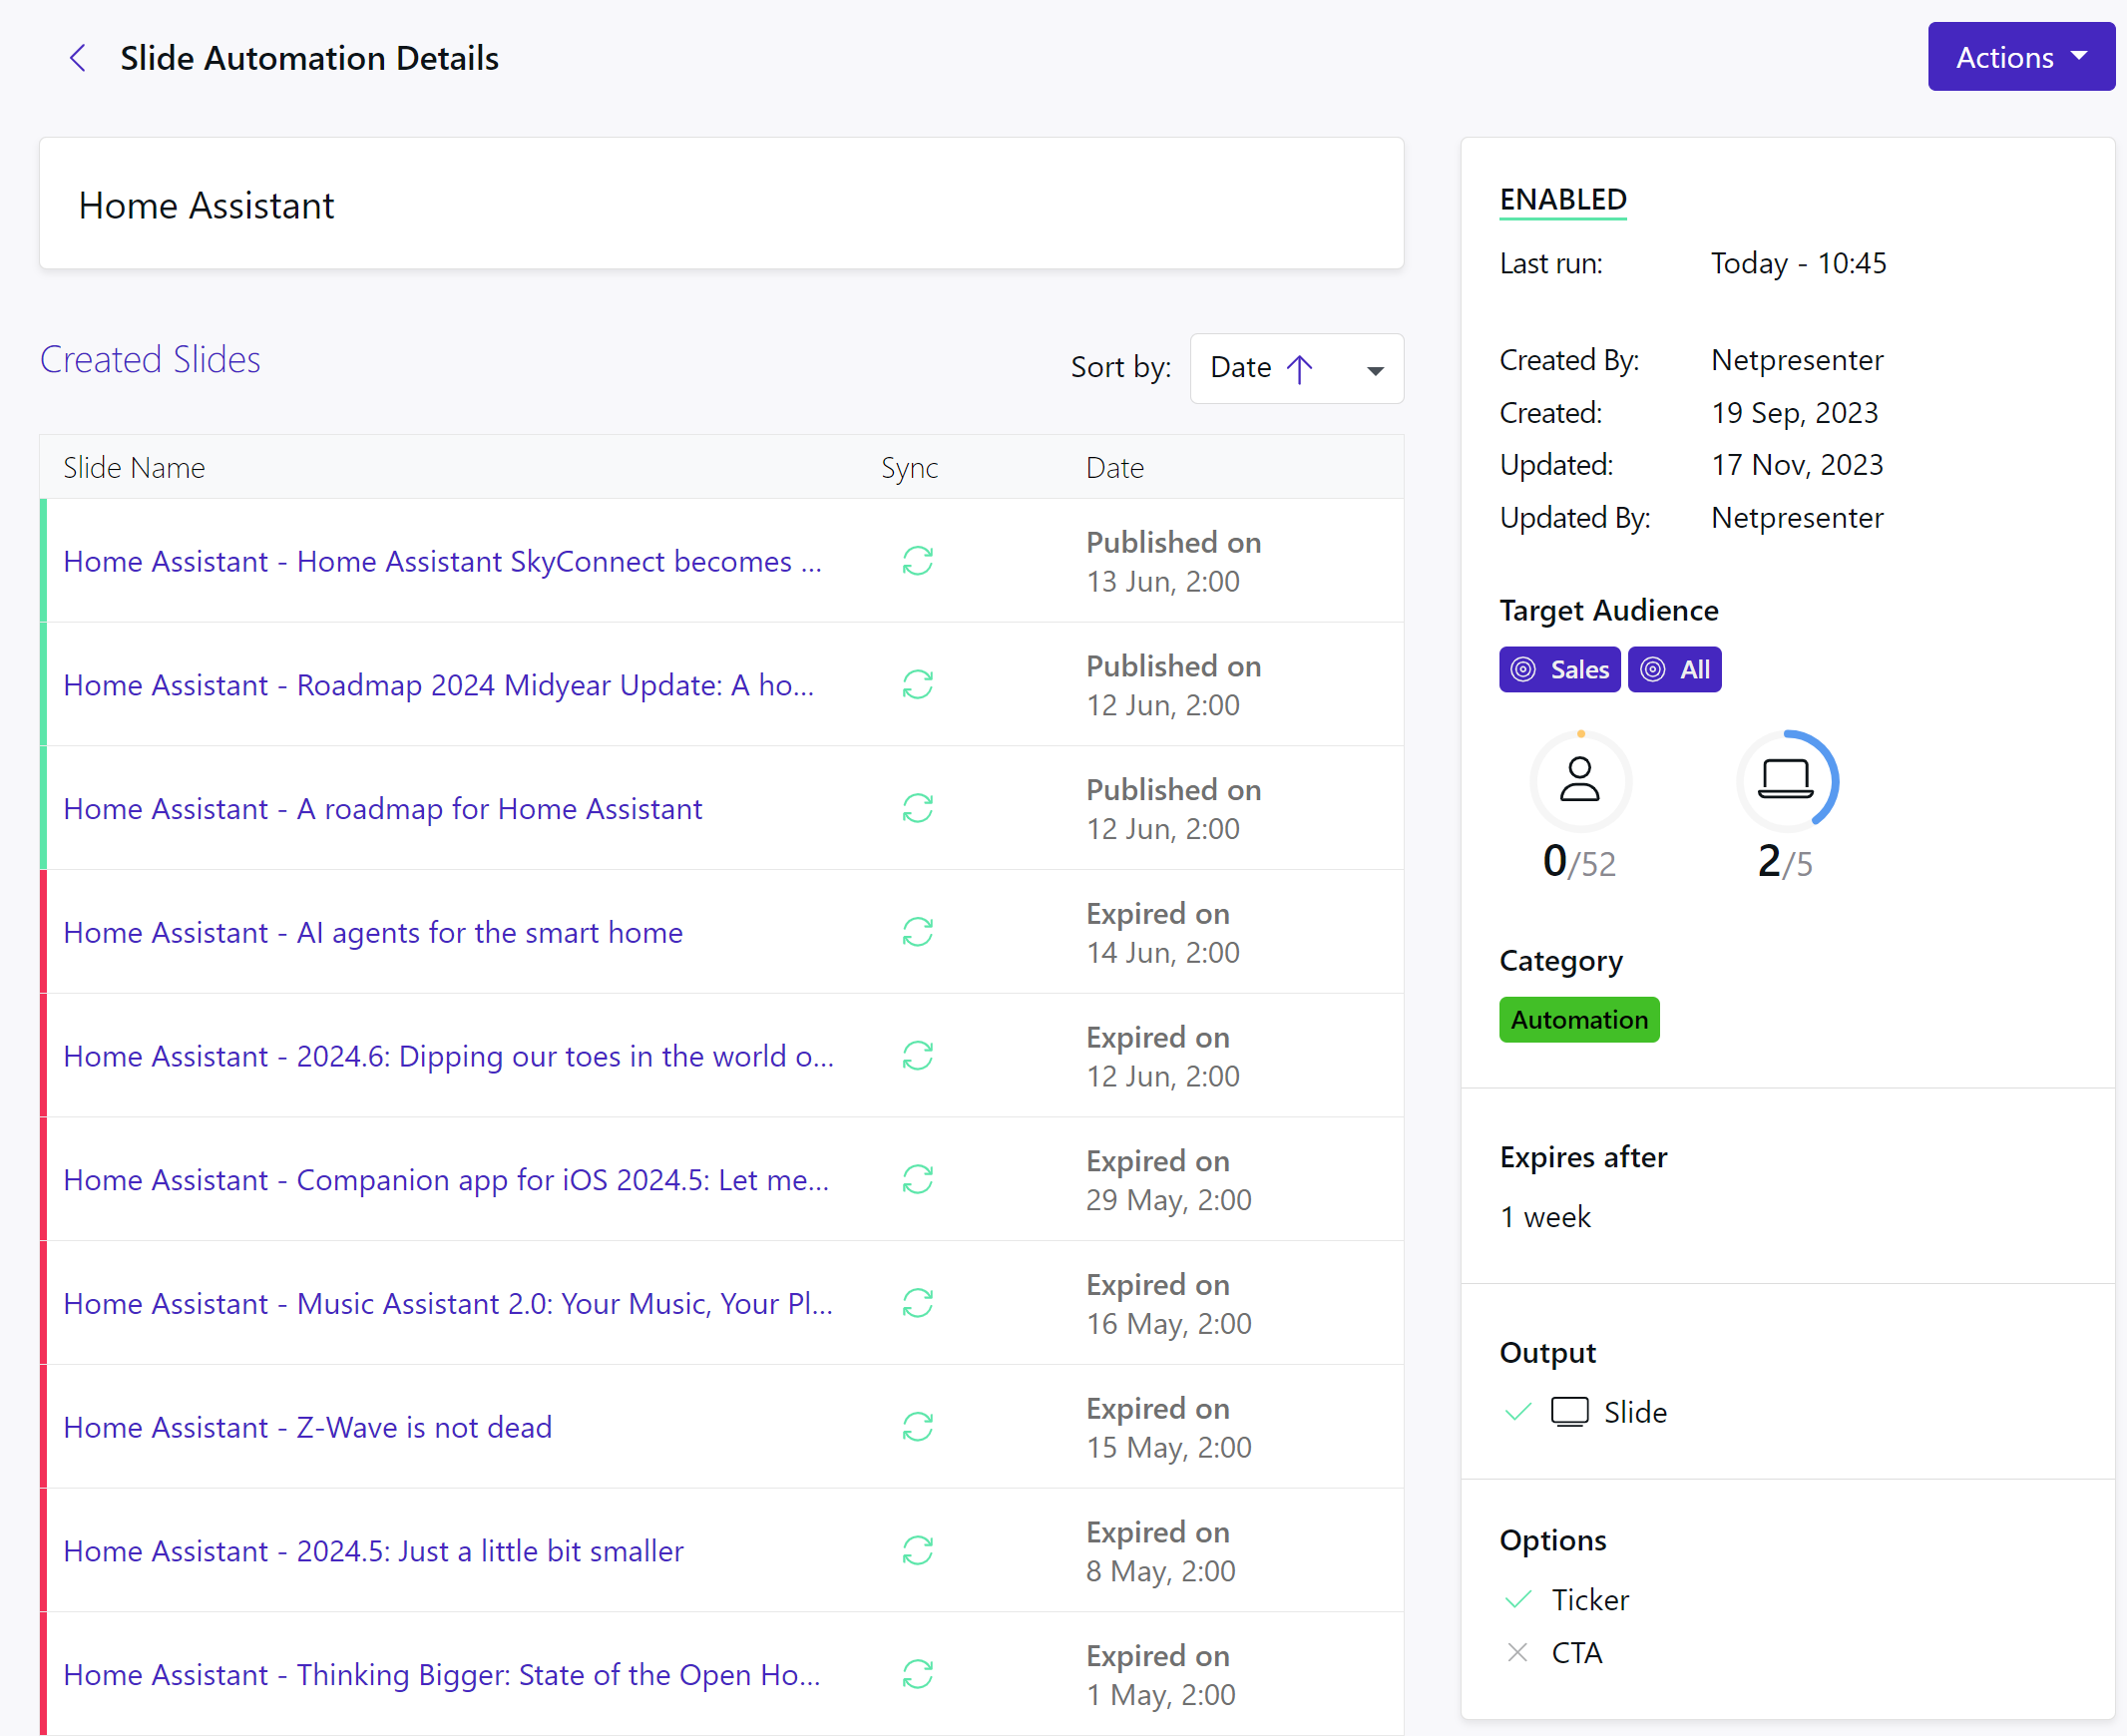
Upon opening the automation, you will see information regarding the automation’s settings. It will also display a list of the Slides created by the Automation.
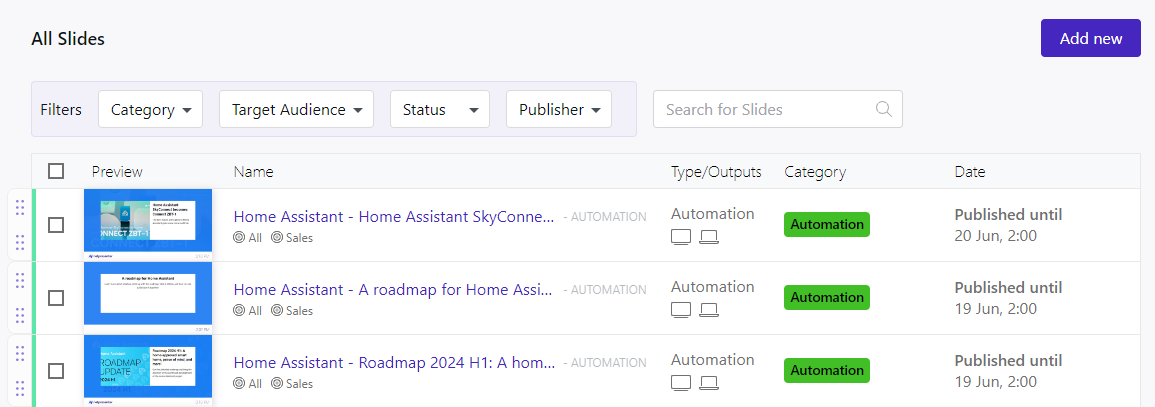
Created Slides will also be visible in the All Slides overview.
Article Automations
Creating an Article Automation
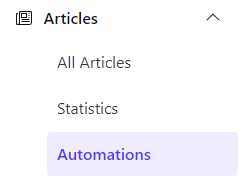
To create a new Article Automation, go to Articles > Automations and click the “Add new” button.
Start by giving your Automation a name.
Choosing your Content
- Select the External Source you want to use.
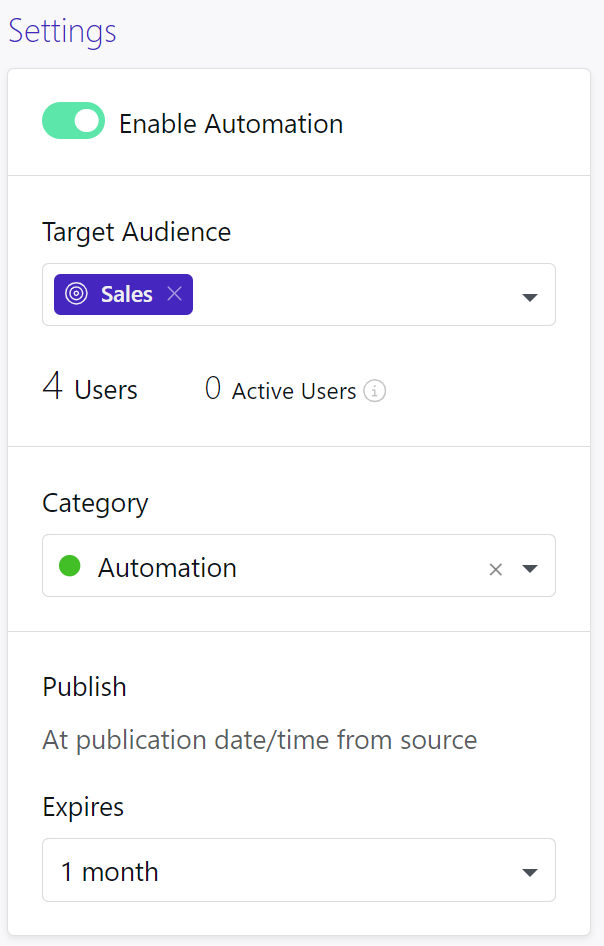
- From the “Merge Tags” option, select the content you want to display for the Title and Body of the Article. You can keep it simple with just the Title and Body. But you could also use other content that your admin has defined in the External Source. For example:

Set Article options
- Enable the job if you want the Automation to start creating Articles right away.
- Set your target Audience
- Select a category
- Select an expiration time slot
- Choose the interaction options you want to use
- If needed you can add a call to action
- Acknowledgement: Ask users to confirm that they have read the article
- Hyperlink: Adds a button to the full content
Save the Automation by clicking the “Add New Article Automation”.
The Result
After saving your automation will be visible in the automation list.

When you open the automation, you will see the list of Articles that have been created by the automation.
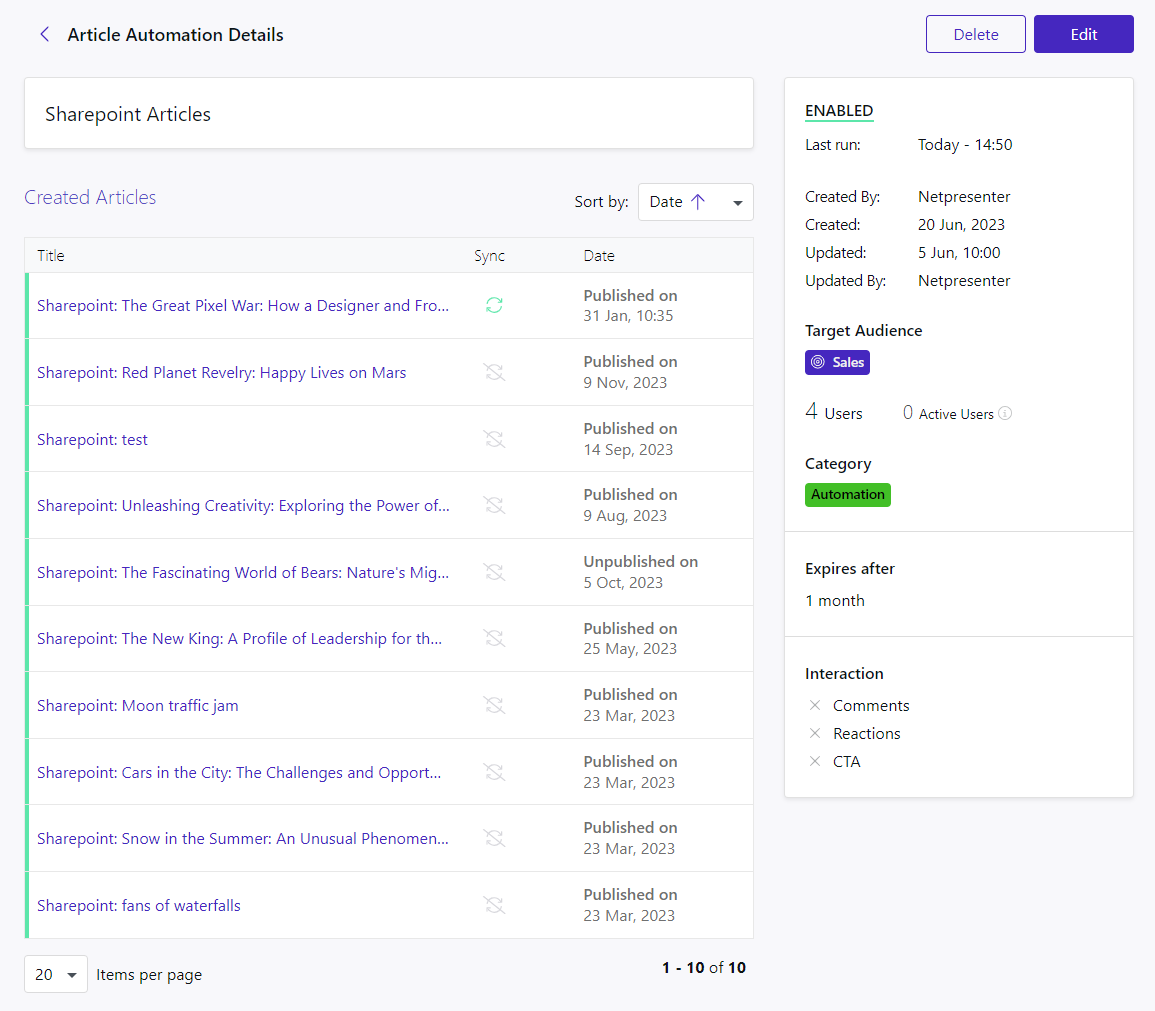
Created Articles will also be visible in the All Slides overview. The Title field will also show you this message was created by an Automation.
