Content Hub Asset Library
Estimated reading time: 5 minutes
This page explains how to create and manage assets in the Netpresenter Content Hub Asset Library. Before proceeding please check if you use the Content Hub or the Message Server & Alert Server.
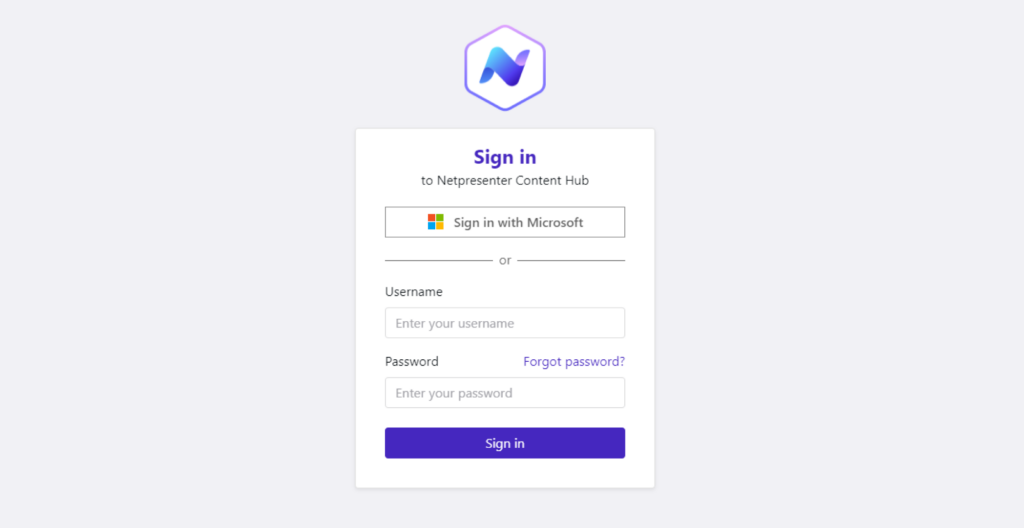
If you login looks like this you can proceed on this page.
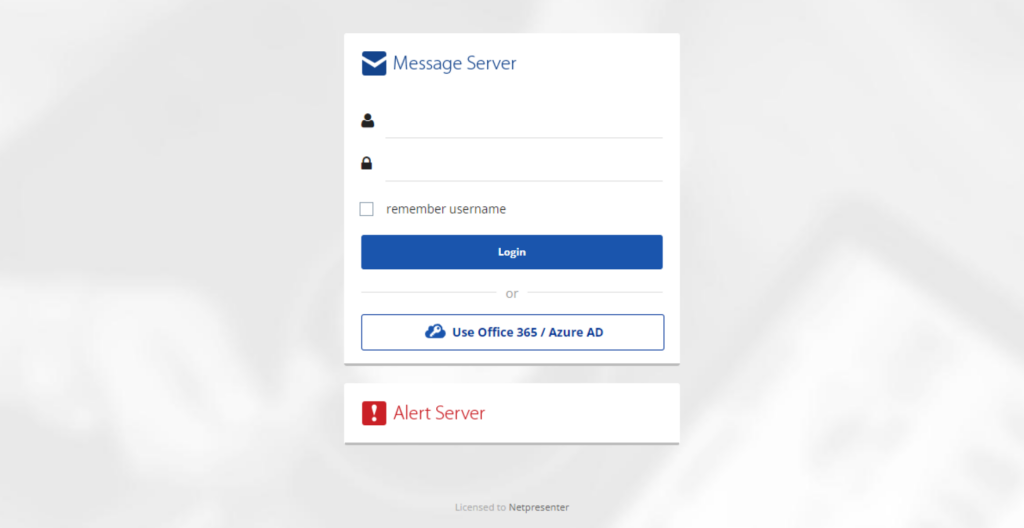
If it looks like this please click here to read the Message Server & Alert Server documentation.
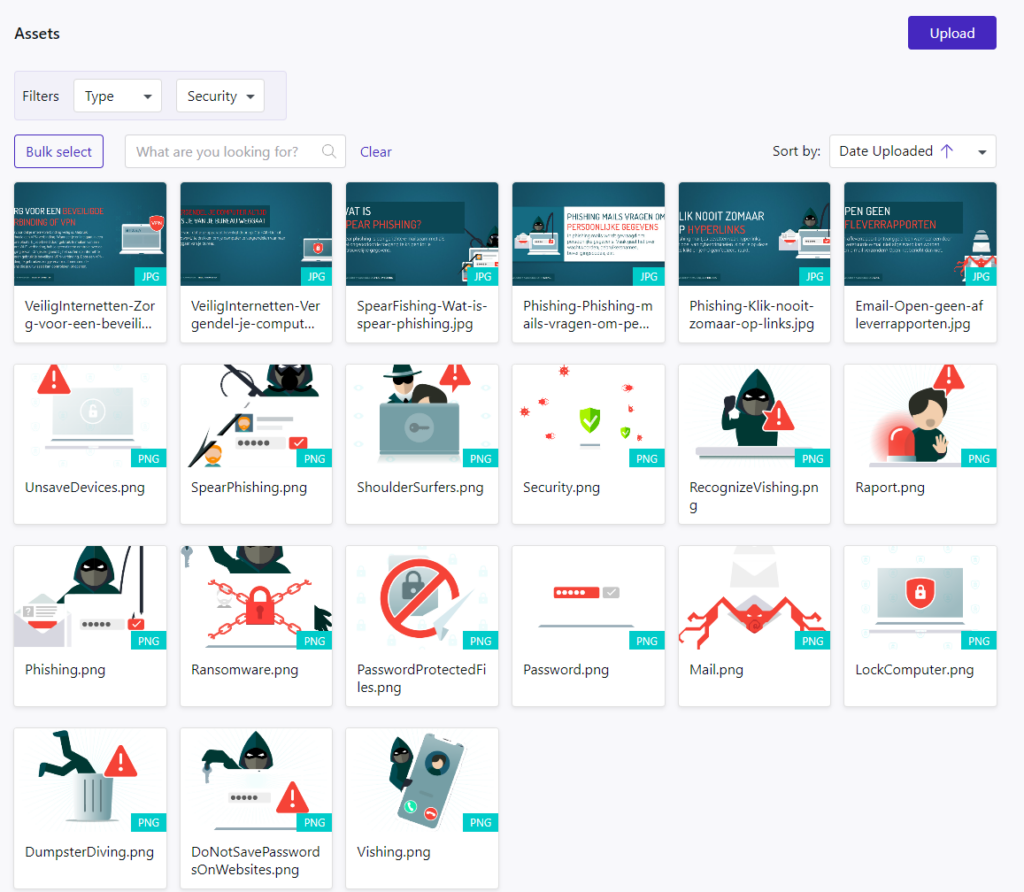
Asset Library
Overview
The asset library holds all the files that have been and will be uploaded to your Content Hub.
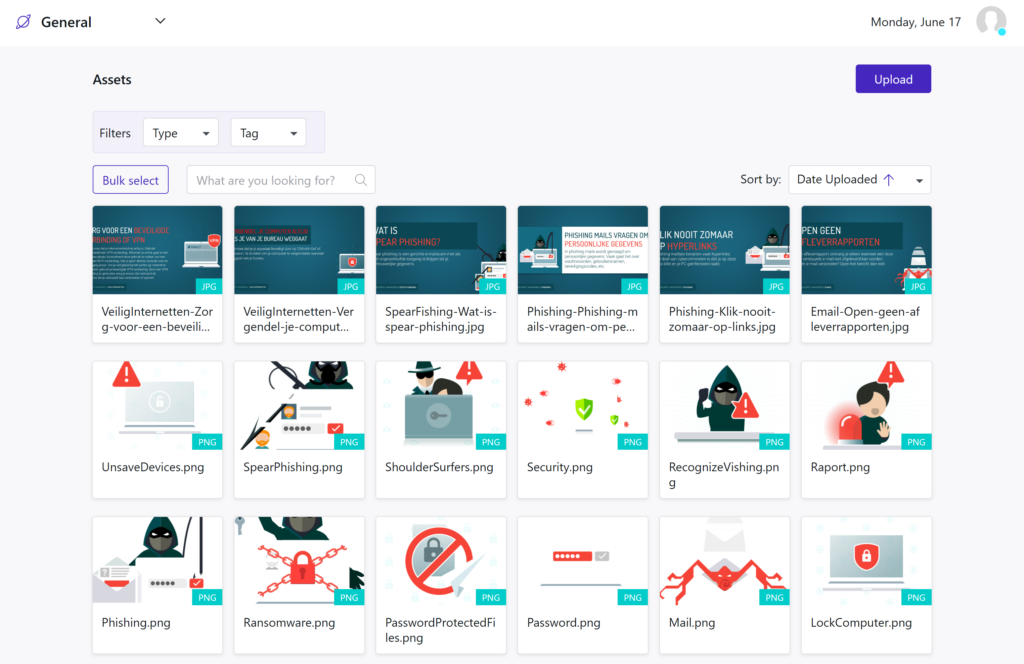
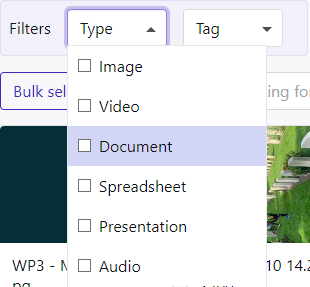
The Overview shows all uploaded files. The list can be filtered by type and by tag.
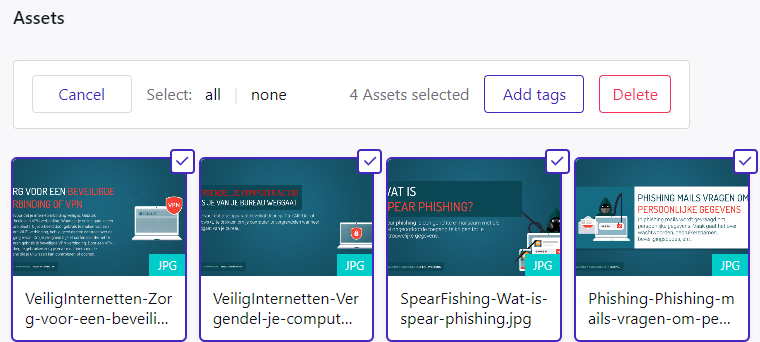
The files can be selected in bulk to either delete or add tags in bulk.
Searching for a specific file is possible, as well as sorting the list by date

Uploading files
To upload files, click on the ‘Upload’ in the top right corner.
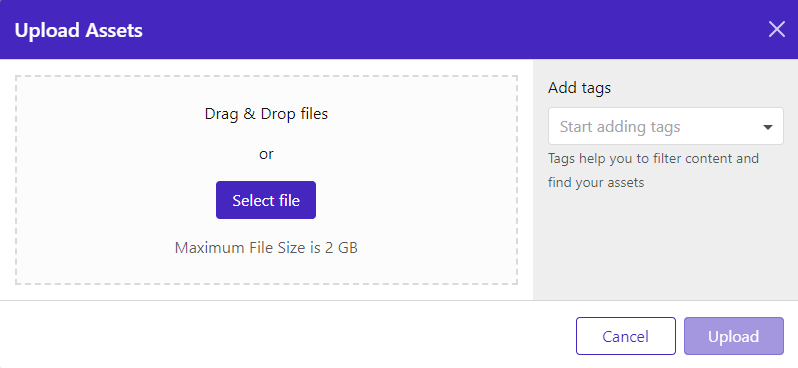
You can either drag & drop your files in this pop up or select your files via browsing to the files.
Tags can be added to the files that you upload on the right side of the pop up window.
Tags
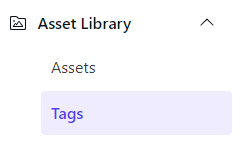
Asset tags can be created in the second tab of the Asset Library.
In the overview, you can see the existing tags. You are able to search for specific ones and sort the list by date.
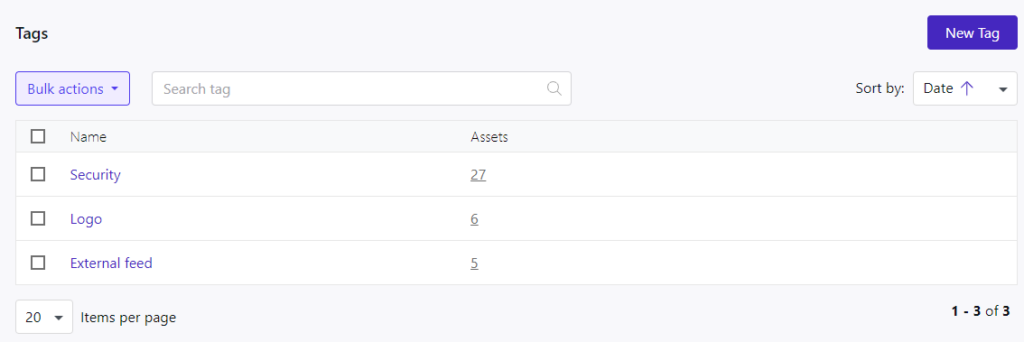
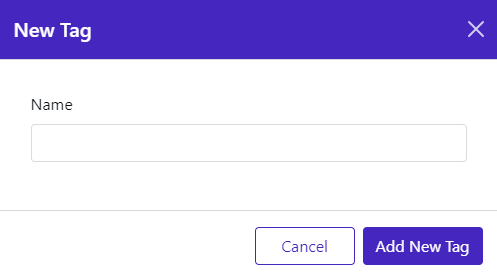
By clicking on ‘New Tag’, you are able to create a new one, simply by filling in the name in the new window.
If a tag has been assigned to a file, the number underneath assets will increase.
By clicking on that number, you are able to see all these assets.