


Content Hub Alerts
Estimated reading time: 12 minutes
This page explains how to create and manage Alerts in the Netpresenter Content Hub. Before proceeding please check if you use the Content Hub or the Message Server & Alert Server.
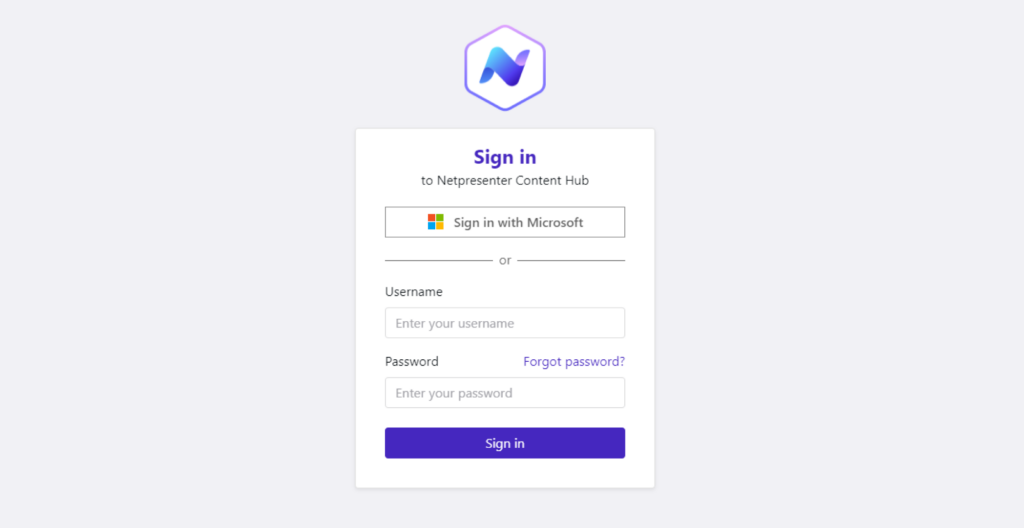
If you login looks like this you can proceed on this page.
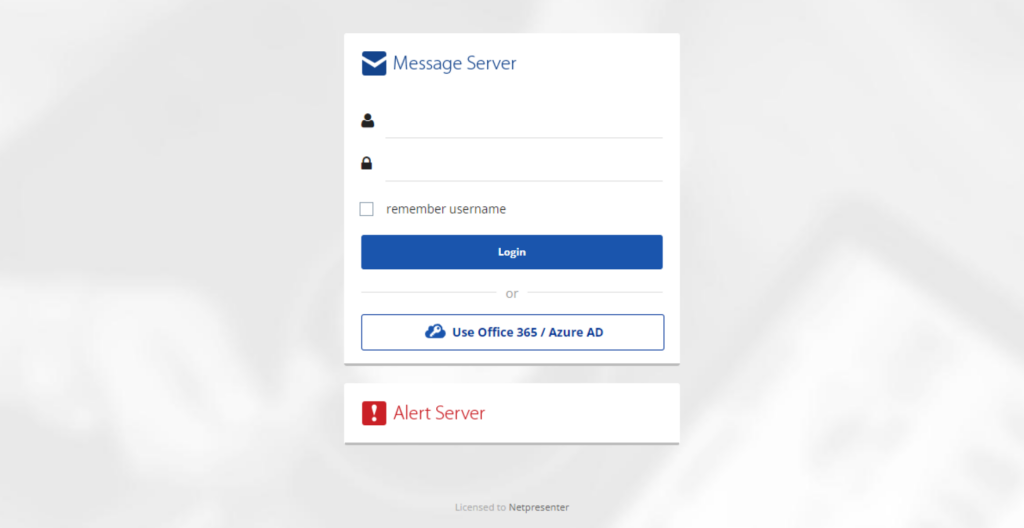
If it looks like this please read the Message Server & Alert Server documentation.
Table of contents
Content Hub Quick Guide – Alerts
You can also download the Content Hub Quick Guide Alerts in PDF or read the manual below.
Manual to create Content Hub Alerts
Alerts are designed to reach everyone quickly in case of an emergency or unexpected event. An alert will override existing slide presentations on digital signage or screensavers. If the employee app is utilized, the audience will receive pop-ups on PC and push notifications on mobile devices.
Creating an Alert
When selecting the Alert tab in the left menu for the first time, you are greeted by a message stating there are no alerts active, and you’ll be prompted to create a new alert.
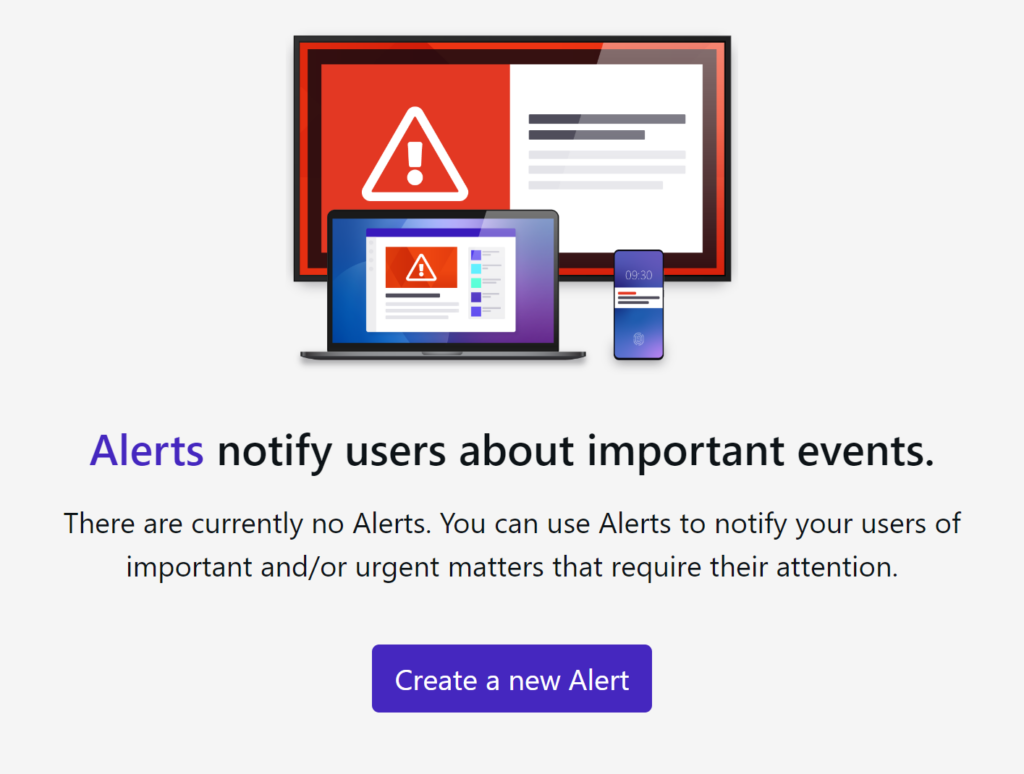
By clicking ‘Create a New Alert’, you will be redirected to the Alert creation section.
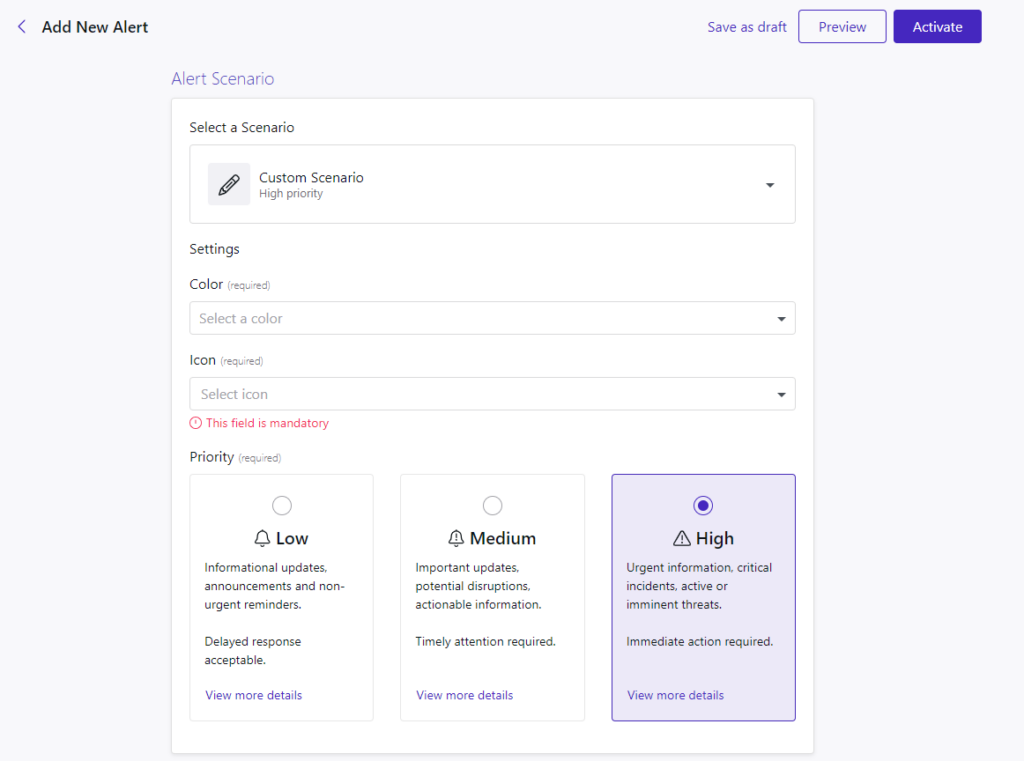
Alert Scenario
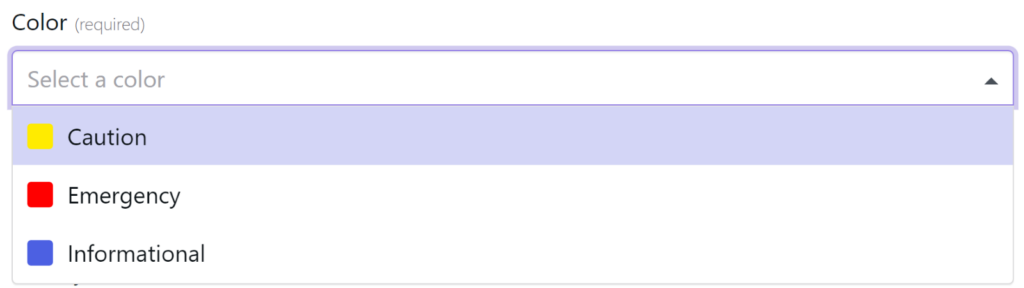
The first step is to configure the Alert Scenario. Here, you can select the color of the alert, which corresponds to the severity of the alert. You have the option to choose a Warning, Emergency, or Informational alert type.
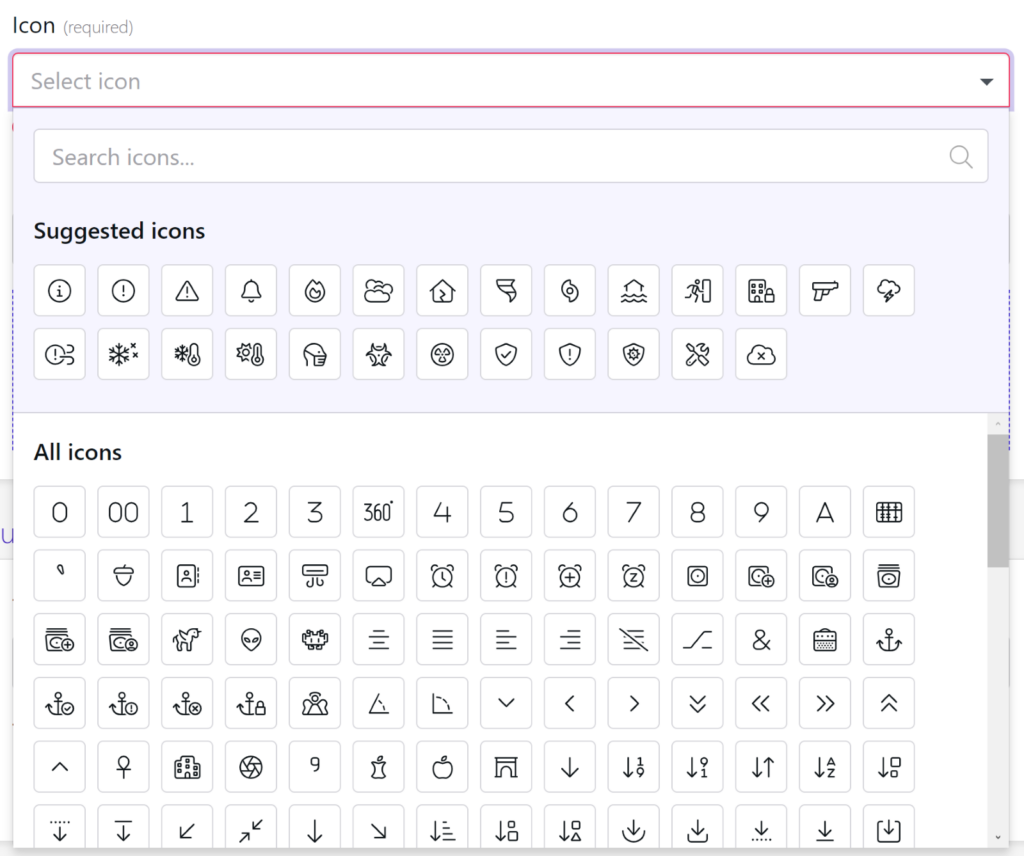
Next, you can select an icon that best suits the alert. You choose from a list of suggested icons or search the full library with all available icons.
Now you must set the priority of your alert.
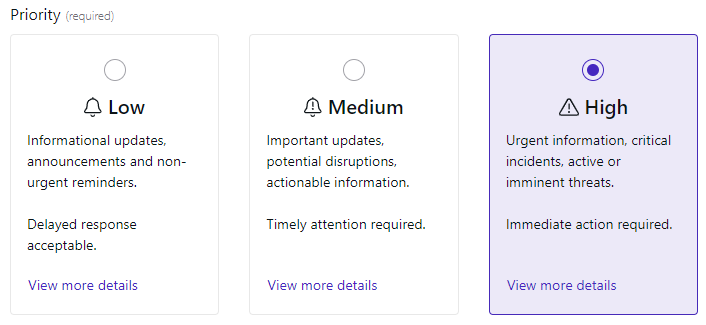
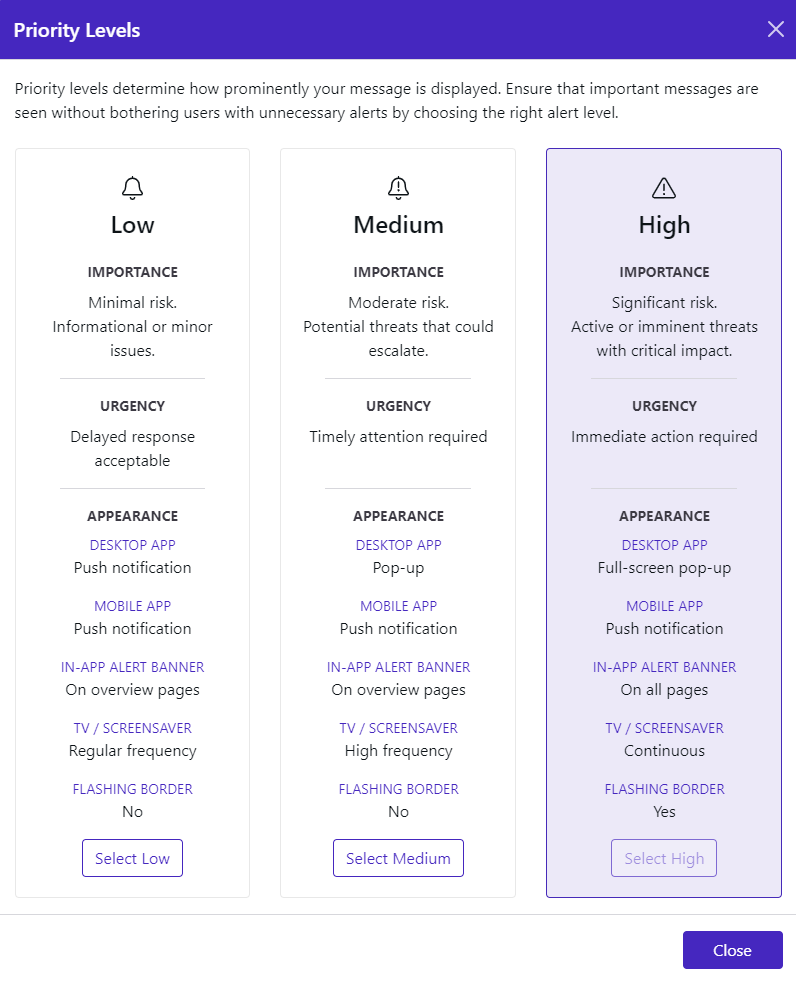
You can choose between low, medium or high priority. The priority mostly depends on the situation for which you want to send out an alert. By clicking on the View more details button, you will get see more information on what each priority level is designed for.
Audience
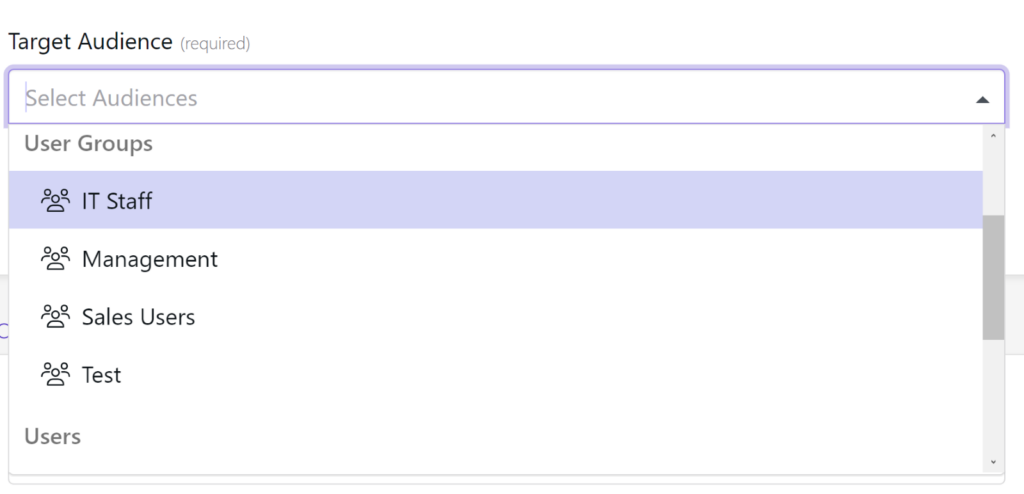
The next step is to select the target audience for your alert.
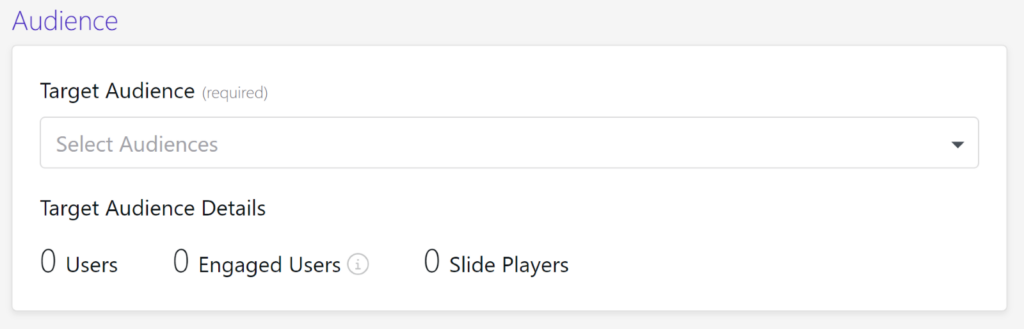
If you’re already familiar with creating articles, polls, or slides, this process will be similar. You can select users, user groups, slide players, and player groups.
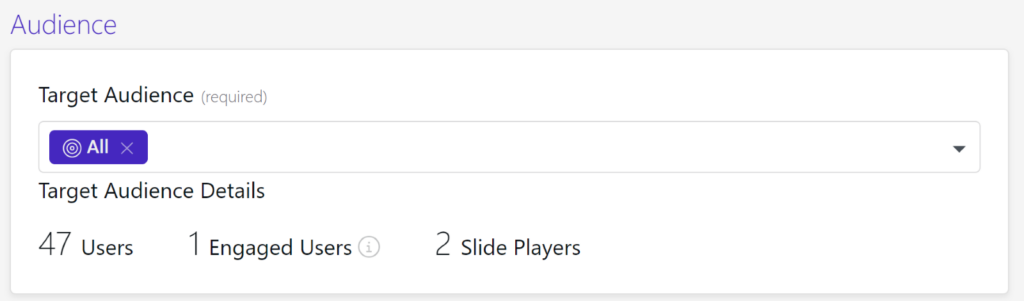
Once you have chosen the target audience, you will immediately see the audience details, displaying how many users, active users, and slide players will receive the alert.
Content
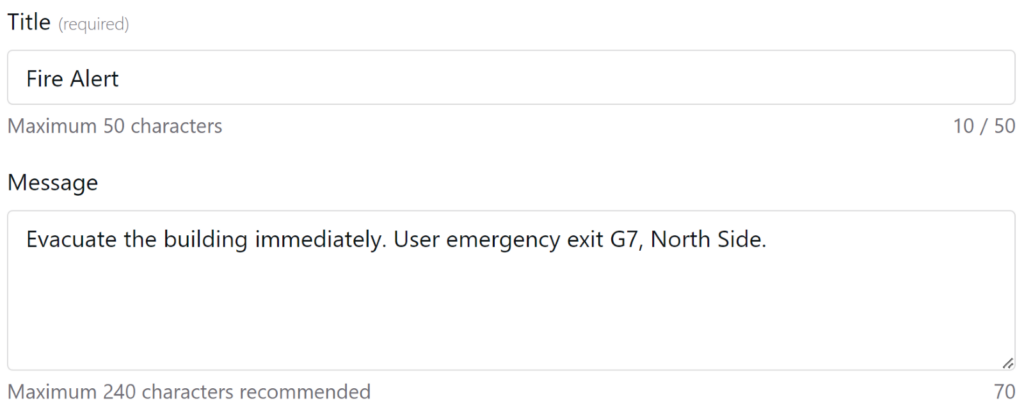
In the content section, you can now start filling in the content for your alert.
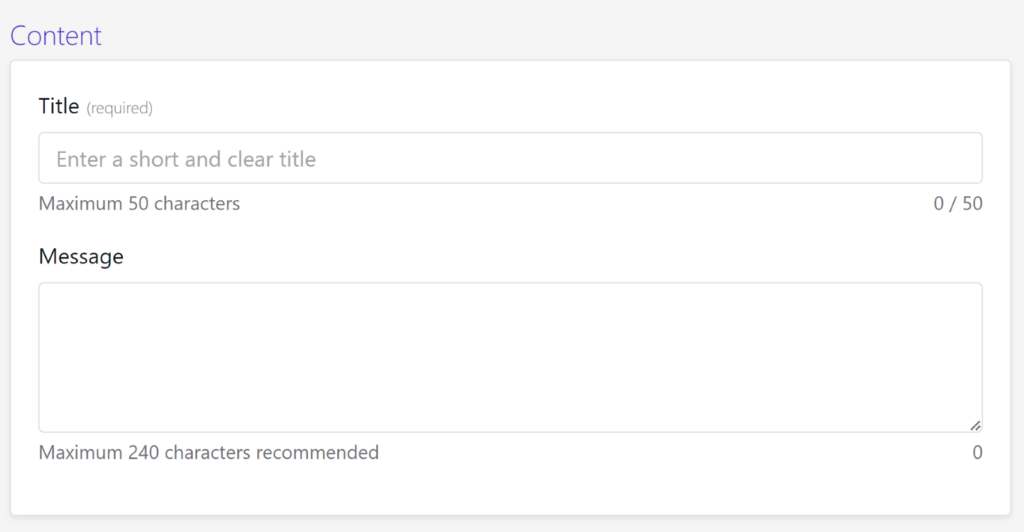
You can add a title and message that you want to send out with the alert. Please be aware of the maximum character limit for the title, and the recommendation for the number of characters for the message.
Scheduling
You can also schedule an alert.
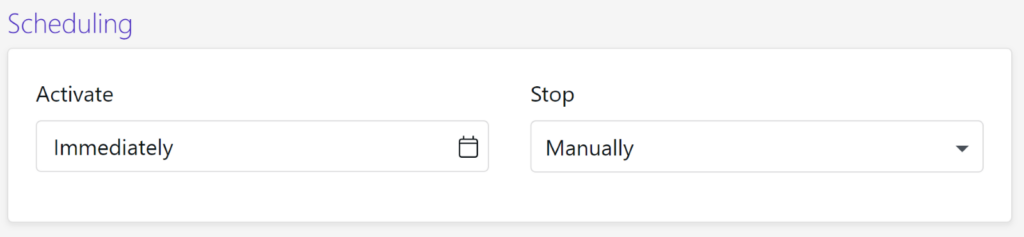
By default, it will be published immediately and will remain active until stopped manually. However, you can configure the start and stop times for the alert if you wish to do so.
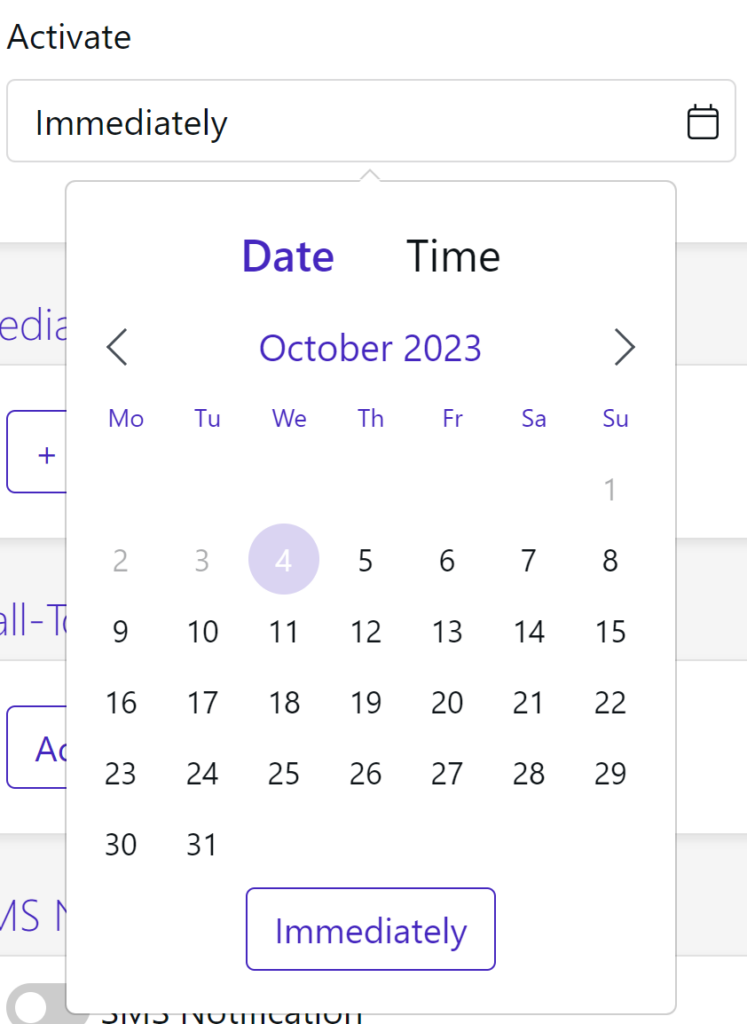
For the end time, you can choose from several presets, such as after 30 minutes, 2 hours, or after 1 day.

Media
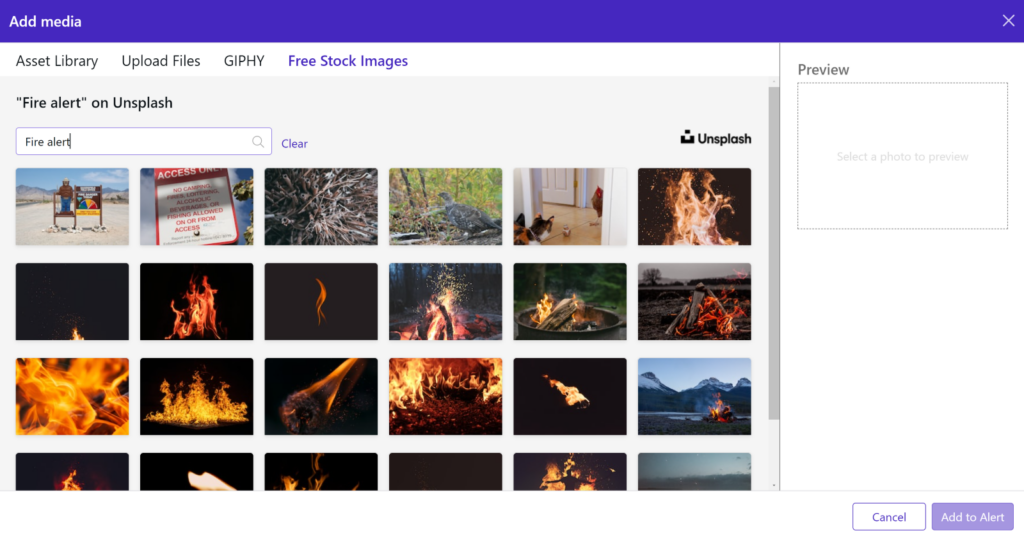
You can also add media to the alert.

Just select an existing image from the asset library, upload a new media file, or select a free stock image or Gif.
Call-To-Action
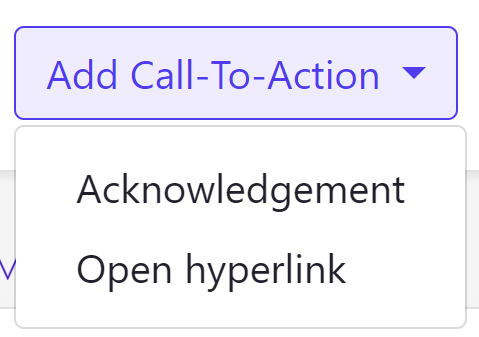
Finally, a Call to Action can be added.

You have the option to add an acknowledgment button to the alert, or a hyperlink to redirect your target audience to further information.
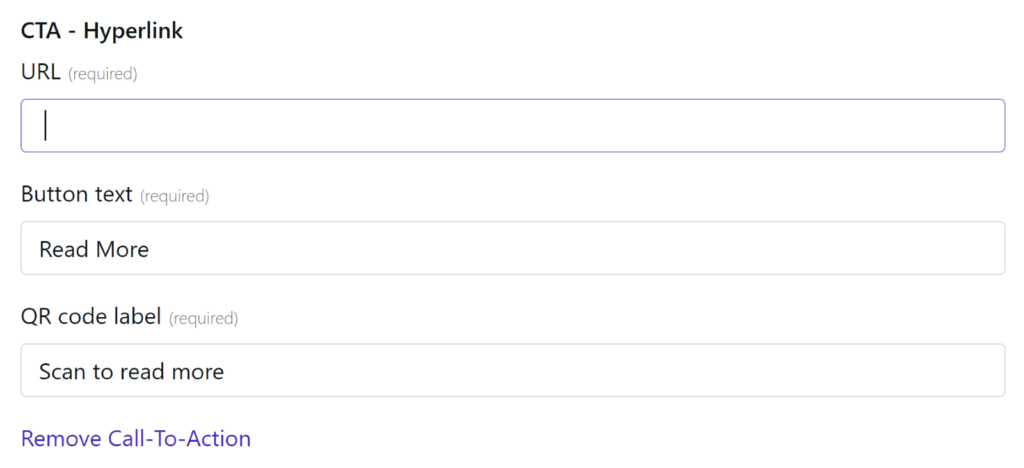
As soon as you select a specific call to action, you can adjust the button text, add the URL, and fill in a QR code label.
SMS
If the SMS functionality is included in your license and is enabled, you can send out the alert as an SMS notification to your target audience.
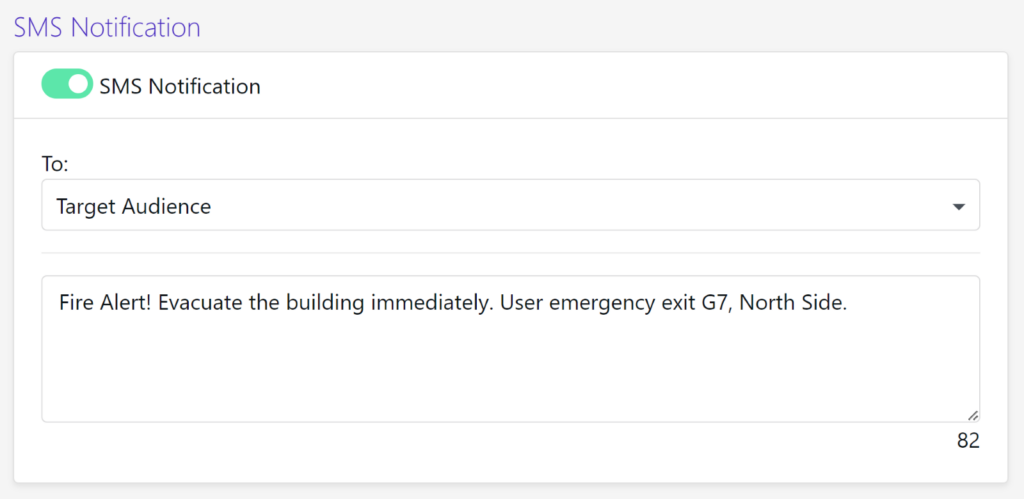
Just switch on the toggle button and write a message for the SMS. The target audience will be selected automatically and will be the same as chosen earlier.
Activation
The alert is now complete. You can preview the alert by clicking on the “Preview” button at the top of the page.

Here, you can review how it will appear on TV screens, screensavers, in the Desktop App, and Mobile App.
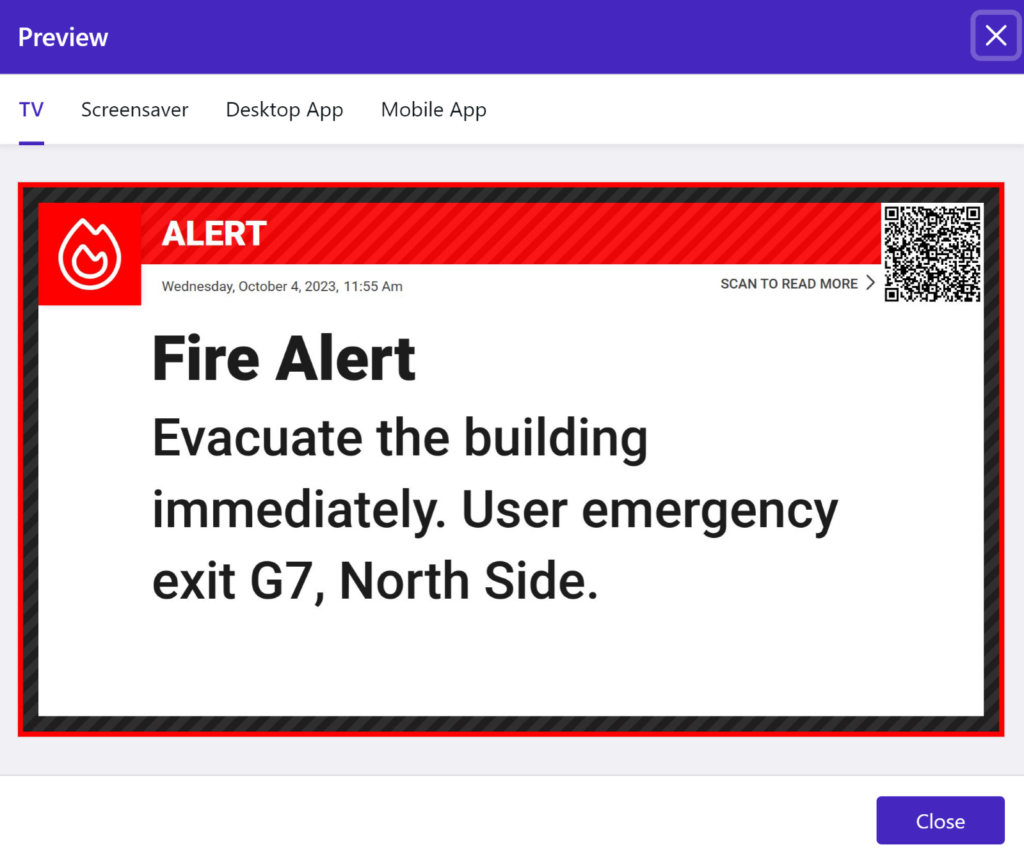
If you’re satisfied with the result, you can activate the alert, and it will be displayed on the designated devices according to the schedule that has been configured.
Alert Overview
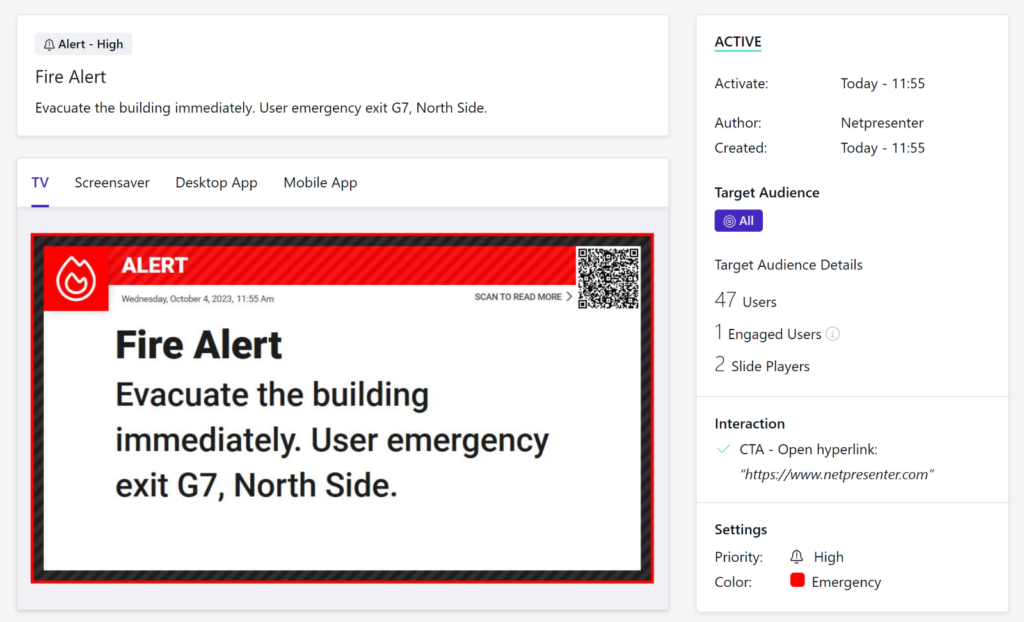
In the Alert Overview section, all the active alerts will be displayed.

By clicking on an alert, you can view all the details of that specific alert, such as creation details, statistics with valuable insights, a snapshot of the alert, and audience details.
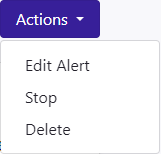
At the top of this page, you can choose to edit the alert, stop the alert, or delete it completely.
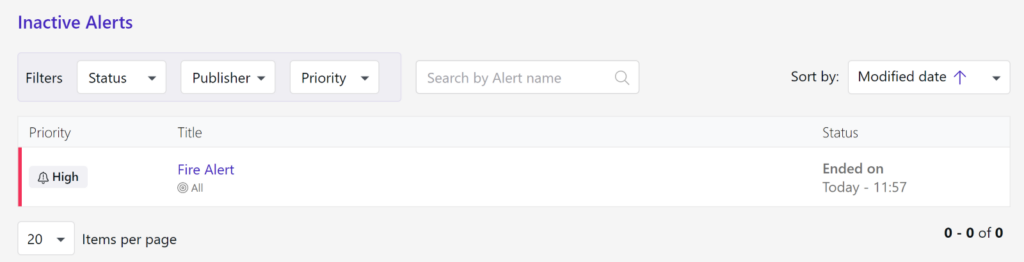
When you stop the alert, it will be added to the list of inactive alerts in the overview section. There, you can still review the statistics of the alert and choose to delete it, if you wish.
Creating a Scenario
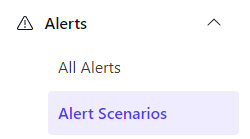
In the second tab, next to “All Alerts,” you can select ‘Scenarios.’
Scenarios are quick presets that you can create upfront, enabling you to trigger alerts with predefined conditions such as colors, icons, and sounds. Alert scenarios facilitate rapid response times during emergencies.
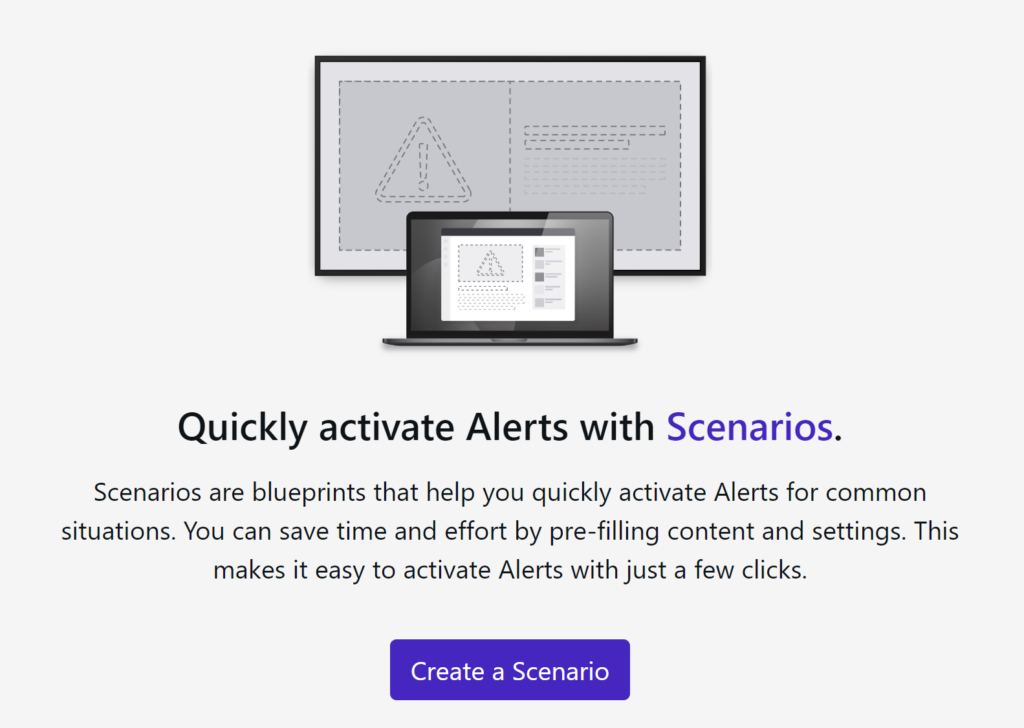
Create a new scenario by clicking on the the ‘Create a Scenario’ button.
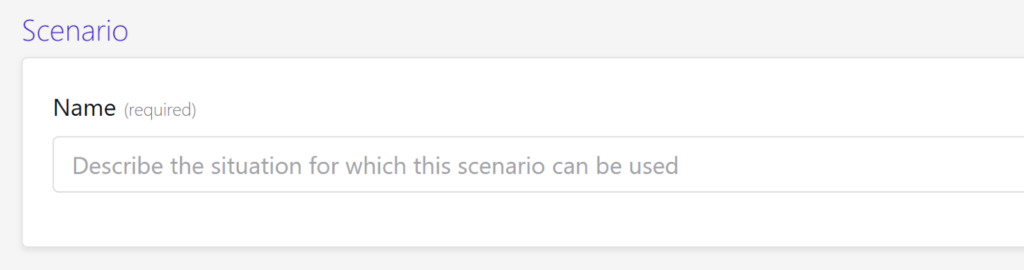
Scenario
The first step is to assign a clear name to the scenario you are going to create.
The steps that follow are the same as for creating a new alert: configure the settings, select the audience, create content, select optional media objects, and optionally add a call to action.
A scenario can also be previewed for all outputs and published as a scenario.
When the Scenario is published, it will be added to the Scenario overview.

Using a Scenario
When you have one or more predefined scenarios in place, the process of creating a new alert changes slightly.
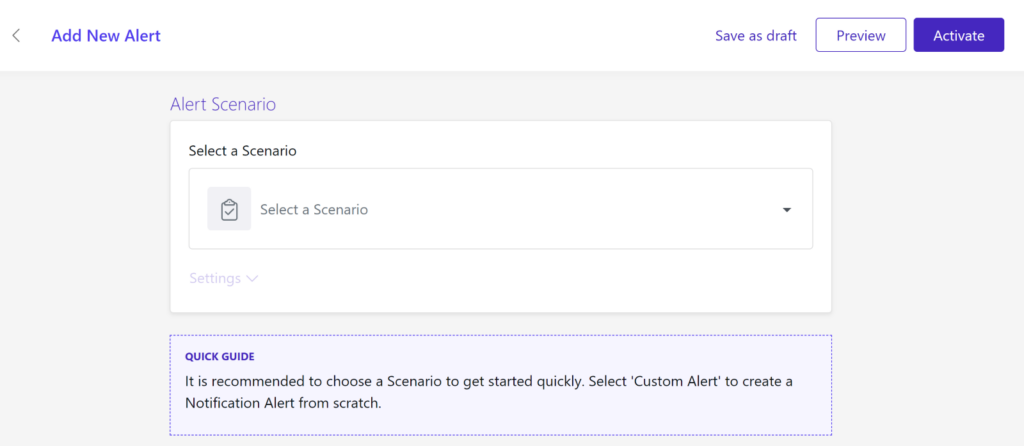
Upon initiating a new alert, you’ll be directed to a different landing page. Now, you’ll be prompted to either use an existing scenario or create a custom alert.
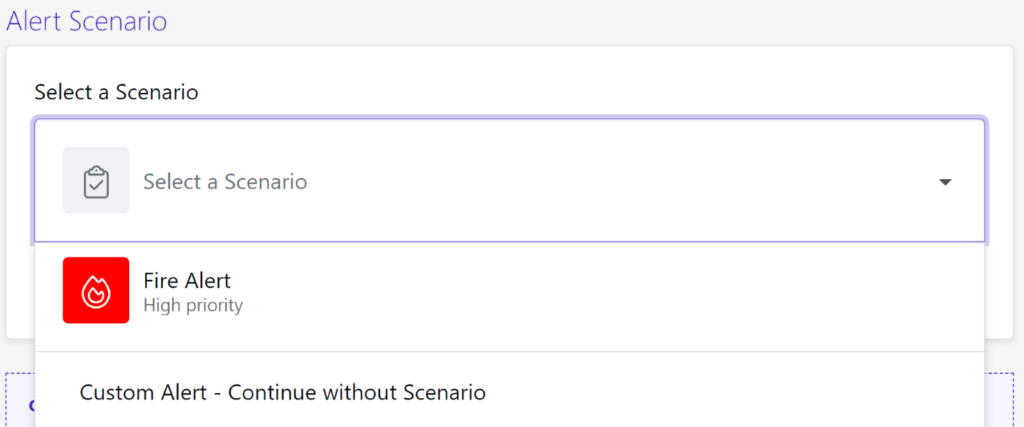
By selecting an existing scenario, all the necessary fields will be filled in automatically, and the alert will be ready to be activated instantly. When selecting the custom alert option, you will need to create your alert from scratch.