


Content Hub Articles
Estimated reading time: 19 minutes
This page explains how to create and manage Articles in the Netpresenter Content Hub. Before proceeding please check if you use the Content Hub or the Message Server & Alert Server.
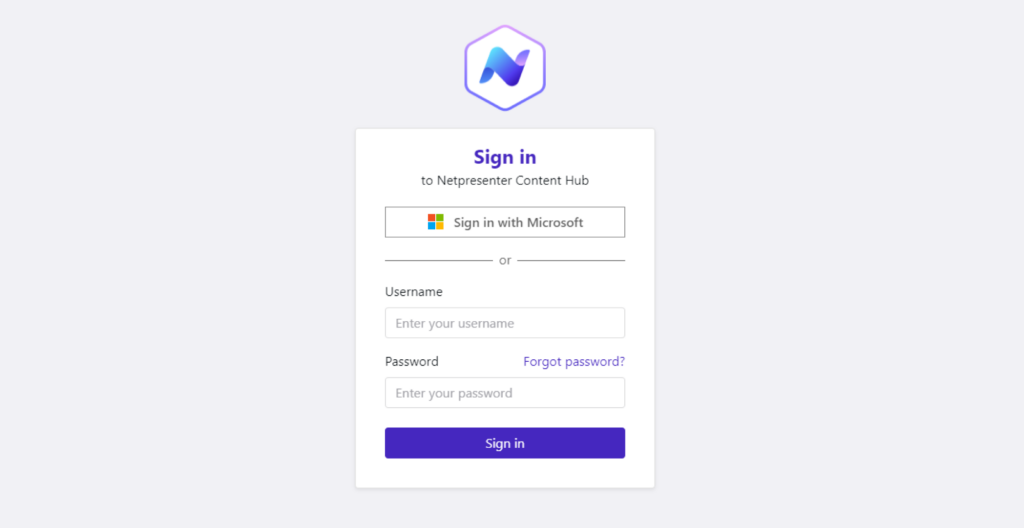
If you login looks like this you can proceed on this page.
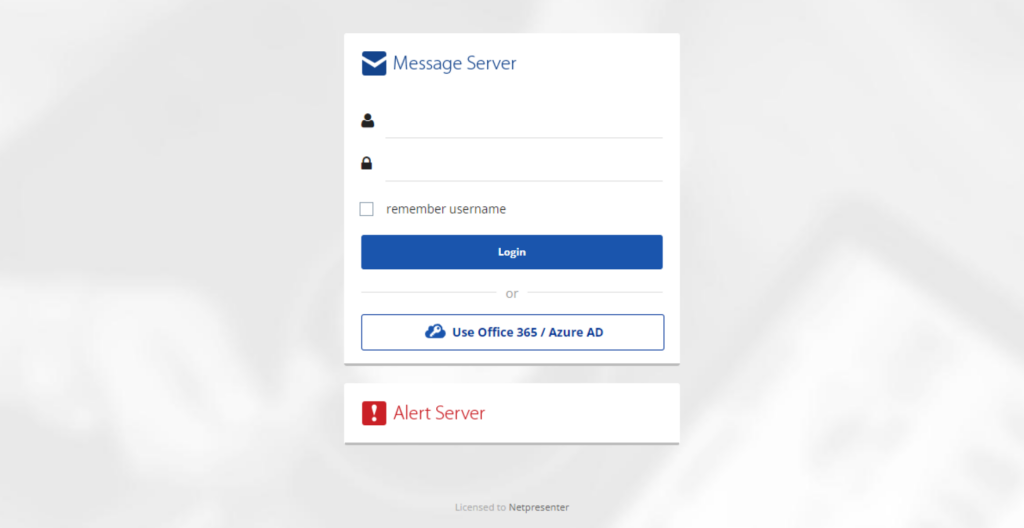
If it looks like this please read the Message Server & Alert Server documentation.
Table of contents
Content Hub Quick Guide – Articles
You can also download the Content Hub Quick Guide Articles in PDF or read the manual below.
Manual to create Content Hub Articles
Articles
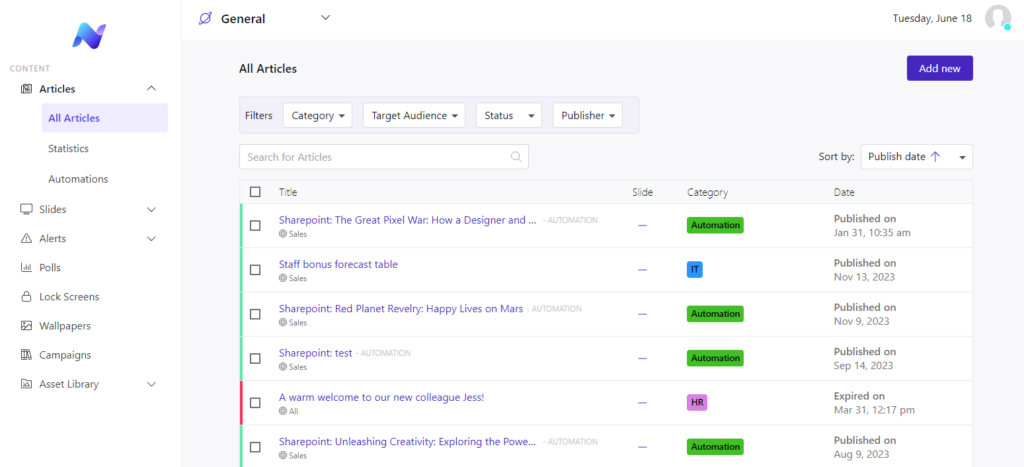
After logging in, you will be presented with the Articles overview.
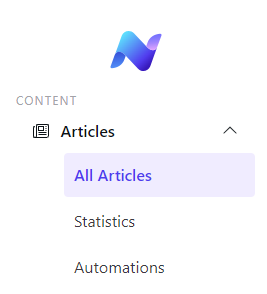
In the menu on the left side you will see 3 options. All Articles, Statistics and Automations.
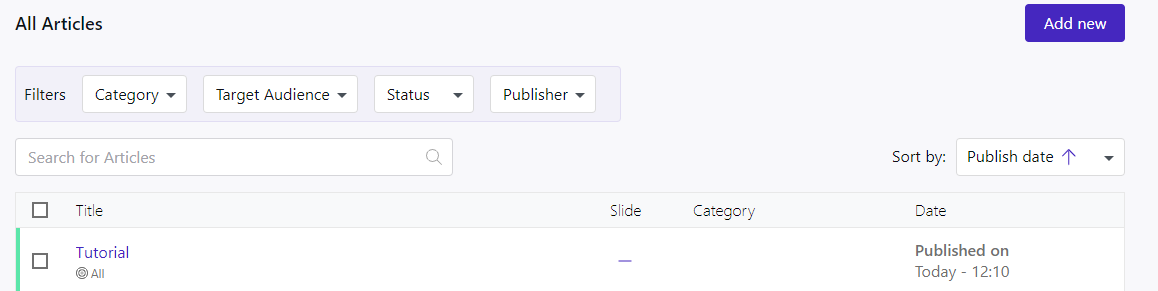
All Articles
The overview will show all articles published, showing their title, category, and published date. You can filter these articles by a specific category with the drop-down menu on the left or search for a specific article with the search function, and sort them by date with the drop-down menu on the right.

By hovering over an existing article, 2 actions will appear on the right-hand side. 1 action to delete the article and another to edit. By clicking anywhere else on this article, you will also be able to edit the article.

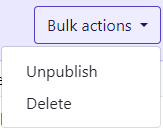
When selecting the boxes in front of the articles, Bulk actions will become available.
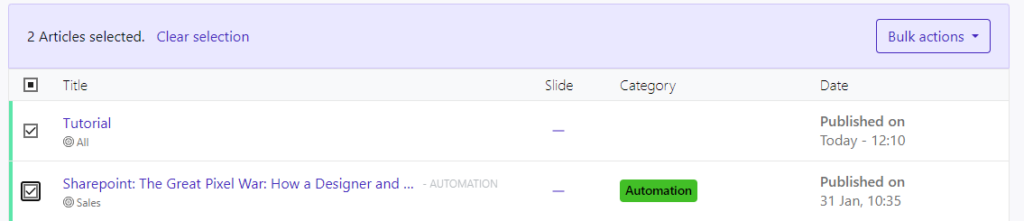
These bulk actions are to unpublish or delete them.
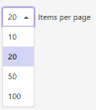
By default, the number of articles shown is 20 on one page. But with the drop-down menu on the bottom left, this can be changed to a different amount.
Adding a new Article
Article Content
When you are in the ‘All Articles’ view, an ‘Add new’ button is visible in the top right corner. Click this button to add a new article.
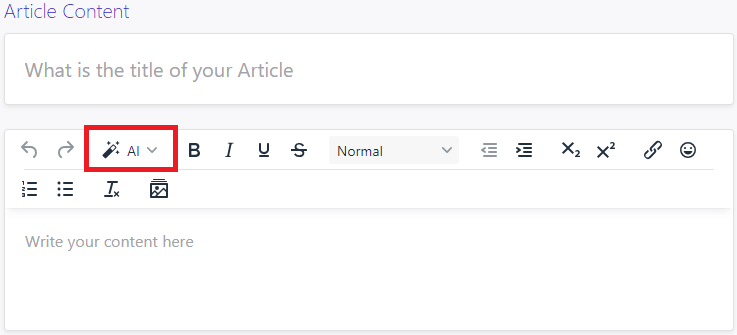
In the New Article View, you can start adding your Article Content.
Start by adding a title. Below that field, you can enter the article’s content with a rich text editor. It is also possible to use the ‘AI Content Generator’ button. This will open a new window that will allow you to ask the AI chat bot to draft an article for you. Just write your suggestion for the article’s content and after a while, you will be presented with a full article that you will need to manually copy and paste into the description field.
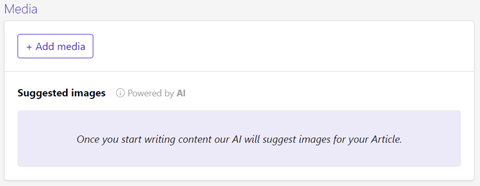
With the ‘+Add media’ option in the content field, you will be able to add various kinds of media to your article. When writing the contents in the description box, our AI tool will start suggesting images based on the contents. You will be able to choose images from these suggestions or continue with your own assets. To upload your own, click the button to open the Media library.
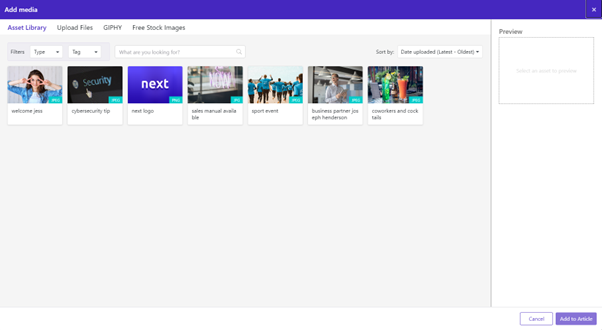
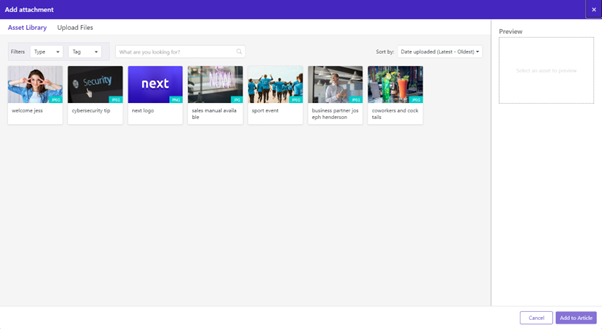
You will be greeted with the Asset library which already has your uploaded files collected. Each item will have meta information about the format. You will see immediately if it is a PNG or JPG or MP4 item. The Asset library can also be filtered by type or tag, and it is possible to search for a specific media item. On the right, you can sort the items by date uploaded.

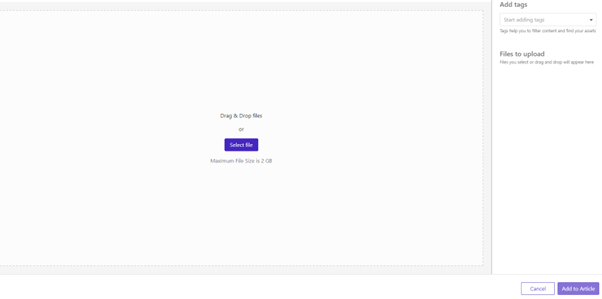
To upload files, click on the ‘Upload Files’ tab in the Add Media view.

Then you can drag and drop your files in this window or simply search for your items on your computer. When the items are added, you can also add tags to the items in the right-hand menu. The items can then be added to the article with the button on the bottom right.
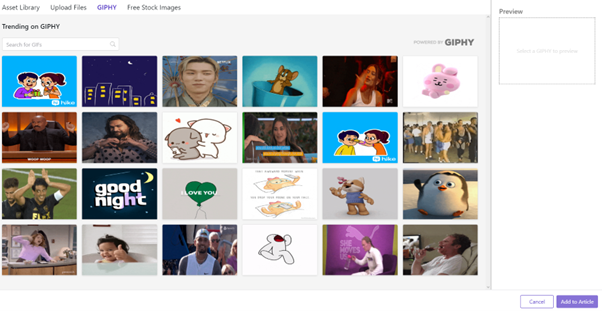
If you like to use GIFs, you can click on the GIPHY tab in the Add Media view.
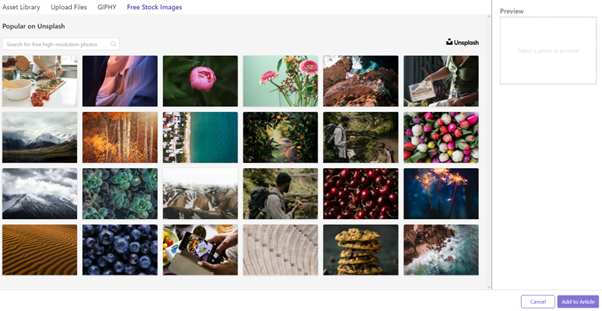
In this window, you can select Stock Images that are popular on Unsplash. Select any image and add it to your article. Just like in the asset library of GIPHY, you can search for stock photos as well.
Attachments
Attachments are downloadable from within an article. With this option, you can send out PDF’s or word documents to your target audience.
To add attachments, click on the designated button.

You will be greeted with a similar view to the Add Media view.
You can browse your assets and upload them in the same fashion, but you are not limited to media files.
Notifications
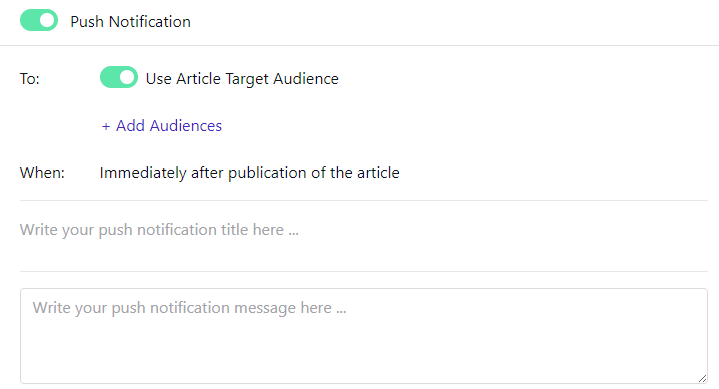
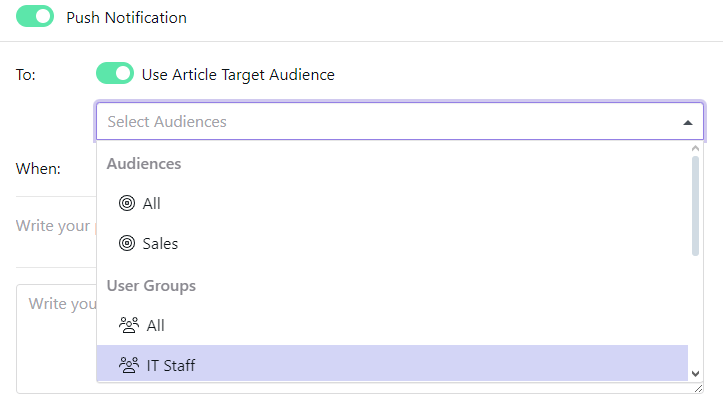
When creating an article and publishing it, a notification can be sent to your target audience by enabling the push notification function.

When enabled, it automatically selects the Article Target Audience, which you can activate/deactivate by pushing the button.
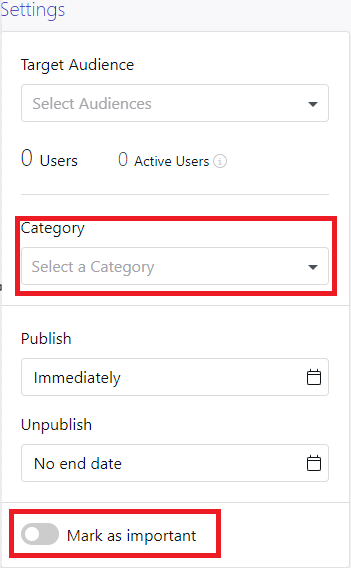
Settings
An article can be sent to any audience you desire, should it be configured beforehand. If configured, you can send an article to a group of users or even specific users. Audiences are configured by an administrator and can contain any number of users or groups.
A category can be added to this article by clicking its drop-down menu and selecting your desired category. It can also be made a high priority article so it will be shown at the top within the employee app.
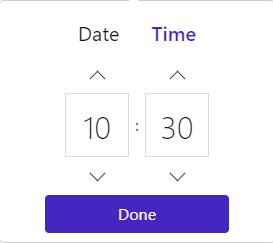
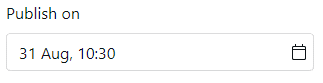
To schedule an article, you can enable this feature and you are presented with a publish and unpublish date option.
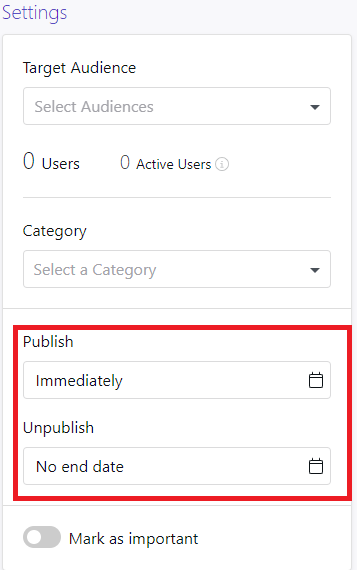
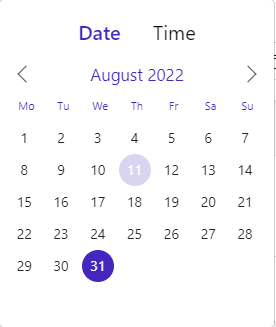
Click on the calendar icon to select your dates and times.
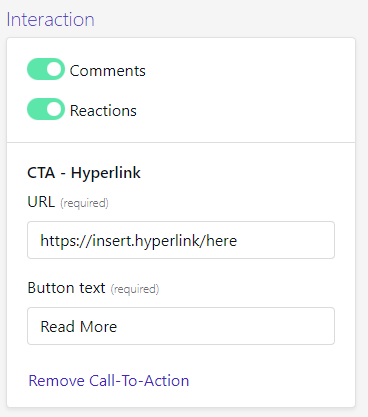
Interaction
Would you like to have your audience interact with your article? Then you can enable comments and reactions.
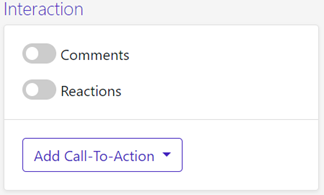
Comments are a way for people to write something, while reactions are used to add emojis to the article or other comments. If you like your audience to verify reading an article, you can have them acknowledge reading it. This can be done by adding an ‘acknowledge’ action within the Call-To-Action box.
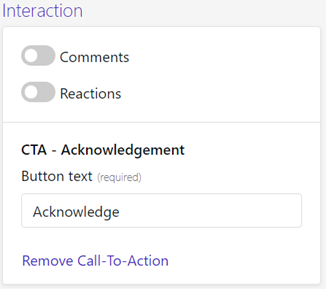
Within that Call-To-Action box is also the option to use a hyperlink instead, if you wish to have your audience be redirected to an external source. The hyperlink button text can also be altered.
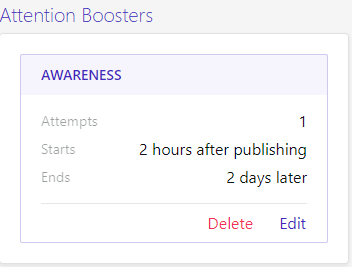
Attention Boosters
If your goal is to actively engage with your audience and have them participate, you can enable attention boosters, to make them active.
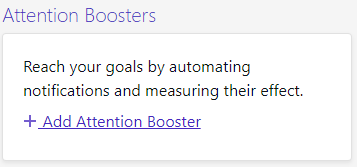
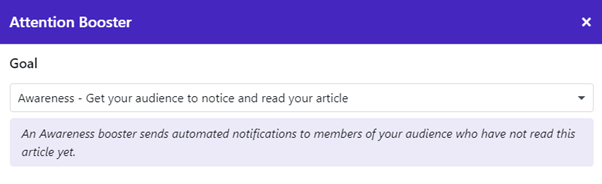
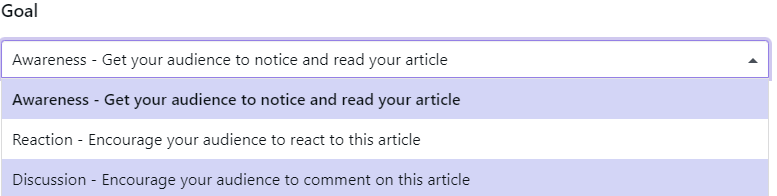
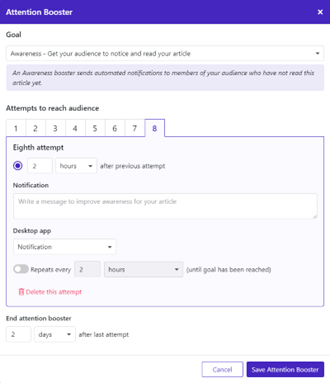
By clicking the add attention booster button, you will arrive in the Attention Booster view. The first thing to set up is your goal. What would you like to achieve with this booster.
The next step will be to create attempts to reach your audience.
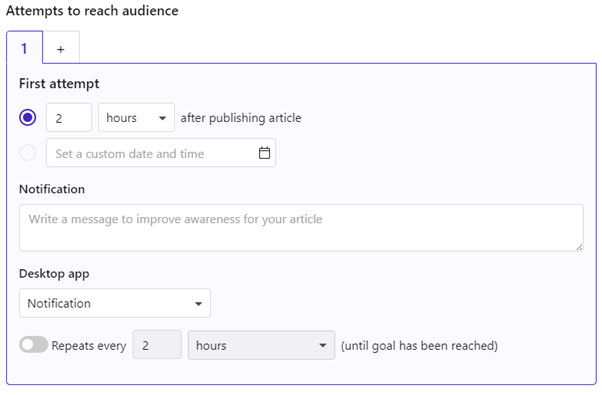
You can configure how many hours, minutes, or days after publishing the article the first attempt will be made. Or you can set up your own custom date and time to achieve this.
Create your own notification message if you desire and select if you want the notification to open the desktop app on the article. If necessary, you can send repeats every so often until your goal is reached. By clicking the + button next to your first attempt tab, you can add more attempts, up to 8.
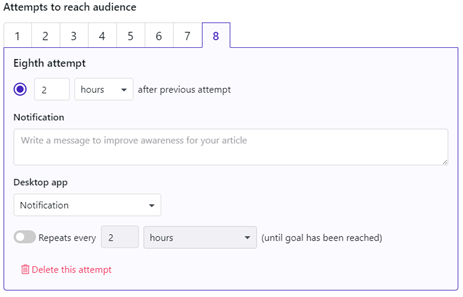
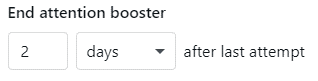
You can delete attempts by clicking the delete button on the bottom of the attempt. Lastly, you can end the attention booster after your custom amount of time, after the last attempt was made.
When everything is configured as desired, you can click on the Save button in the bottom right.
Should you wish to edit or delete this attention booster, you can click on those buttons in the Attention Booster field.
Draft, Preview, Schedule/Publish
When your article is finished but it needs to be reviewed or you must take a break from creating it, click on the Save as draft button.

Your article will be available in the Article Overview but grayed out and prefixed by ‘Draft – ‘.

The article can be continued working on by editing it. If your article is finished but you would like to see it finalized before publishing it, you can click on the preview button to open the Preview view.
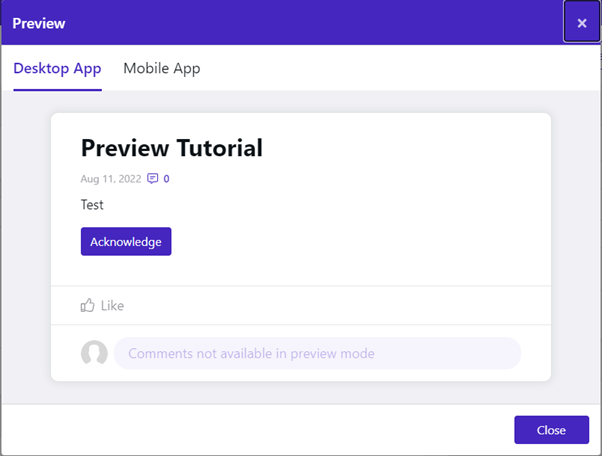
You can see a preview for the Desktop app and Mobile app by clicking either tab.
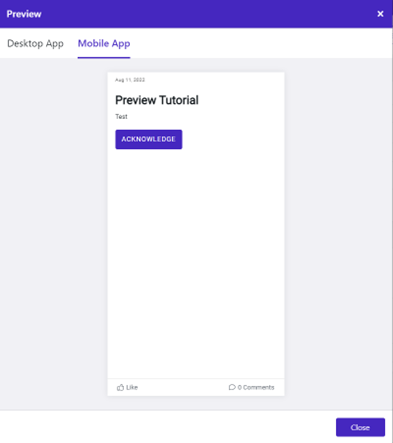
By clicking the publish button, your article will be available on the Desktop app and Mobile app from that moment forward.
If you scheduled the article for a later date, then the publish button will change to a schedule button.
It will add the article to the list, but it will be yellow and only available from the scheduled date.

Statistics
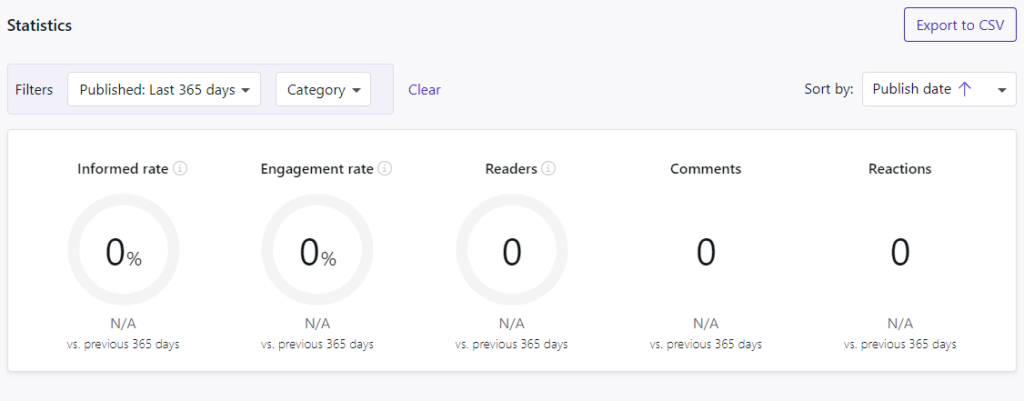
When we look back at the second ribbon on the left, you will have a secondary tab top open called statistics.
In this view, you will be able to view informed and engagement ratio, as well as the number of readers, comments, and reactions of messages in a set amount of time.
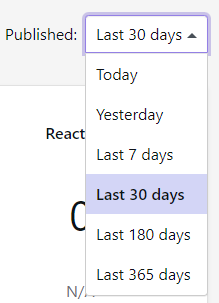
You can change the selection of messages in the top left corner to messages published Today, Yesterday, Last 7 -30 – 180 or 365 days.
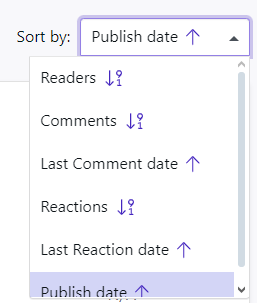
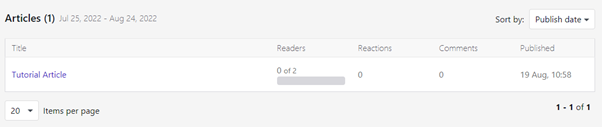
At the top right of the view, you will see the articles used for the Reported statistics. These Articles can also be sorted by published date, Latest comments or reactions or the number of readers, comments, and reactions.
The number of items can also be changed in the bottom left of the view.
By clicking an article within this list or in the article overview, you will see the article’s details
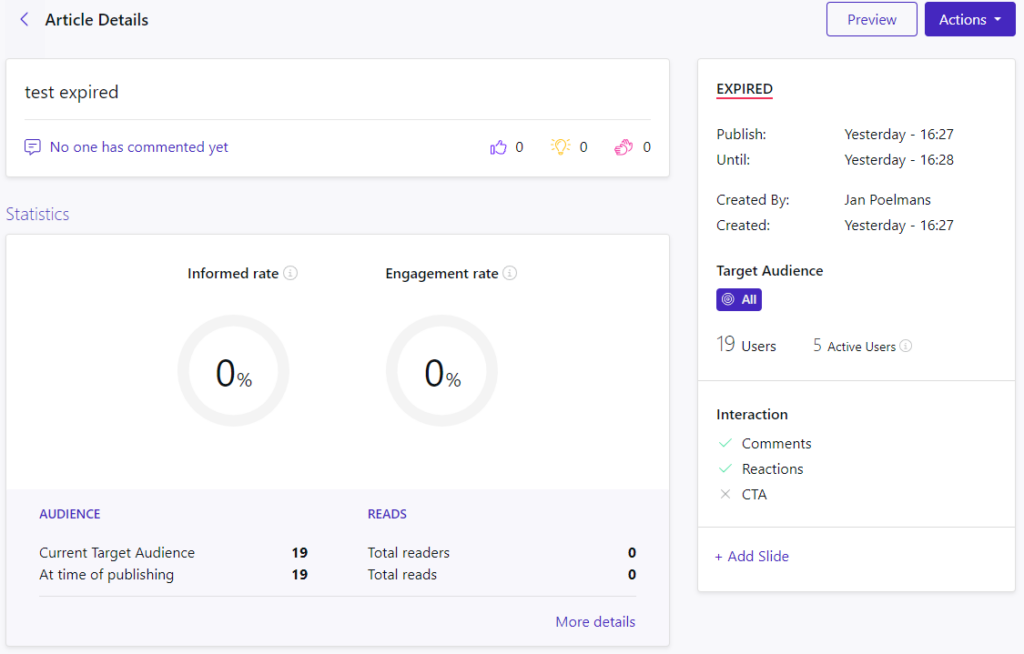
Information such as the articles title and description are shown alongside the article’s statistics.
On the right side, the publisher’s information is shown as well as the targeted audience.
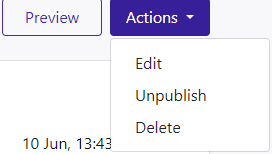
The preview button allows you to preview the article while the actions button allows you to either Edit, unpublish, or delete the article altogether.